Choco-Crunch Kit Kat Cheesecake Recipe
 Save
Save
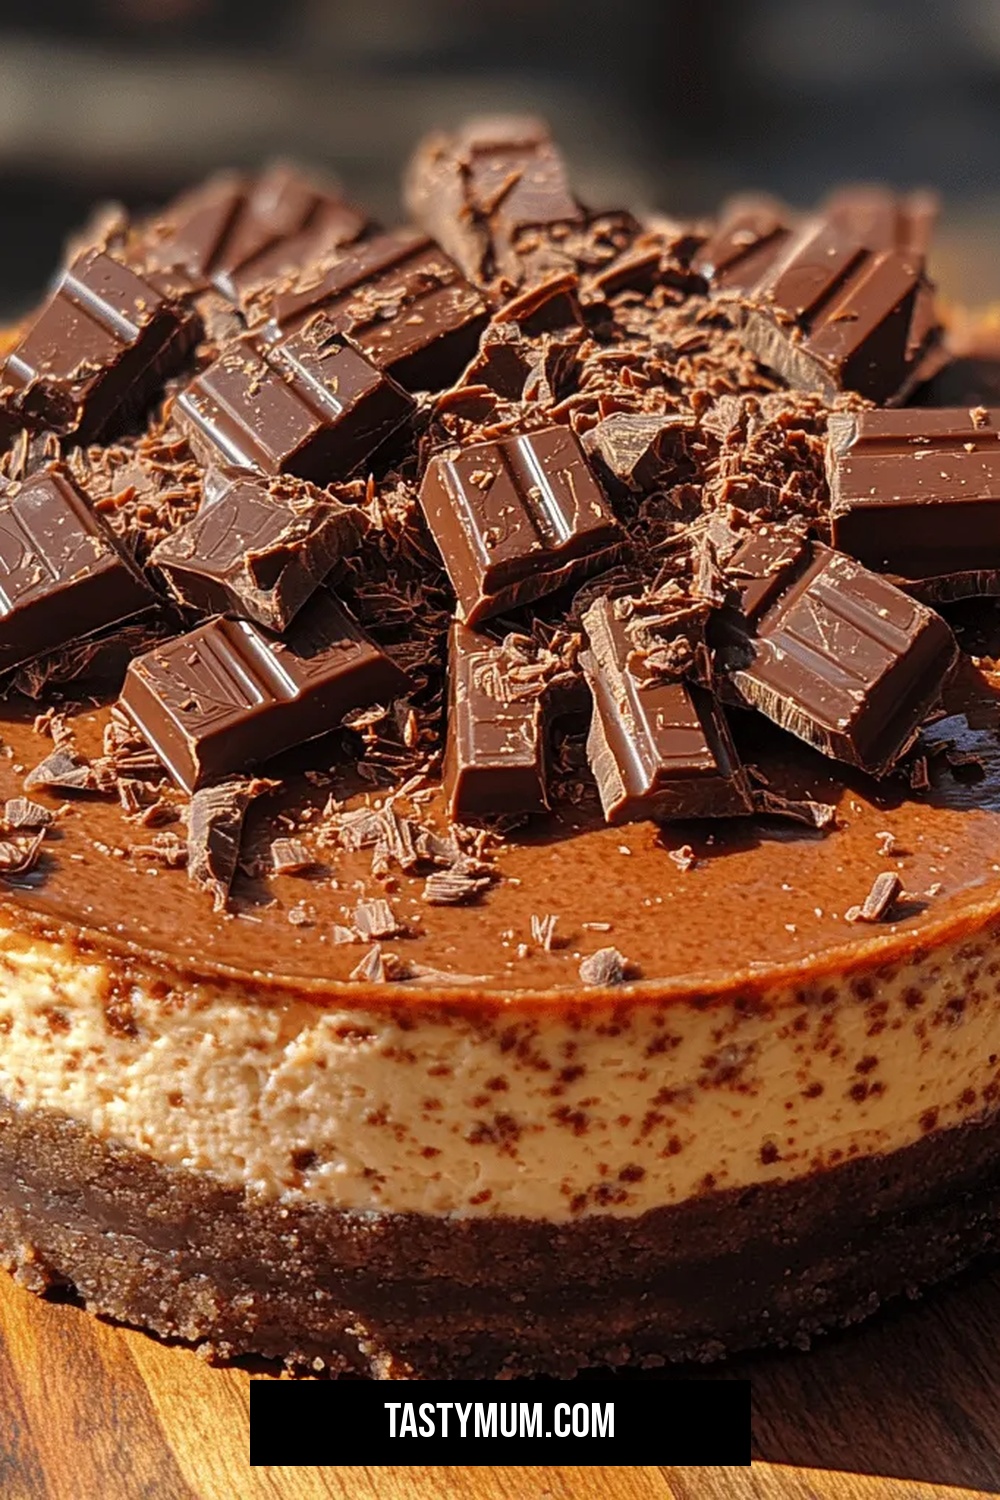
Imagine the classic snap of a Kit Kat bar woven into a silky cheesecake that’s both elegant and utterly indulgent. This Choco‑Crunch Kit Kat Cheesecake takes a beloved candy and transforms it into a show‑stopping dessert that feels luxurious yet surprisingly simple to create.
What makes this recipe special is the layered texture: a buttery chocolate‑graham crust, a velvety cream cheese filling infused with dark chocolate, and a generous topping of chopped Kit Kat pieces that stay delightfully crunchy until the very last bite.
Chocolate lovers, party hosts, and anyone craving a sweet treat that feels like a celebration will adore this cheesecake. Serve it at birthdays, holiday gatherings, or as an impressive finale to a dinner party.
The process is straightforward: prepare the crust, whip up a chocolate‑rich filling, fold in the Kit Kat crunch, bake gently, then chill until set. A quick drizzle of chocolate ganache finishes the masterpiece.
Why You'll Love This Recipe
Irresistible Texture: The contrast between the smooth cheesecake and the snap‑crackle of Kit Kat creates a mouthfeel that keeps you reaching for another slice.
Simple Ingredients: Only pantry staples and a few Kit Kat bars are needed, making it easy to shop for and assemble without specialty items.
No‑Bake Flexibility: The filling can be set in the refrigerator instead of the oven for a quicker, no‑heat version that still tastes decadent.
Eye‑Catching Presentation: The glossy ganache and glossy chocolate shards give the cheesecake a professional, bakery‑level finish.
Tips & Tricks
Perfecting the Recipe
Room‑temperature dairy. Let cream cheese, sour cream, and eggs sit out for 30 minutes before mixing. This yields a smoother batter and reduces the risk of cracks.
Water‑bath seal. Ensure the foil wrap is tight and no water can seep in; any moisture will make the crust soggy.
Gentle folding. When adding Kit Kat, fold with a light hand to keep the wafers intact for that satisfying crunch.
Cooling gradually. An hour in the turned‑off oven prevents sudden contraction that creates surface cracks.
Flavor Enhancements
Add a pinch of sea salt to the ganache for a subtle contrast that heightens chocolate depth. Stir in a splash of espresso or coffee liqueur into the filling for a mocha twist. Finish each slice with a dusting of cocoa powder for an elegant visual cue.
Common Mistakes to Avoid
Do not over‑bake; the center should still jiggle slightly. Over‑mixing the batter incorporates too much air, leading to cracks as it cools. Also, avoid using melted butter that’s too hot for the crust—this can make the base soggy.
Pro Tips
Use a food‑scale. Precise measurements, especially for the crust, guarantee consistent texture every time.
Chill the pan. After pressing the crust, place the pan in the freezer for 5 minutes; this firms the base before the filling arrives.
Warm the knife. Dip your slicing knife in hot water and wipe dry between cuts for flawless slices.
Store ganache separately. If you’re making the cake ahead, keep the ganache in a small container and drizzle just before serving to retain shine.
Variations
Ingredient Swaps
Replace dark chocolate chips with white chocolate for a sweeter, milder filling, or use milk chocolate for a creamier profile. Swap the chocolate graham crust for an Oreo cookie crust if you crave an extra‑rich base. For a nutty twist, fold toasted hazelnuts into the batter along with the Kit Kat.
Dietary Adjustments
For a gluten‑free version, use gluten‑free chocolate graham crackers and ensure the Kit Kat bars are certified gluten‑free. Substitute regular cream cheese with a dairy‑free alternative (such as almond‑based cream cheese) and use coconut cream in place of heavy cream for a vegan-friendly ganache.
Serving Suggestions
Serve each slice with a dollop of freshly whipped cream and a drizzle of caramel sauce for extra decadence. Pair the cheesecake with a glass of chilled dessert wine, such as Moscato, or a bold espresso for a balanced finish. For a festive touch, garnish with edible gold leaf or fresh berries.
Storage Info
Leftover Storage
Allow the cheesecake to cool completely, then cover the springform pan tightly with plastic wrap. Store in the refrigerator for up to 4 days. For longer keeping, slice into portions, wrap each piece in cling film, and freeze in an airtight container for up to 2 months. Thaw overnight in the fridge before serving.
Reheating Instructions
Reheat individual slices in a preheated 300°F (150°C) oven for 8‑10 minutes, loosely covered with foil to prevent drying. If you prefer a microwave, heat on medium power for 30‑45 seconds, then add a drizzle of fresh ganache to restore the glossy finish.
Frequently Asked Questions
Can I make this cheesecake ahead of time?
What if I don’t have a springform pan?
How do I keep the Kit Kat pieces from getting soggy?
This Choco‑Crunch Kit Kat Cheesecake delivers a perfect marriage of creamy chocolate richness and satisfying wafer crunch, all wrapped in a buttery crust. The detailed steps, storage advice, and creative variations ensure you can master it today and adapt it for any occasion. Feel free to experiment with flavors, textures, and presentations—after all, the best desserts are those that reflect your personal taste. Slice, serve, and savor every delightful bite!
Choco-Crunch Kit Kat Cheesecake Recipe
Delicious Choco-Crunch Kit Kat Cheesecake Recipe
Ingredients
Crust
- 1 ½ cups chocolate graham cracker crumbs
- ¼ cup unsalted butter, melted
- 2 tablespoons granulated sugar
Cheesecake Filling
- 24 oz (3 packages) cream cheese, softened
- ¾ cup granulated sugar
- ⅓ cup sour cream
- 2 large eggs, room temperature
- ½ cup dark chocolate chips, melted
- 1 teaspoon vanilla extract
Chocolate Ganache
- ½ cup heavy cream
- ¼ cup dark chocolate chips
- 1 teaspoon light corn syrup (optional, for shine)
Instructions
Incorporating the Kit Kat Crunch
- Fold gently. Sprinkle the chopped Kit Kat bars over the batter and fold with a rubber spatula just enough to distribute the pieces without crushing them. The goal is to keep the wafer’s signature snap.
- Transfer to pan. Pour the batter over the chilled crust, smoothing the top with a spatula. Tap the pan lightly on the countertop to release any air bubbles.
- Prepare a water bath. Wrap the springform pan in a double layer of foil, then place it inside a larger roasting pan. Fill the outer pan with hot water until it reaches halfway up the sides of the springform. This bain‑marie ensures gentle, even cooking and minimizes cracking.
Similar Recipes
 Desserts
Zesty No-Bake Lemon Dream Pie
Delicious Zesty No-Bake Lemon Dream Pie
 Desserts
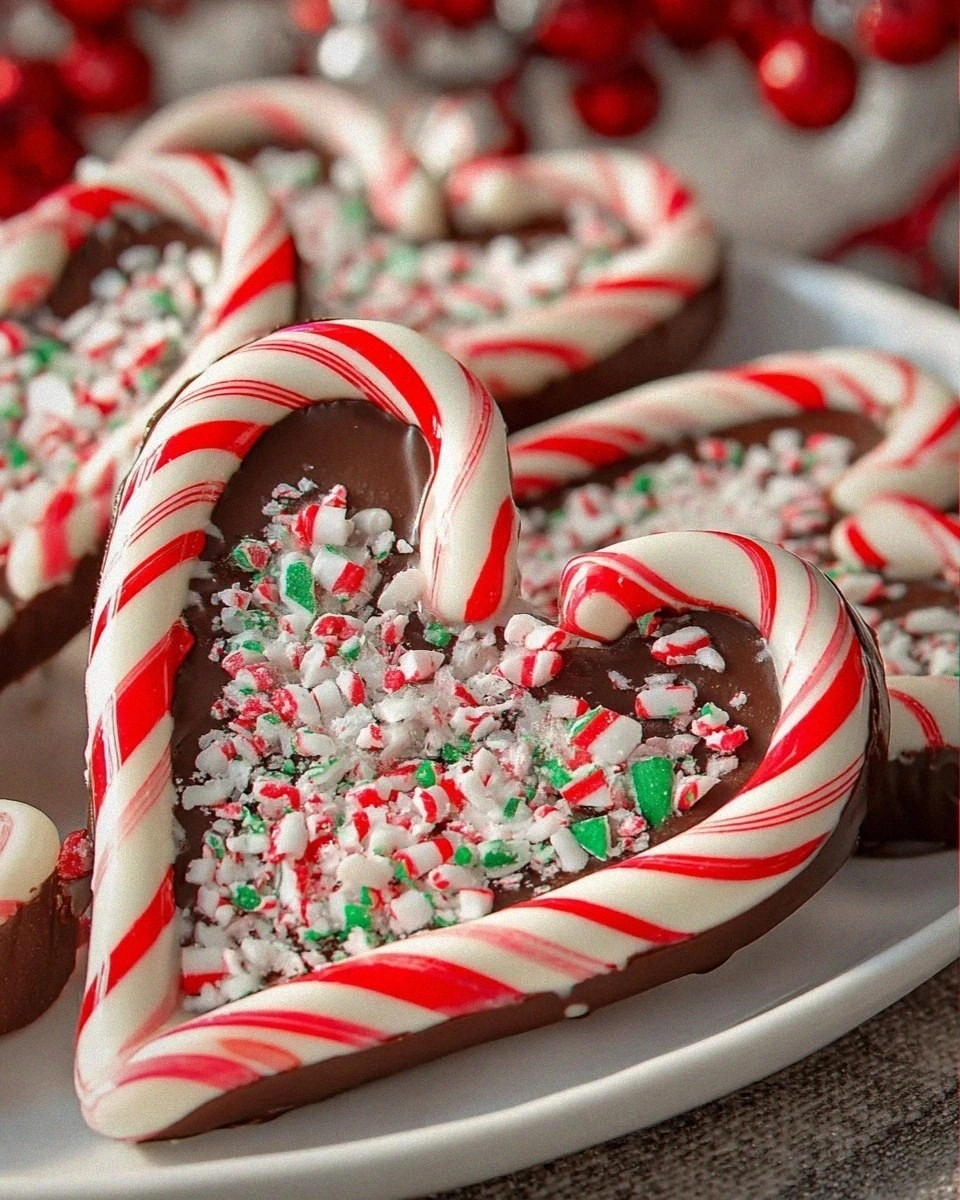
Delicious Candy Cane Hearts Recipe for Festive Treats
Learn how to make delicious Delicious Candy Cane Hearts Recipe for Festive Treats. Easy recipe with…
 Desserts
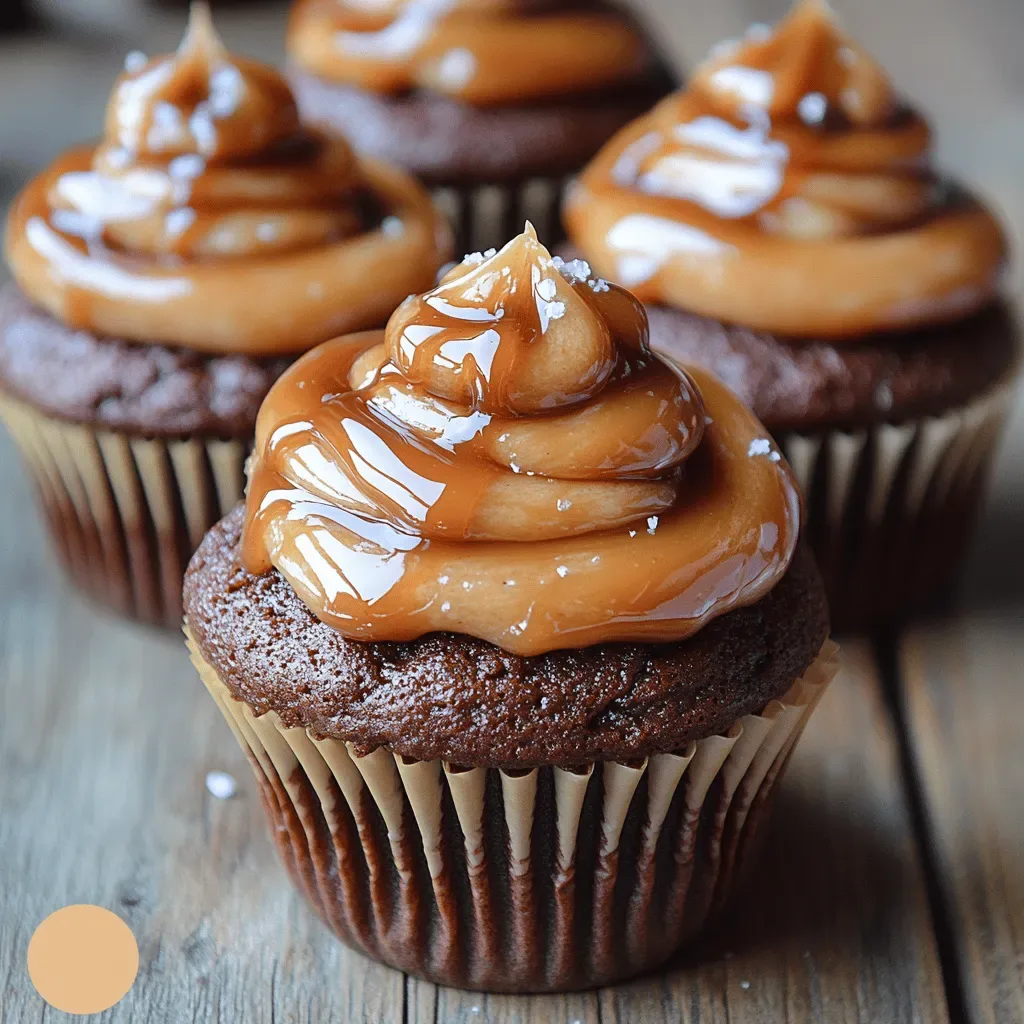
Indulgent Chocolate Cupcakes with Heavenly Caramel Frosting: A Decadent Delight
Delicious Indulgent Chocolate Cupcakes with Heavenly Caramel Frosting: A Decadent Delight
 Desserts
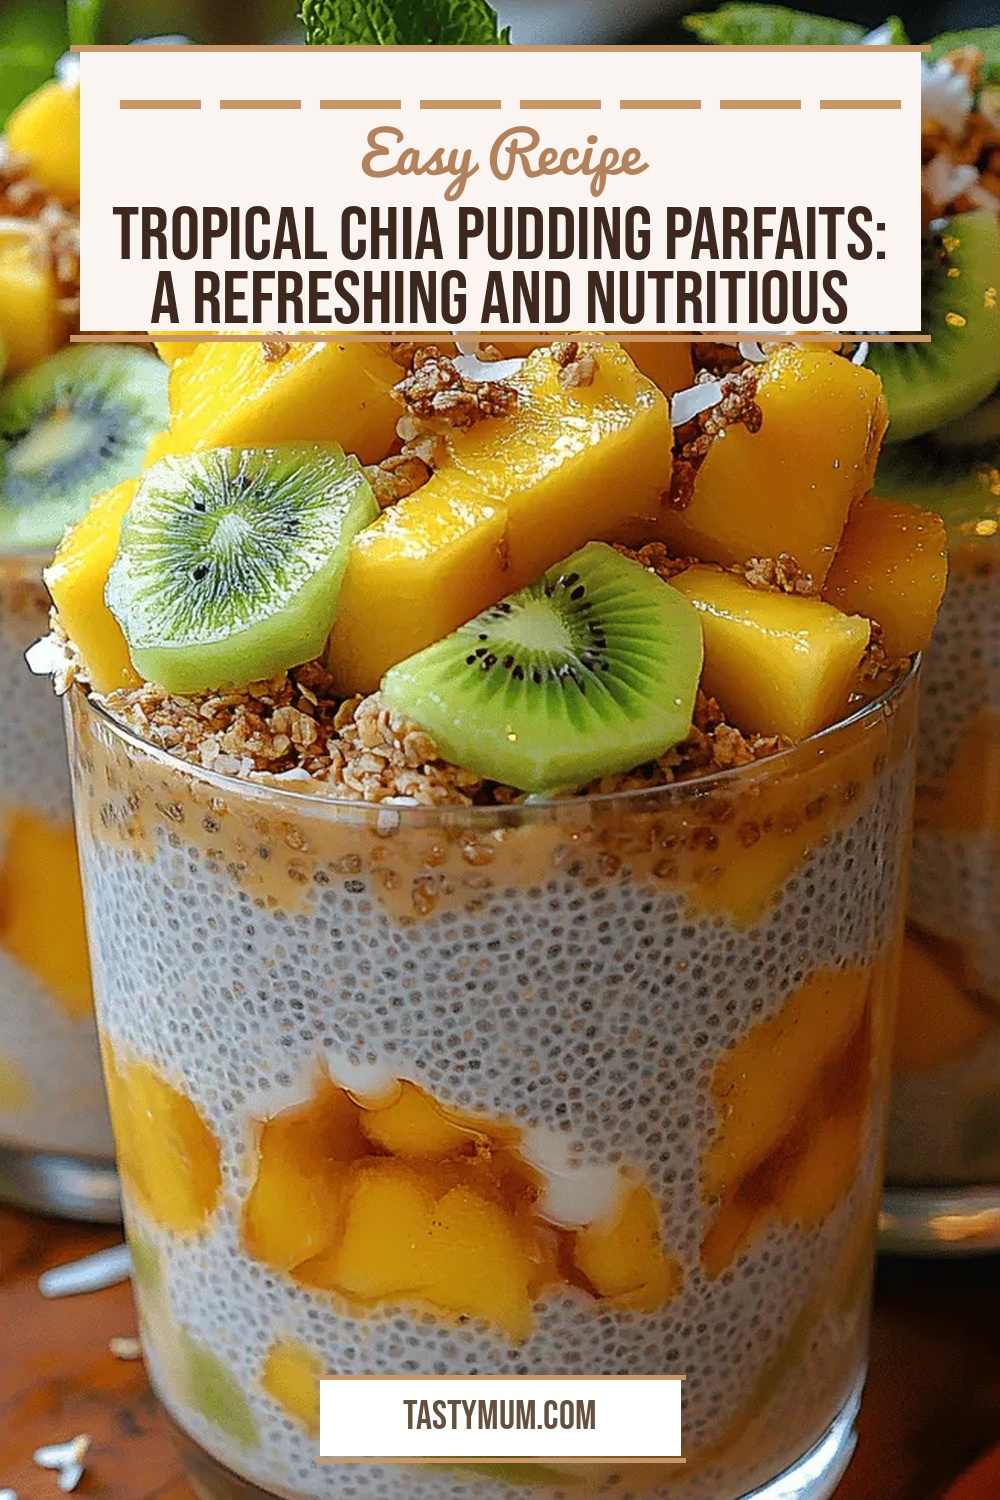
Tropical Chia Pudding Parfaits: A Refreshing and Nutritious Dessert
Delicious Tropical Chia Pudding Parfaits: A Refreshing and Nutritious Dessert
 Desserts
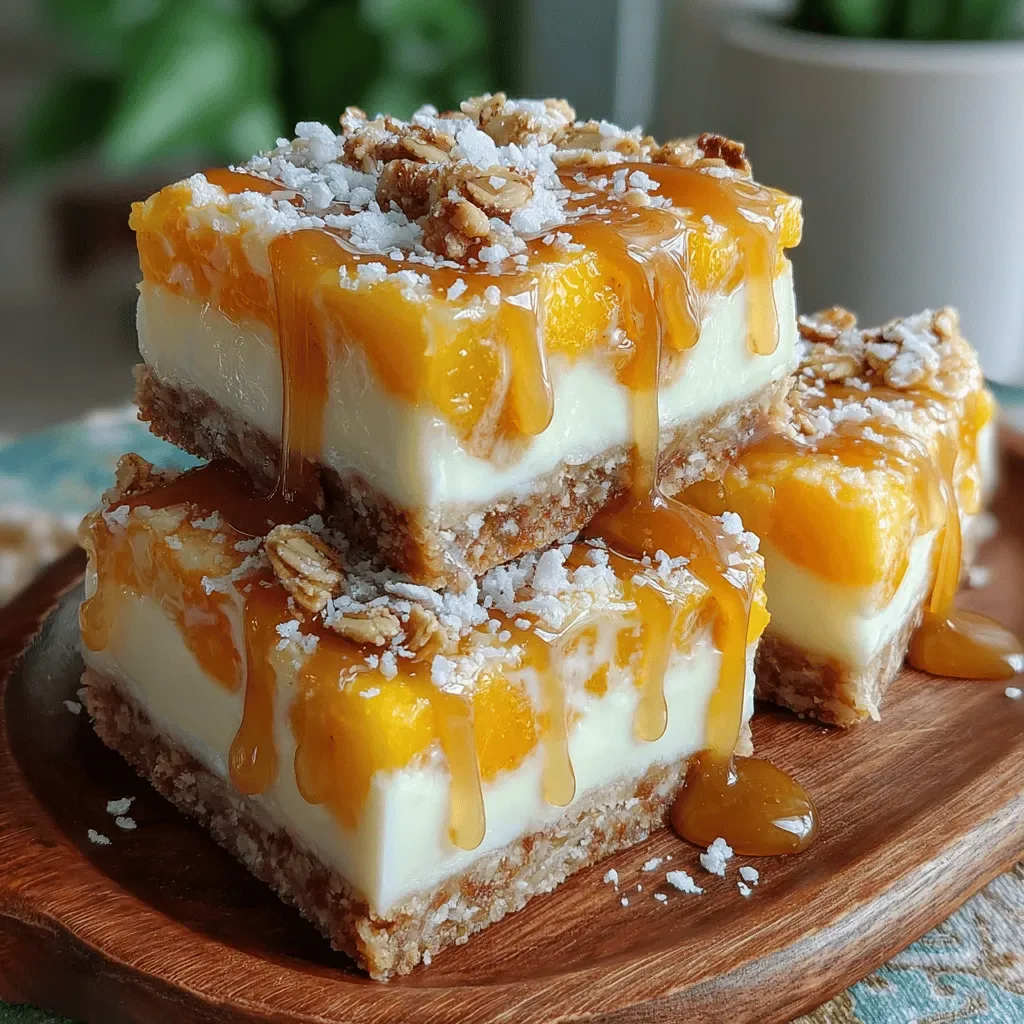
Frosty Peach & Ginger Bliss Squares: A Refreshing Treat
Delicious Frosty Peach & Ginger Bliss Squares: A Refreshing Treat
 Desserts
Decadent Chocolate Peanut Butter Lava Cake Recipe
Delicious Decadent Chocolate Peanut Butter Lava Cake Recipe
 Desserts
German Chocolate Mini Cakes
Learn how to make delicious German Chocolate Mini Cakes. Easy recipe with step-by-step instructions.
 Desserts
Melt-in-Your-Mouth Chocolate Lava Cakes for Two
Learn how to make delicious Melt-in-Your-Mouth Chocolate Lava Cakes for Two. Easy recipe with step-by-step instructions,…

Clara
I cook these recipes at home before they ever land here — simple ingredients, clear steps.