Dreamy No-Bake Cheesecake Cups
 Save
Save
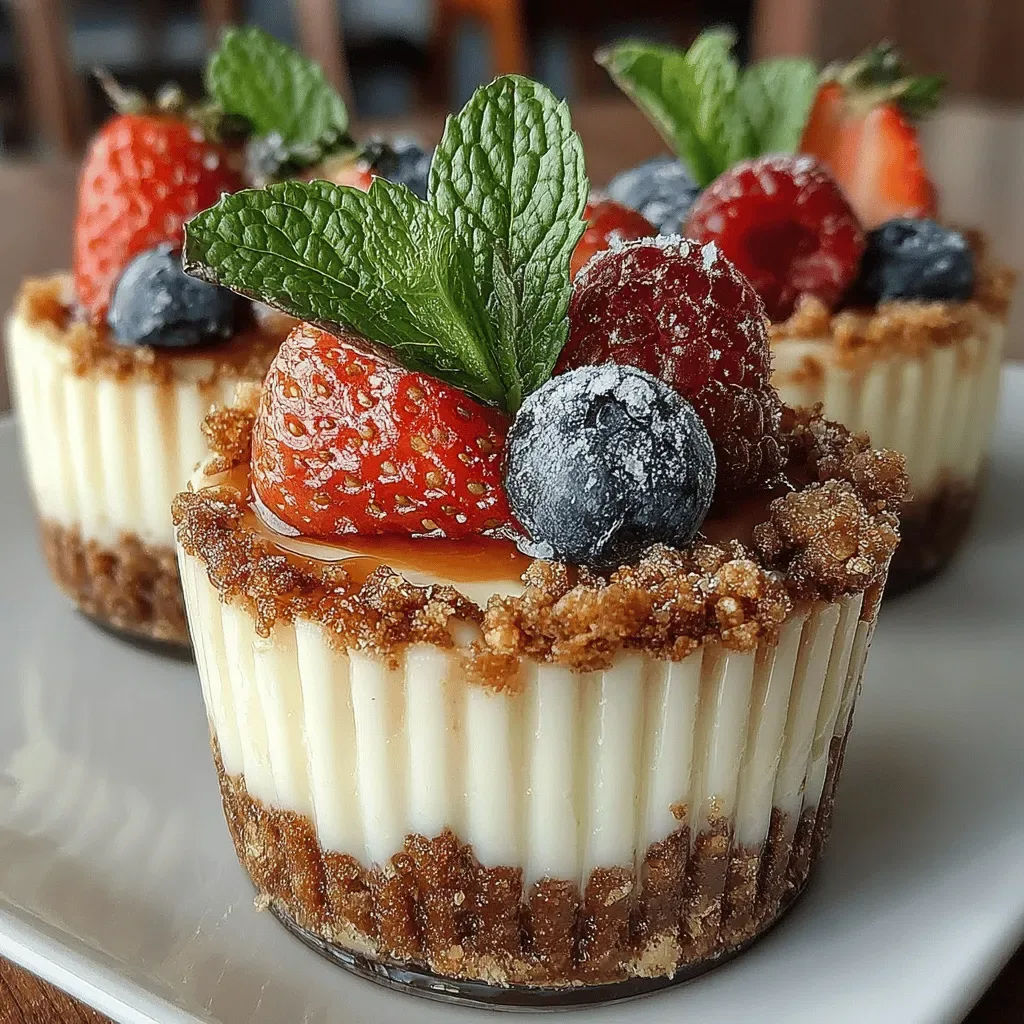
Imagine a velvety cheesecake that sets itself in minutes, looks as elegant as it tastes, and never requires a hot oven. Dreamy No‑Bake Cheesecake Cups deliver that magic in a single‑serve format, perfect for impromptu gatherings or a quiet night in.
What makes these cups truly special is the silky blend of cream cheese, Greek yogurt, and a hint of vanilla, layered over a buttery graham‑cracker crust and crowned with fresh berries. The texture stays light yet indulgent, and the flavor stays bright thanks to a splash of lemon zest.
Busy parents, dessert‑loving friends, and anyone craving a sophisticated sweet without the hassle will adore these cups. They shine at brunches, after‑dinner gatherings, or as a portable treat for picnics.
The process is straightforward: crush the crust, whisk the filling, assemble the layers, and chill. In under half an hour you’ll have a polished dessert that looks as if it came from a boutique patisserie.
Why You'll Love This Recipe
Zero‑Bake Simplicity: No oven means less cleanup and a faster turnaround, ideal for hot summer days or cramped kitchens.
Elegant Presentation: Individual cups look polished on any table, eliminating the need for slicing and serving a whole cheesecake.
Customizable Toppings: Fresh berries, citrus zest, or a drizzle of chocolate can be swapped in seconds, keeping the recipe fresh.
Balanced Sweetness: Greek yogurt adds tang and protein, reducing the overall sugar load while preserving richness.
Tips & Tricks
Perfecting the Recipe
Room‑Temperature Cream Cheese. Soften the cheese for 15 minutes at room temperature; it blends more easily and prevents a grainy texture.
Press the Crust Firmly. Use the back of a spoon or the bottom of a small glass to compact the crumbs; a solid base stops the filling from sinking.
Flavor Enhancements
Swap the lemon zest for orange zest for a sweeter citrus note, or fold in 1 tablespoon of finely chopped toasted pistachios for crunch. A drizzle of aged balsamic reduction over the berries adds a sophisticated tang.
Common Mistakes to Avoid
Avoid over‑mixing the filling once the yogurt is added; excessive agitation can cause the mixture to become watery. Also, don’t skip the chilling step—without proper refrigeration the filling will stay soft and won’t hold its shape.
Pro Tips
Use a Hand‑Mixer. A handheld mixer gives you better control over texture and prevents air pockets that could cause cracks when chilled.
Glass Choice Matters. Clear, wide‑rimmed glasses showcase the layers and make the dessert feel upscale.
Prep Berries Early. Rinse, dry, and slice berries while the filling sets; this saves time and keeps the fruit fresh.
Seal for Transport. If you need to move the cups, keep them covered with cling film to prevent a crust from drying out.
Variations
Ingredient Swaps
Replace graham crackers with crushed digestive biscuits for a richer flavor, or use almond flour mixed with coconut oil for a gluten‑free crust. For the filling, swap Greek yogurt for sour cream for extra tang, or add ¼ cup melted white chocolate for a chocolate‑kissed version.
Dietary Adjustments
Use a plant‑based cream cheese and coconut‑milk yogurt to make the cups vegan. For a low‑sugar version, substitute honey with a sugar‑free maple‑style syrup and sweeten with a pinch of stevia. Gluten‑free diners can simply choose certified gluten‑free crumbs for the base.
Serving Suggestions
Pair the cups with a glass of chilled sparkling rosé or a dollop of whipped coconut cream for extra decadence. For brunch, serve alongside avocado toast and a citrus‑infused tea. Miniature versions also work beautifully as party favors in elegant gift boxes.
Storage Info
Leftover Storage
Keep any leftovers sealed with plastic wrap or a reusable lid. Store in the refrigerator for up to 4 days; the crust may soften slightly but the flavor remains vibrant. For longer storage, freeze the cups (without fresh berries) in airtight containers for up to 2 months, then add fresh fruit after thawing.
Reheating Instructions
These cups are best served cold, but if you prefer a warmed dessert, let the cup sit at room temperature for 15 minutes, then microwave on low (30 % power) for 20‑30 seconds. Avoid high heat to prevent the filling from separating.
Frequently Asked Questions
Can I make these cups ahead of time?
What if I don’t have Greek yogurt?
Can I use a different sweetener?
How do I keep the crust from getting soggy?
Dreamy No‑Bake Cheesecake Cups bring a touch of elegance to any occasion without the heat of an oven. By following the simple steps, using quality ingredients, and applying a few pro tips, you’ll consistently create silky, beautiful desserts that impress. Feel free to experiment with flavors, toppings, or dietary tweaks—your imagination is the only limit. Enjoy every spoonful of this cool, creamy indulgence!
Dreamy No-Bake Cheesecake Cups
Delicious Dreamy No-Bake Cheesecake Cups
Ingredients
Crust
- 1 ½ cups graham‑cracker crumbs
- 3 tablespoons unsalted butter, melted
- 2 tablespoons granulated sugar
Filling
- 8 oz cream cheese, softened
- ½ cup Greek yogurt (plain, full‑fat)
- ¼ cup honey or maple syrup
- 1 teaspoon pure vanilla extract
- Zest of 1 lemon
Topping
- 1 cup mixed fresh berries (strawberries, blueberries, raspberries)
- 1 tablespoon honey for drizzling (optional)
- Fresh mint leaves for garnish
Instructions
Making the Creamy Filling
- Blend the Base. In a large mixing bowl, beat the softened cream cheese with an electric mixer on medium speed until smooth and free of lumps, about 2 minutes.
- Incorporate Yogurt and Sweetener. Add the Greek yogurt, honey (or maple syrup), vanilla extract, and lemon zest. Continue mixing until the mixture is light, airy, and glossy, roughly 1 minute.
- Check Consistency. The filling should be thick enough to hold its shape when spooned but still pourable. If it feels too stiff, add a teaspoon of milk or additional yogurt.
Assembling & Setting
- Layer the Filling. Spoon the creamy mixture over the crust in each cup, smoothing the top with a small offset spatula. Fill each cup about three‑quarters full, leaving room for the topping.
- Chill to Set. Cover the glasses with plastic wrap and place them in the refrigerator for at least 1 hour, or up to 4 hours. The chill allows the filling to firm up without any gelatin.
- Add the Final Touch. Just before serving, scatter fresh berries over each cup, drizzle a thin line of honey if desired, and garnish with a mint leaf. The berries should be added cold to keep the dessert refreshing.
Similar Recipes
 Desserts
Pumpkin Chocolate Chip Loaf Recipe
Delicious Pumpkin Chocolate Chip Loaf Recipe
 Desserts
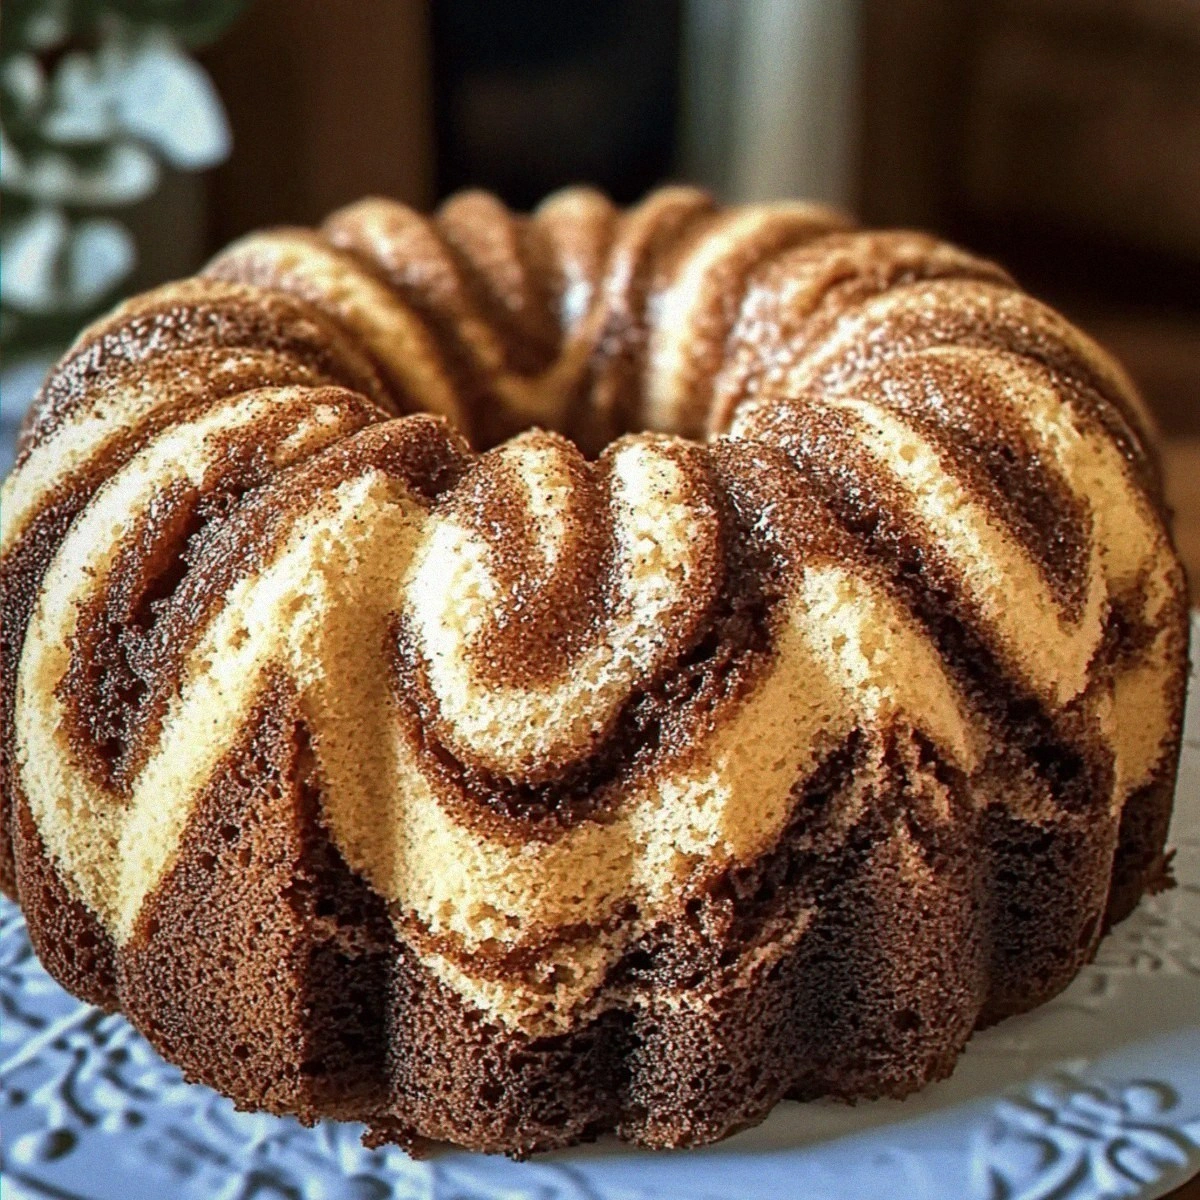
Moist Cinnamon Swirl Bundt Cake to Brighten Your Day
Learn how to make delicious Moist Cinnamon Swirl Bundt Cake to Brighten Your Day. Easy recipe…
 Desserts
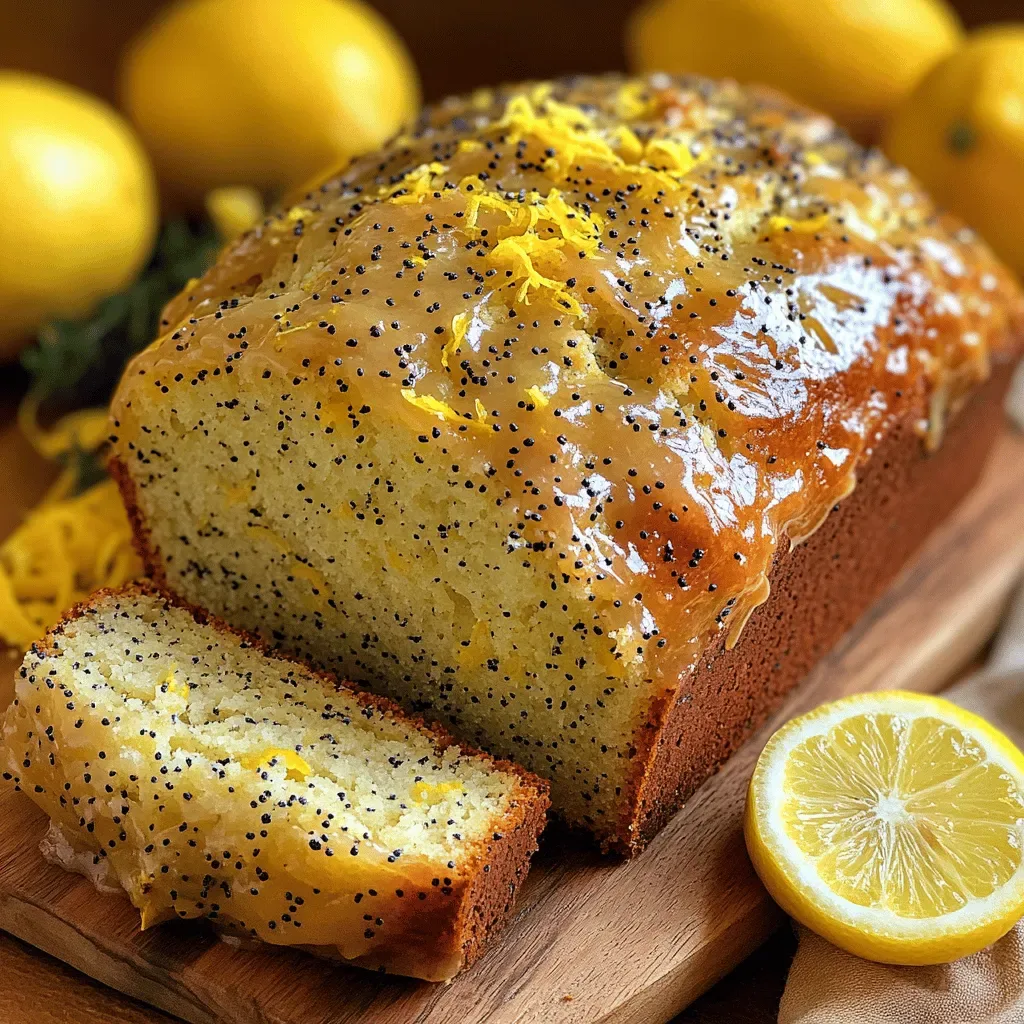
Lemon Poppy Bliss Loaf: A Refreshing Delight for Any Occasion
Delicious Lemon Poppy Bliss Loaf: A Refreshing Delight for Any Occasion
 Desserts
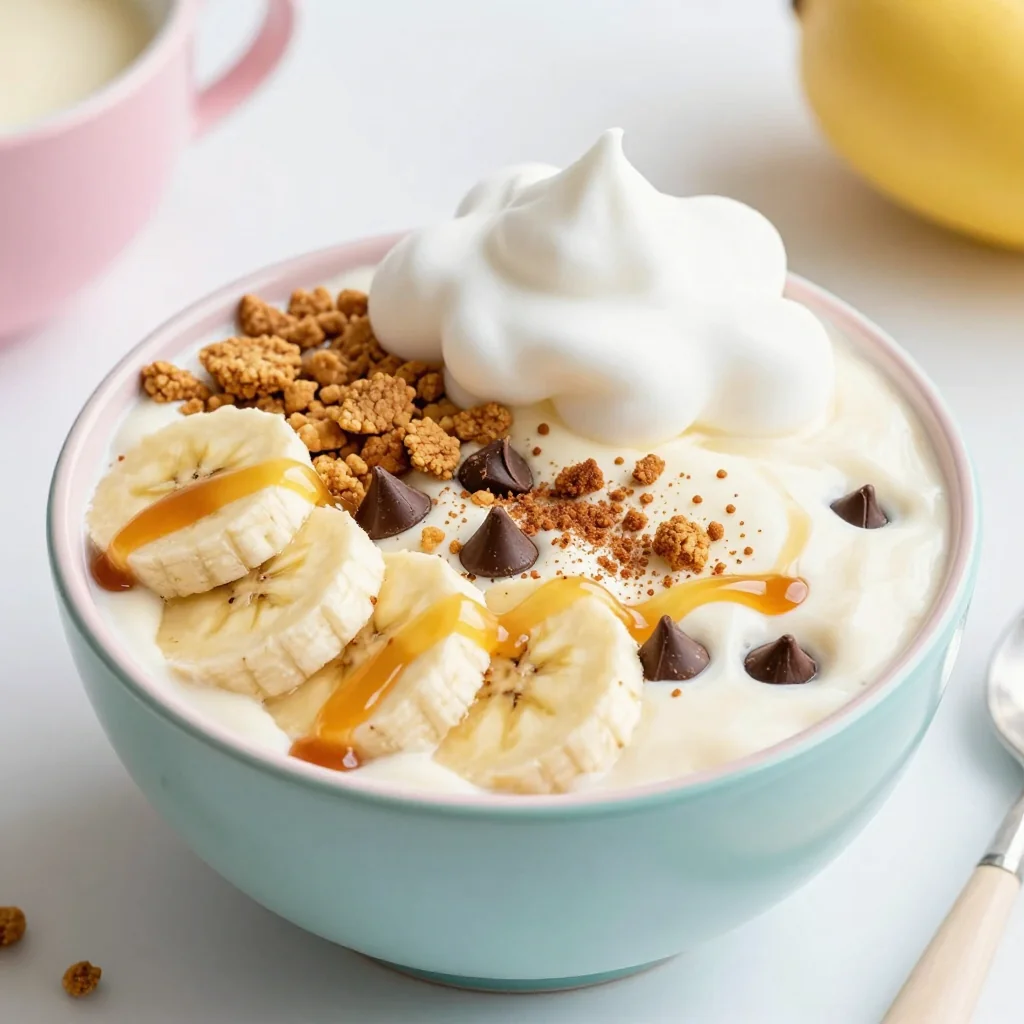
Kid-Friendly Banana Cream Pie Smoothie Bowl
Learn how to make delicious Kid-Friendly Banana Cream Pie Smoothie Bowl. Easy recipe with step-by-step instructions,…
 Desserts
Pumpkin Spice Power Bites: A Delicious and Nutritious Snack
Delicious Pumpkin Spice Power Bites: A Delicious and Nutritious Snack
 Desserts
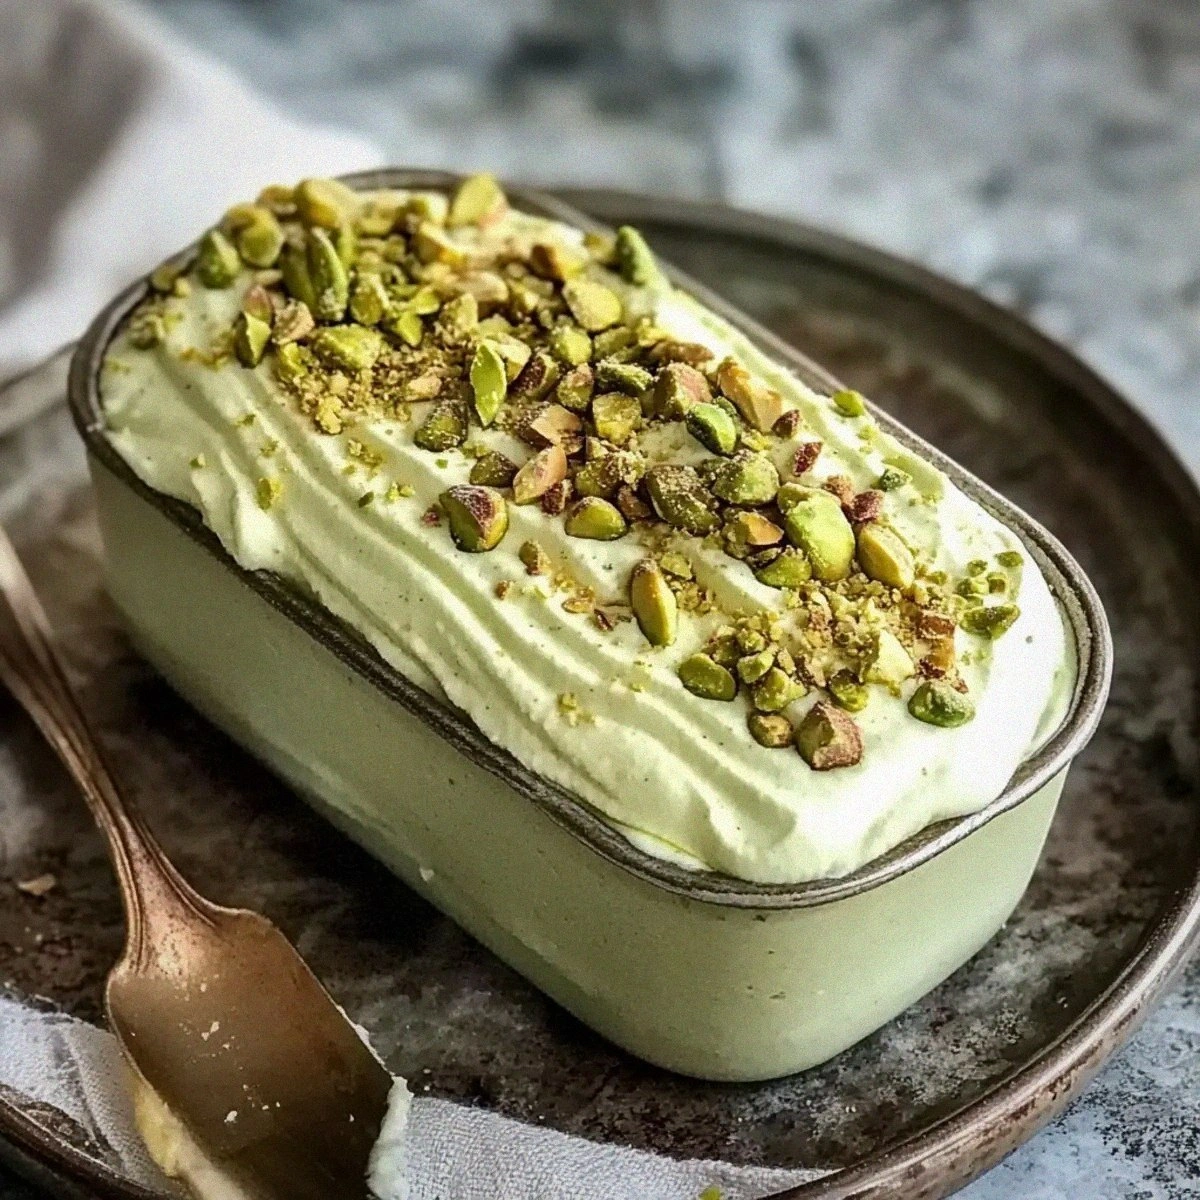
Pistachio Tiramisu: Creamy Twist on a Classic Delight
Learn how to make delicious Pistachio Tiramisu: Creamy Twist on a Classic Delight. Easy recipe with…
 Desserts
Tropical Bliss Dole Whip Recipe: A Refreshing Vegan Treat
Delicious Tropical Bliss Dole Whip Recipe: A Refreshing Vegan Treat
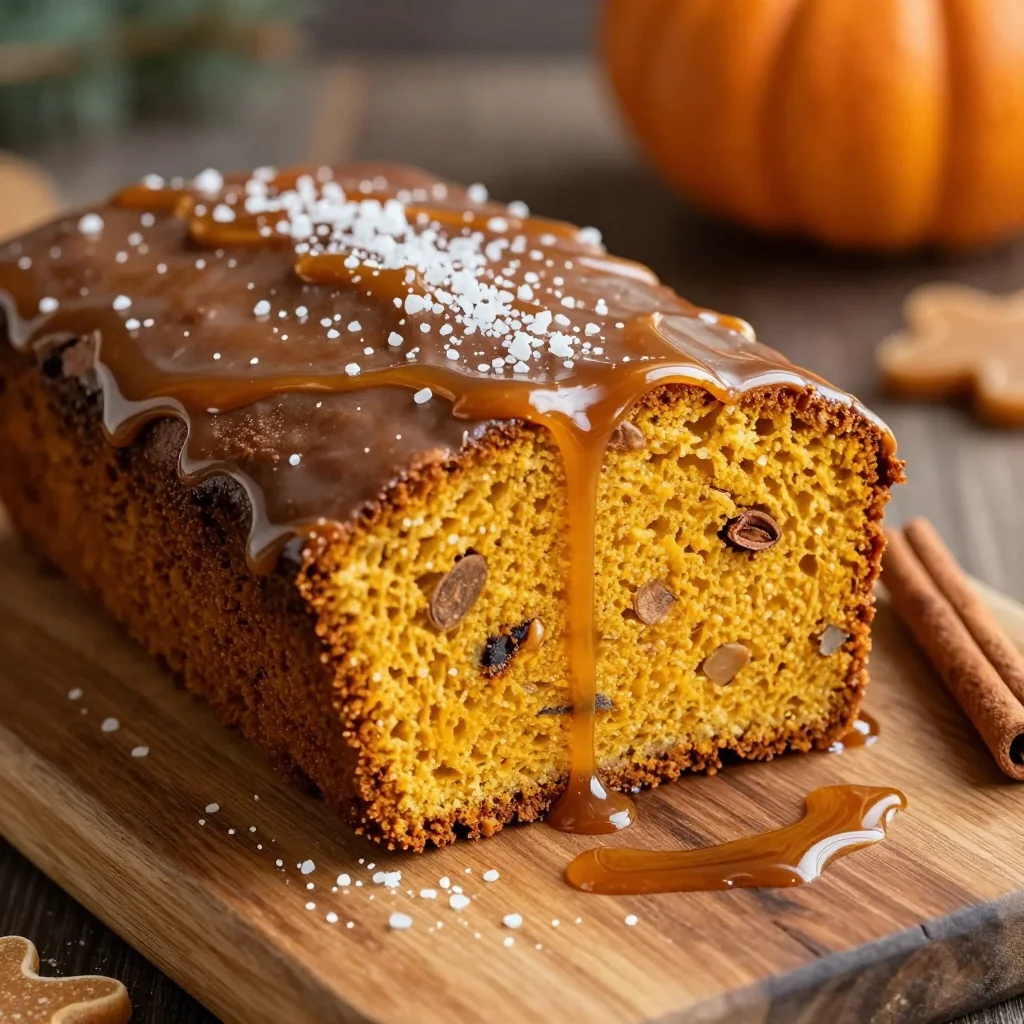 Desserts
classic pumpkin gingerbread loaf with molasses glaze for holidays
Learn how to make delicious classic pumpkin gingerbread loaf with molasses glaze for holidays. Easy recipe…

Clara
I cook these recipes at home before they ever land here — simple ingredients, clear steps.