Sweet Campfire Delights: No-Bake S’mores Fudge Bars
 Save
Save
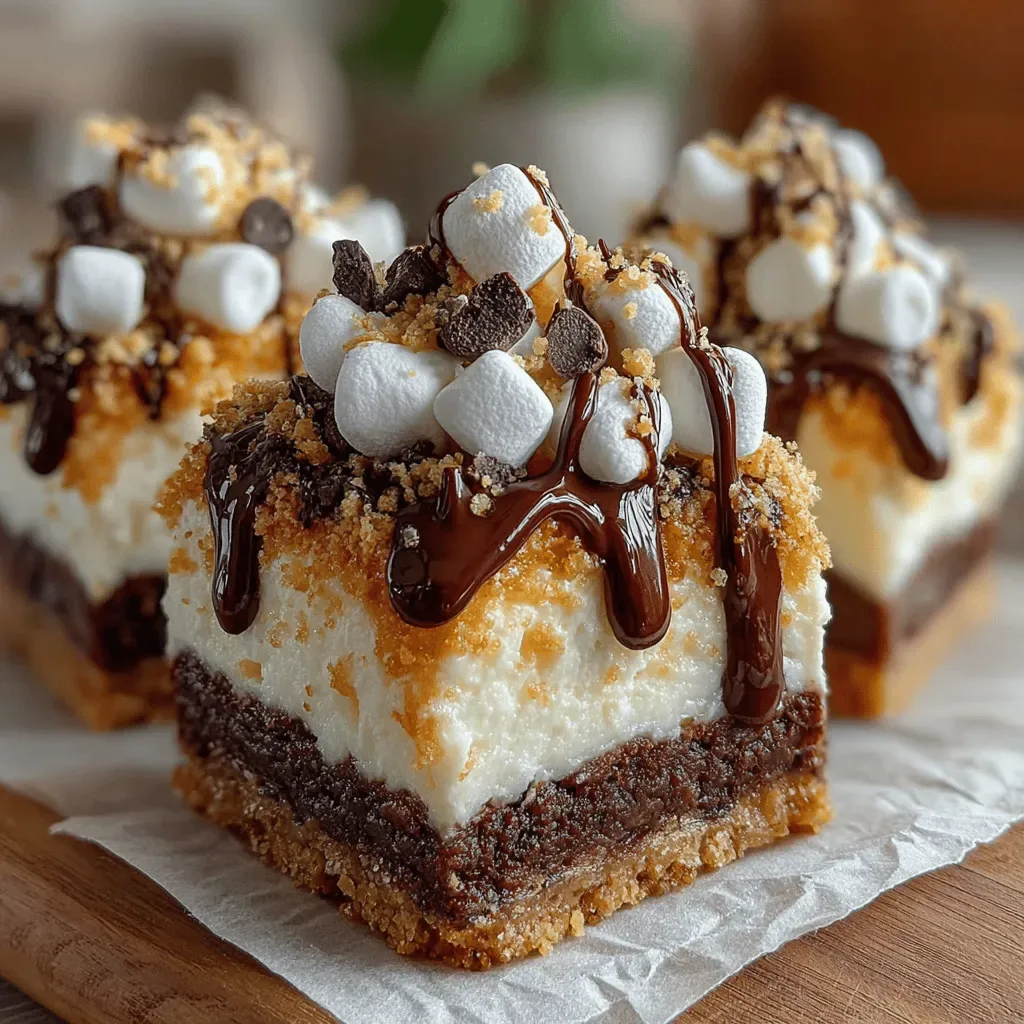
Imagine the nostalgic scent of a crackling campfire, the gooey pull of toasted marshmallows, and the melt‑in‑your‑mouth richness of chocolate—all captured in a handheld treat you can make at home. Sweet Campfire Delights: No‑Bake S’mores Fudge Bars bring that outdoor magic to your kitchen without ever lighting a flame.
What sets these bars apart is the perfect balance between a creamy, caramel‑sweet fudge base and a crunchy, buttery graham‑cracker crust, finished with a generous swirl of melted chocolate and a sprinkle of toasted marshmallow pieces. The result is a layered dessert that feels indulgent yet stays wonderfully simple.
This recipe is ideal for anyone who loves classic s’mores but wants a tidy, mess‑free version—kids’ sleepovers, backyard movie nights, or a quick sweet bite after dinner. It also travels well, making it a crowd‑pleaser for picnics or potlucks.
The process is straightforward: melt a few pantry staples, press a crumbly base into a pan, layer the silky fudge, top with chocolate and marshmallows, then chill until set. In under half an hour you’ll have a batch of bars ready to slice and share.
Why You'll Love This Recipe
Zero‑Bake Simplicity: No oven, no stovetop, just a microwave and a fridge, so you can whip up a crowd‑pleasing dessert even in a dorm kitchen.
Kid‑Friendly Fun: The bars are easy to portion, safe to handle, and let little hands help with pressing the crust and sprinkling toppings.
Layered Texture: A crunchy graham base, silky fudge middle, and crisp chocolate‑marshmallow top create a satisfying bite every time.
Customizable Flavors: Swap chocolate for white chocolate, add a pinch of sea salt, or fold in peanut butter for endless variations.
Tips & Tricks
Perfecting the Recipe
Even Press. Use the bottom of a flat glass or a small pan to press the crust evenly; this prevents gaps that could cause the fudge to slide.
Temperature Control. Melt chocolate in short bursts and stir; overheating can cause grainy texture and a dull finish.
Chill Properly. Allow the bars a full 2 hours in the fridge; cutting too early results in crumbly pieces.
Line the Pan. Parchment paper not only eases removal but also adds a subtle vanilla aroma as the bars set.
Flavor Enhancements
Add a teaspoon of espresso powder to the fudge for depth, or fold in chopped toasted almonds for crunch. A light drizzle of caramel sauce just before serving adds an extra layer of sweetness that mimics the caramelized marshmallow flavor of traditional s’mores.
Common Mistakes to Avoid
Avoid using overly salty butter; it can dominate the sweet profile. Also, don’t skip the butter in the crust—without it the base will crumble. Finally, resist the urge to over‑mix the fudge; excessive stirring can introduce air bubbles that affect the final texture.
Pro Tips
Use High‑Quality Chocolate. A cocoa content of 60‑70 % yields a richer, smoother fudge and a glossy finish.
Toast Graham Crumbs. Lightly toast the crumbs in a dry skillet for 2‑3 minutes before mixing with butter for an extra toasty flavor.
Cut with a Warm Knife. Dip the knife in hot water, wipe dry, and slice; this prevents the fudge from sticking and gives clean edges.
Store in Layers. Place parchment between layers when stacking leftovers; this keeps bars from sticking together.
Variations
Ingredient Swaps
Replace the semi‑sweet chocolate chips with white chocolate for a milder, buttery taste, or swap dark chocolate for a bittersweet edge. For a nutty twist, stir in ¼ cup toasted pecans or hazelnuts into the fudge before it sets. Coconut‑flavored marshmallows add a tropical flair without changing the overall texture.
Dietary Adjustments
To make the bars gluten‑free, ensure the graham‑cracker crumbs are certified gluten‑free or substitute with crushed gluten‑free cookies. For a vegan version, use a plant‑based butter substitute and replace sweetened condensed milk with a coconut‑cream‑based sweetened condensed alternative. A sugar‑free chocolate chip and a sugar‑free marshmallow will keep the recipe keto‑friendly.
Serving Suggestions
Serve the bars alongside a scoop of vanilla ice cream for a hot‑and‑cold contrast, or pair with a drizzle of salted caramel sauce for extra indulgence. A glass of cold milk or a spiced hot chocolate makes the perfect beverage companion for a nostalgic campfire vibe.
Storage Info
Leftover Storage
Once the bars have cooled and been sliced, place them in an airtight container lined with parchment. Store in the refrigerator for up to 4 days. For longer keeping, arrange individual bars in freezer‑safe bags, press out excess air, and freeze for up to 3 months. This method preserves both texture and flavor.
Reheating Instructions
To enjoy a warm version, preheat the oven to 300°F, place the bars on a parchment‑lined tray, and heat for 8‑10 minutes until the chocolate topping softens. Avoid microwaving for long periods, as it can make the fudge gummy; a quick 15‑second burst is sufficient if you prefer a microwave method.
Frequently Asked Questions
Can I make these bars ahead of time?
What if I don’t have a microwave?
Can I substitute the marshmallows?
How do I keep the bars from sticking together when freezing?
This no‑bake s’mores fudge bar captures the spirit of a campfire night in a convenient, slice‑and‑serve format. By following the step‑by‑step guide, using quality ingredients, and applying the tips provided, you’ll consistently achieve a creamy, chocolatey treat with a crunchy graham base and marshmallow pockets. Feel free to experiment with the suggested swaps or add your own twist—dessert making is all about personal expression. Gather a plate, share with loved ones, and enjoy the sweet nostalgia of campfire s’mores any time of year.
Sweet Campfire Delights: No-Bake S’mores Fudge Bars
Delicious Sweet Campfire Delights: No-Bake S’mores Fudge Bars
Ingredients
Crust & Base
- 1 ½ cups graham‑cracker crumbs
- ¼ cup unsalted butter, melted
- 2 tablespoons light brown sugar
Fudge Layer
- 1 ½ cups semi‑sweet chocolate chips
- 1 can (14 oz) sweetened condensed milk
- 1 teaspoon pure vanilla extract
- ¼ teaspoon sea salt
Topping & Finishing
- ½ cup mini marshmallows (plus extra for garnish)
- ¼ cup dark chocolate chips, melted for drizzle
- Optional: pinch of smoked paprika for a subtle campfire note
Instructions
Making the Fudge Layer
- Combine Chocolate and Milk. In a microwave‑safe bowl, add the semi‑sweet chocolate chips and sweetened condensed milk. Microwave on high for 30‑second intervals, stirring after each, until the chocolate is completely melted and the mixture is smooth. This gradual heating prevents scorching and ensures a glossy texture.
- Flavor the Fudge. Stir in the vanilla extract, sea salt, and the mini marshmallows. The marshmallows will soften slightly, creating tiny pockets of gooey sweetness throughout the fudge. If you love a smoky hint, sprinkle the optional smoked paprika now.
- Spread Evenly. Pour the warm fudge over the prepared crust, using a spatula to smooth the top. The warm fudge will settle into the crumbs, creating a seamless layer. Let the pan sit at room temperature for a few minutes while you prepare the final topping.
Similar Recipes
 Desserts
Zesty Lemon Bliss Yogurt Popsicles: A Refreshing Summer Treat
Delicious Zesty Lemon Bliss Yogurt Popsicles: A Refreshing Summer Treat
 Desserts
Irresistible Strawberry Shortcake Bars – Sweet Treat
Learn how to make delicious Irresistible Strawberry Shortcake Bars – Sweet Treat. Easy recipe with step-by-step…
 Desserts
Dubai Chocolate: A Luxurious Indulgence from First Bite to Final Craving
Learn how to make delicious Dubai Chocolate: A Luxurious Indulgence from First Bite to Final Craving.…
 Desserts
Delicious Candy Cane Hearts Recipe for Festive Treats
Learn how to make delicious Delicious Candy Cane Hearts Recipe for Festive Treats. Easy recipe with…
 Desserts
Decadent Duo Chocolate Cupcakes: Indulging in a Chocolate Dream
Delicious Decadent Duo Chocolate Cupcakes: Indulging in a Chocolate Dream
 Desserts
Cranberry Applesauce: 5 Reasons You’ll Love This Delight
Learn how to make delicious Cranberry Applesauce: 5 Reasons You’ll Love This Delight. Easy recipe with…
 Desserts
Berry Bliss Frozen Greek Yogurt Clusters Recipe
Delicious Berry Bliss Frozen Greek Yogurt Clusters Recipe
 Desserts
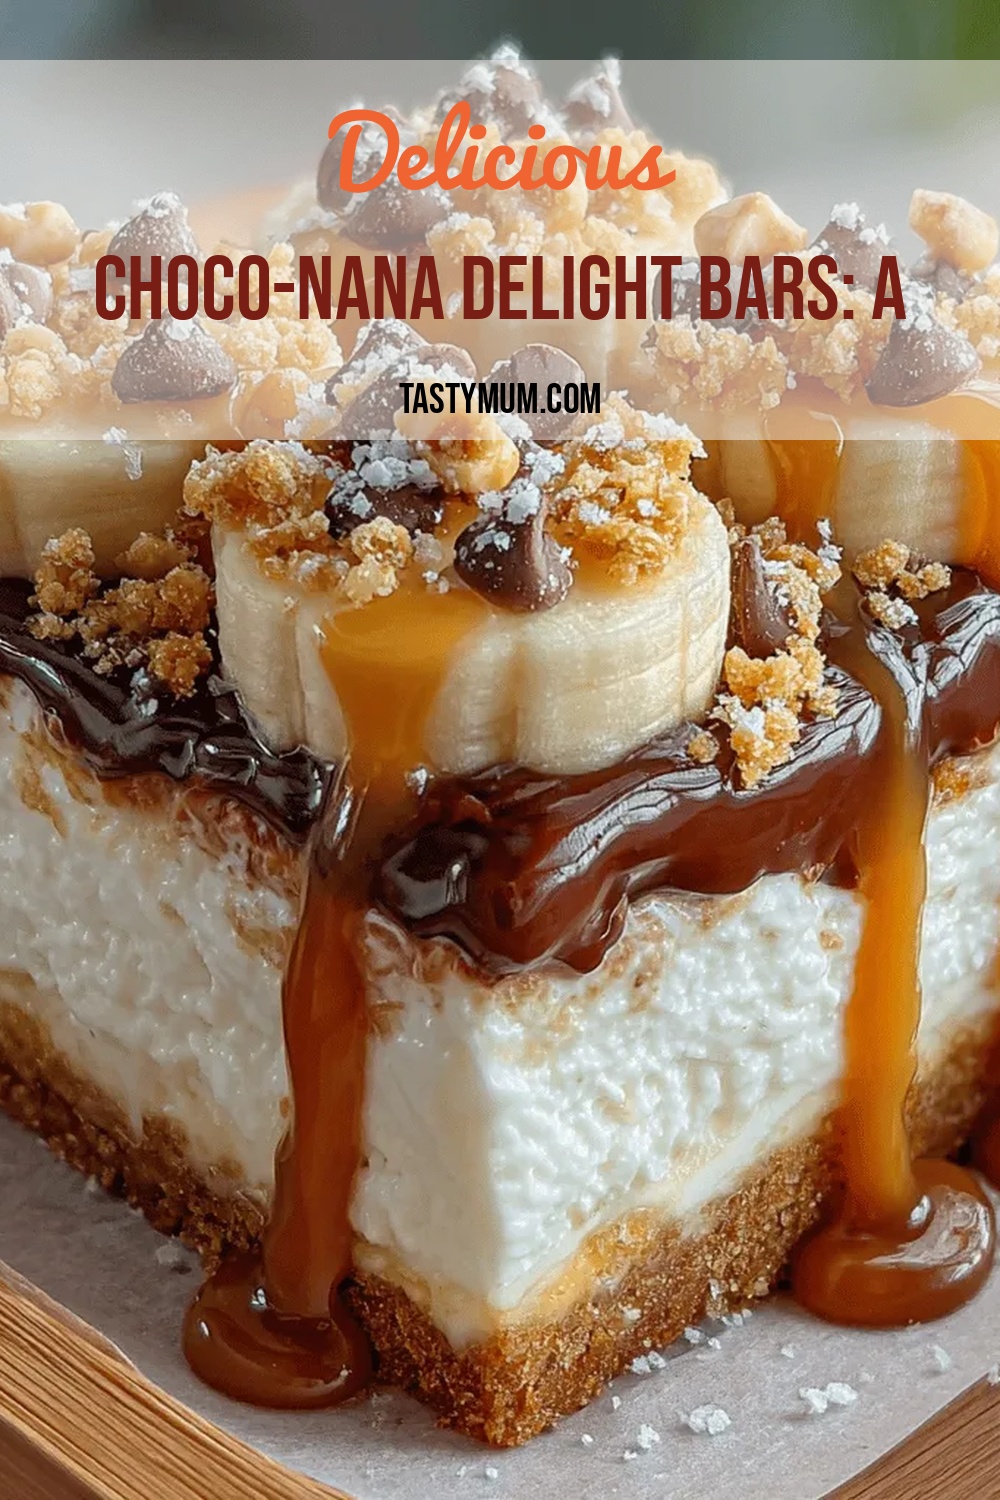
Choco-Nana Delight Bars: A Deliciously Nutritious Treat
Delicious Choco-Nana Delight Bars: A Deliciously Nutritious Treat

Clara
I cook these recipes at home before they ever land here — simple ingredients, clear steps.