Garlic Herb Roasted Chickpea Wraps: A Flavorful and Nutritious Delight
 Save
Save
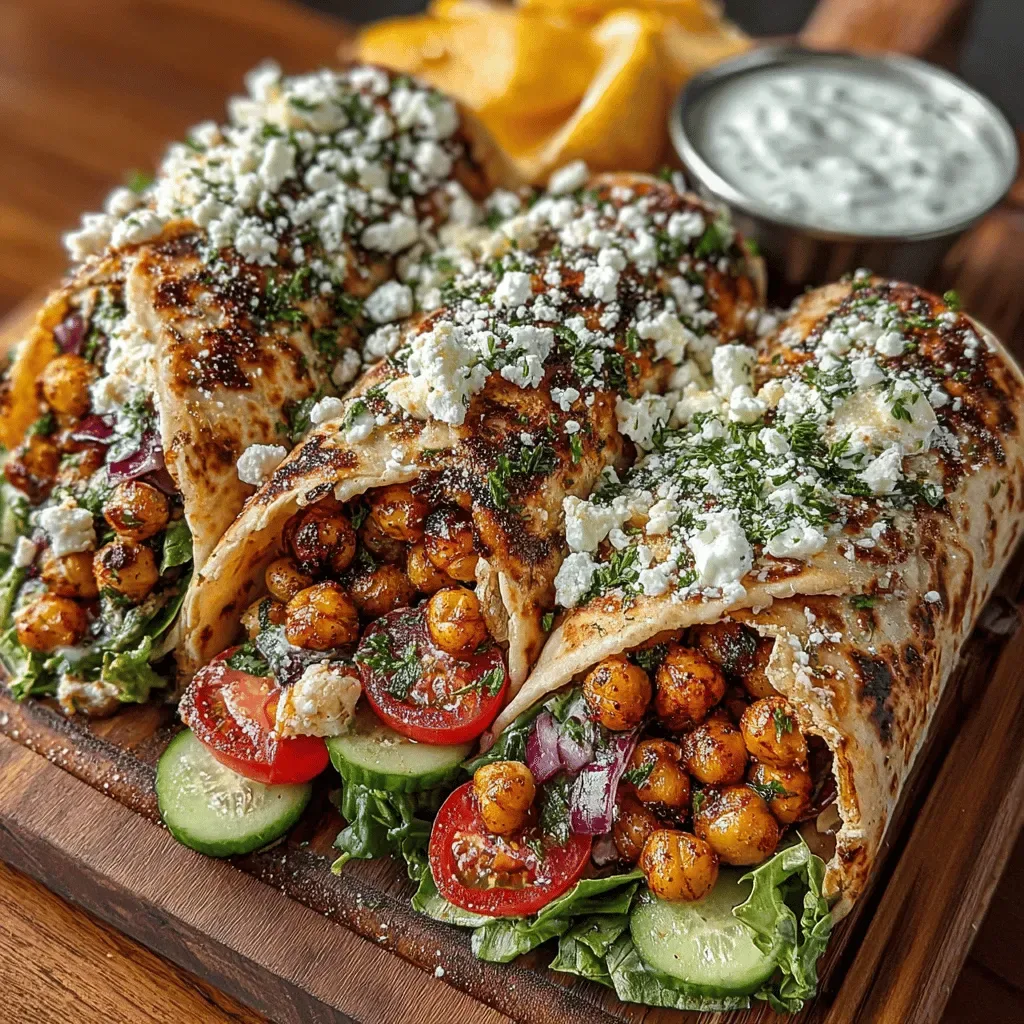
Imagine biting into a warm, soft tortilla that cradles a crunchy, herb‑kissed chickpea filling, bright veggies, and a silky garlic‑herb drizzle. This is the magic of Garlic Herb Roasted Chickpea Wraps—a plant‑based twist that feels indulgent yet stays light.
What makes this wrap truly special is the balance between smoky roasted chickpeas and a fresh herb‑garlic sauce that coats every morsel. The combination of crisp lettuce, juicy tomatoes, and a hint of tangy lemon lifts the flavor profile without adding excess calories.
Busy professionals, active families, and anyone craving a quick lunch or dinner will love this dish. It shines at casual weekday meals, picnic baskets, or even as a satisfying post‑workout refuel.
The process is straightforward: toss chickpeas in a fragrant oil‑herb mixture, roast until golden, whisk together a quick garlic‑herb sauce, then assemble everything in whole‑grain wraps. Ready in under 45 minutes, the result is both wholesome and delicious.
Why You'll Love This Recipe
Protein‑Packed & Plant‑Based: Chickpeas deliver a hearty dose of plant protein and fiber, keeping you full longer while supporting muscle recovery and digestive health.
Bold Herb Flavors: Fresh rosemary, thyme, and parsley infuse the chickpeas with aromatic depth, creating a taste experience that rivals meat‑based wraps.
Quick & Minimal Cleanup: All roasting happens on a single sheet pan, and the sauce whips up in a bowl—perfect for a fast, low‑mess dinner.
Customizable & Colorful: Vibrant veggies add texture and visual appeal, and you can swap ingredients to suit seasonal produce or dietary preferences.
Tips & Tricks
Perfecting the Recipe
Dry Chickpeas Thoroughly: Moisture is the enemy of crispness. Pat them dry for at least two minutes to ensure a crunchy exterior.
Use High Heat: A 425°F oven guarantees rapid caramelization without over‑drying the interior.
Shake the Pan Mid‑Roast: This promotes even browning and prevents any chickpeas from sticking to the sheet.
Flavor Enhancements
Add a splash of balsamic glaze over the finished wrap for sweet‑tart contrast, or sprinkle toasted sesame seeds for a subtle nutty crunch. A dollop of Greek yogurt mixed with a pinch of za'atar can serve as a creamy alternative sauce.
Common Mistakes to Avoid
Avoid using canned chickpeas straight from the can without rinsing—they carry excess sodium and can steam the beans. Also, don’t overload the tortilla; too much filling makes rolling difficult and can cause the wrap to fall apart.
Pro Tips
Fresh Herbs Over Dried: Fresh parsley and thyme deliver brighter flavor and a vivid green color that frozen herbs can’t match.
Toast the Tortillas: Warm the wraps briefly on a dry skillet; this prevents tearing and adds a subtle toasted note.
Season After Roasting: A light sprinkle of flaky sea salt just before serving brightens the overall taste.
Variations
Ingredient Swaps
Replace chickpeas with roasted black beans or crisped tofu cubes for a different texture. Swap the whole‑grain tortilla for a spinach or sun‑dried‑tomato wrap to boost color. For a sweeter note, drizzle a teaspoon of honey or maple syrup into the herb sauce.
Dietary Adjustments
For a gluten‑free version, use corn tortillas or lettuce leaves as the wrap. To keep it vegan, ensure the tortilla contains no dairy and replace any optional yogurt topping with a cashew‑based spread. Keto eaters can skip the tortilla and serve the chickpea mixture over cauliflower rice.
Serving Suggestions
Pair the wraps with a side of quinoa salad tossed in lemon vinaigrette, or serve alongside a chilled cucumber‑mint soup. A small bowl of mixed olives and feta (or vegan feta) adds a salty, creamy contrast that rounds out the meal.
Storage Info
Leftover Storage
Allow the chickpea mixture and sauce to cool to room temperature, then transfer each component to separate airtight containers. Store in the refrigerator for up to 4 days. If you need longer storage, freeze the roasted chickpeas (without sauce) in a zip‑top bag for up to 3 months; thaw in the fridge before reheating.
Reheating Instructions
Reheat the chickpeas in a preheated 350°F oven for 8‑10 minutes, stirring once, to restore crispness. For a quicker option, microwave on high for 60‑90 seconds, then toss with a splash of fresh herb sauce. Warm the tortillas on a dry skillet for 30 seconds per side before assembling fresh wraps.
Frequently Asked Questions
Can I make this recipe ahead of time?
What if I don’t have fresh herbs?
Can I add a protein like chicken or tofu?
This Garlic Herb Roasted Chickpea Wrap delivers satisfying crunch, bright herb notes, and wholesome nutrition without fuss. By following the step‑by‑step guide, you’ll achieve perfectly crisp chickpeas, a silky sauce, and a balanced wrap every time. Feel free to swap veggies, adjust spices, or add extra protein to make the dish truly yours. Gather the ingredients, fire up the oven, and enjoy a flavorful, healthy meal that brightens any lunch or dinner.
Garlic Herb Roasted Chickpea Wraps: A Flavorful and Nutritious Delight
Delicious Garlic Herb Roasted Chickpea Wraps: A Flavorful and Nutritious Delight
Ingredients
Main Ingredients
- 2 (15‑oz) cans chickpeas, drained and rinsed
- 2 tablespoons olive oil
- 4 whole‑grain tortillas (10‑inch)
- 2 cups mixed lettuce leaves, torn
- 1 large tomato, thinly sliced
- ½ red onion, thinly sliced
Chickpea Marinade
- 1 teaspoon smoked paprika
- ½ teaspoon ground cumin
- 1 teaspoon dried rosemary, crushed
- ½ teaspoon sea salt
- ¼ teaspoon freshly ground black pepper
Herb Garlic Sauce
- 3 tablespoons olive oil
- 2 cloves garlic, minced
- 1 tablespoon freshly squeezed lemon juice
- 2 tablespoons chopped fresh parsley
- 1 tablespoon chopped fresh thyme
- Pinch of red‑pepper flakes (optional)
Instructions
Roasting & Seasoning
- Preheat the Oven. Set your oven to 425°F (220°C) and line a baking sheet with parchment. A hot oven creates the initial burst of steam that later evaporates, leaving the chickpeas crunchy.
- Spread Evenly. Arrange the seasoned chickpeas in a single layer, leaving space between each. Overcrowding traps moisture and prevents the desired crisp texture.
- Roast. Bake for 20‑25 minutes, shaking the pan halfway through. Watch for a golden‑brown color and a fragrant aroma; this signals the perfect caramelization.
- Make the Herb Sauce. While the chickpeas roast, whisk together 3 tablespoons olive oil, minced garlic, lemon juice, parsley, thyme, and red‑pepper flakes in a small bowl. The warm oil will slightly mellow the garlic, creating a smooth, glossy sauce.
- Combine. Remove the chickpeas from the oven, transfer to a mixing bowl, and immediately drizzle the herb garlic sauce over them. Toss gently so each chickpea is glossy and infused with herb flavor.
Similar Recipes
 Dinner
Smoky BBQ Chicken Stuffed Sweet Potatoes
Delicious Smoky BBQ Chicken Stuffed Sweet Potatoes
 Dinner
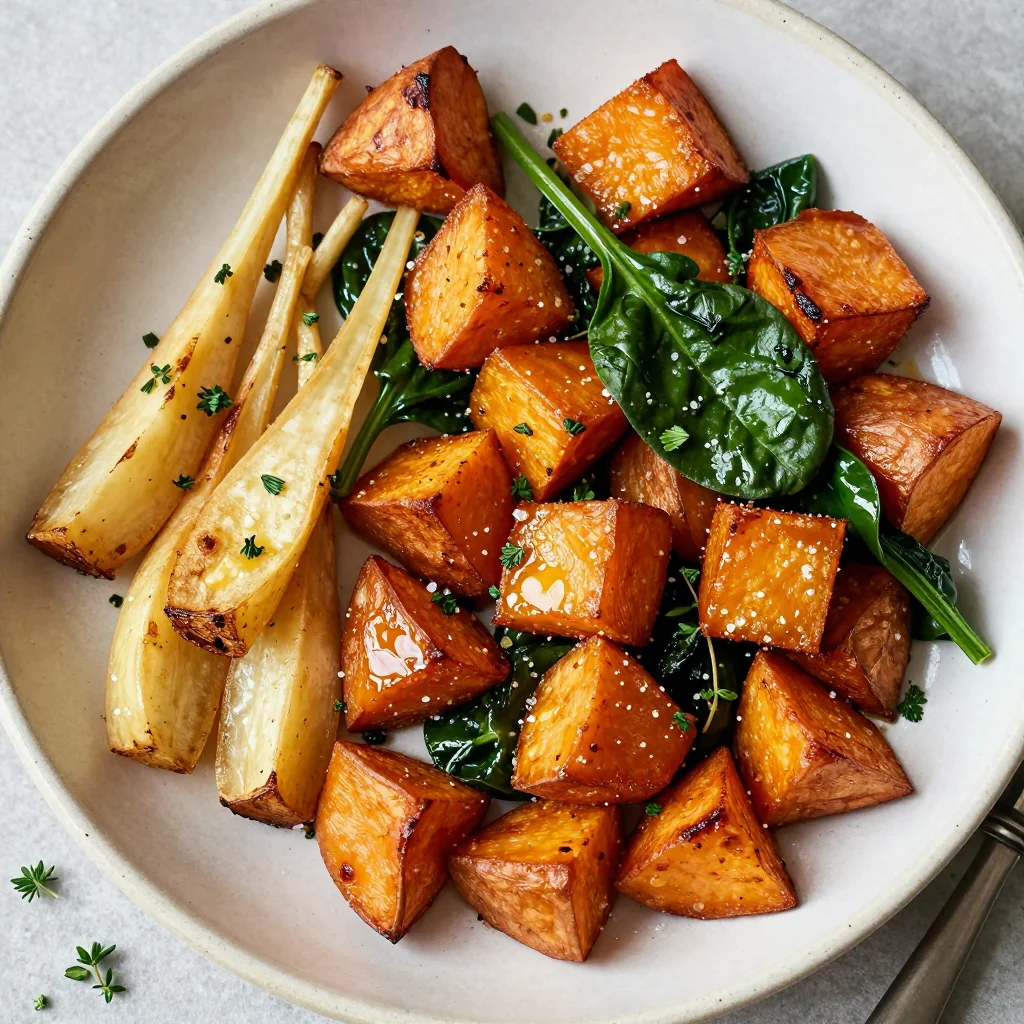
garlic and herb roasted sweet potatoes with spinach and parsnips
Learn how to make delicious garlic and herb roasted sweet potatoes with spinach and parsnips. Easy…
 Dinner
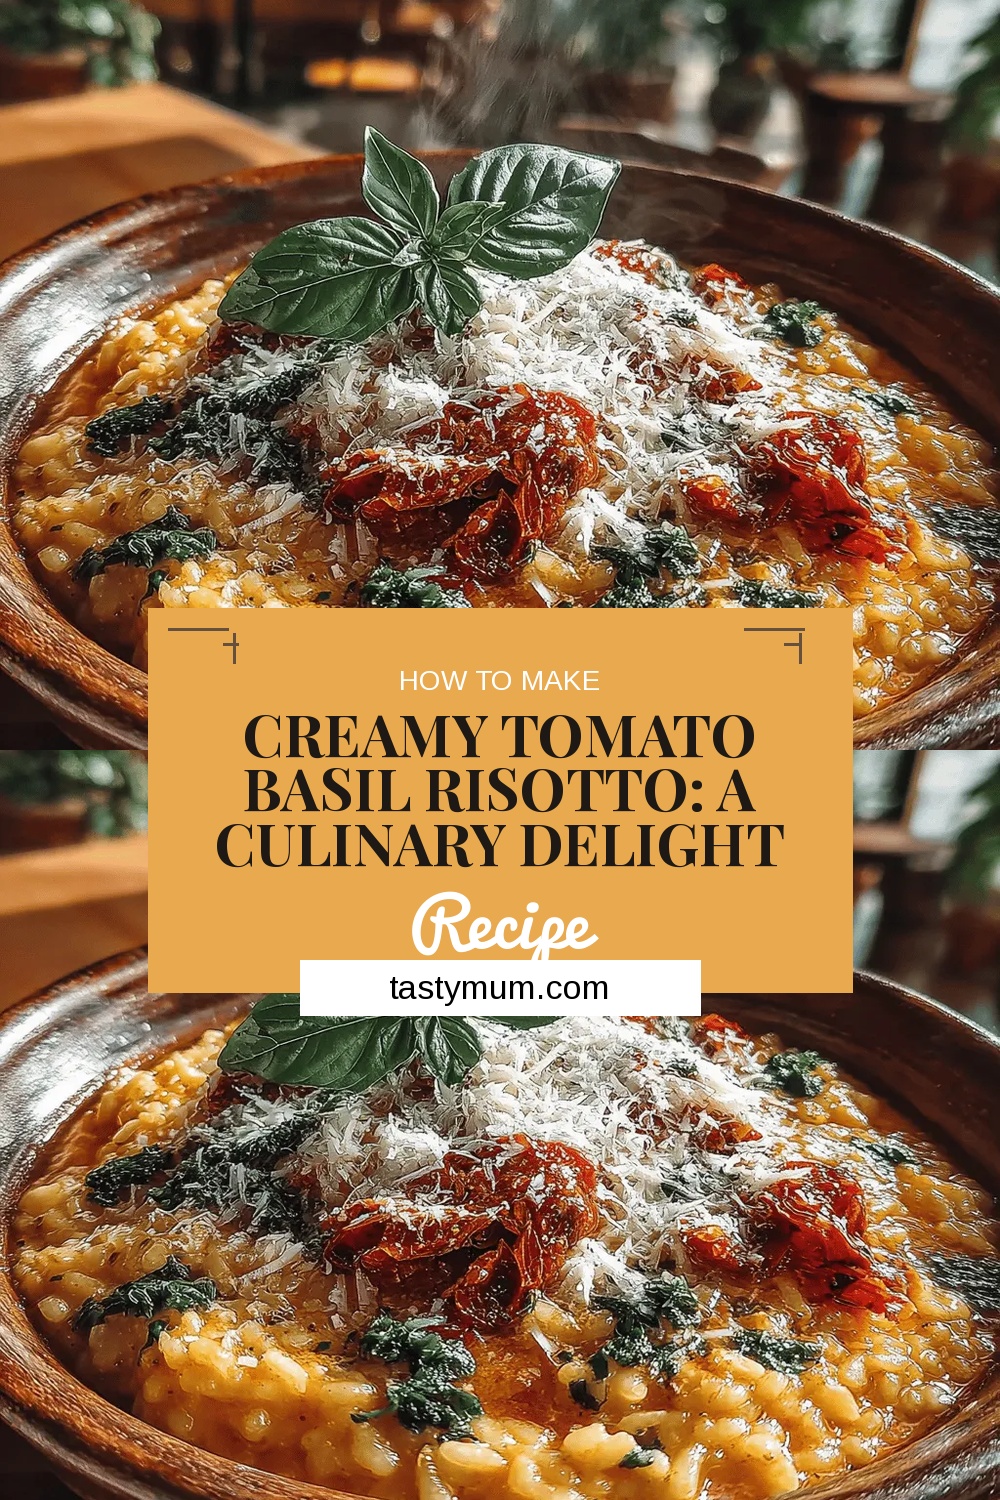
Creamy Tomato Basil Risotto: A Culinary Delight
Delicious Creamy Tomato Basil Risotto: A Culinary Delight
 Dinner
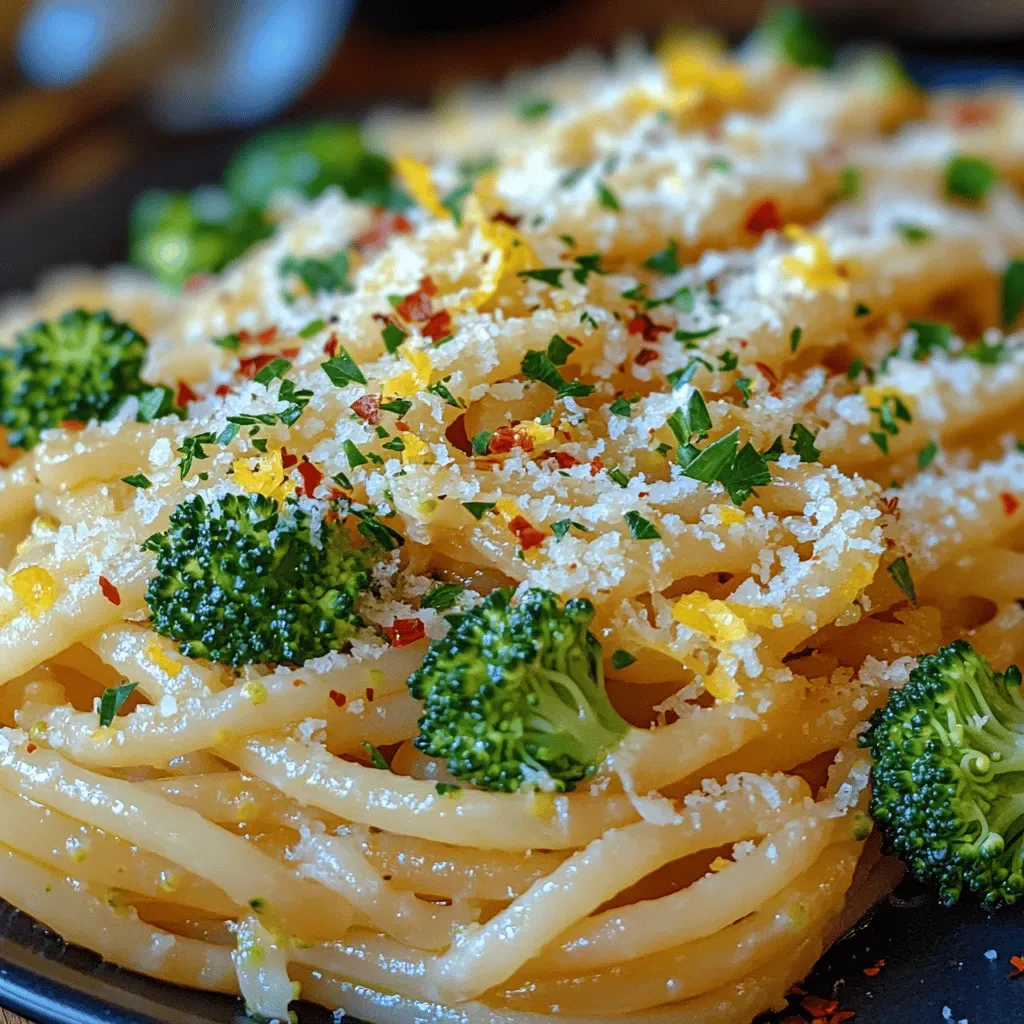
Garlic Lemon Broccoli Pasta: A Fresh and Simple Delight
Delicious Garlic Lemon Broccoli Pasta: A Fresh and Simple Delight
 Dinner
Zesty Lemon Herb Rice Pilaf
Delicious Zesty Lemon Herb Rice Pilaf
 Dinner
Juicy Garlic Butter Chicken Breasts
Delicious Juicy Garlic Butter Chicken Breasts
 Dinner
Creamy Peri-Peri Chicken with Rice – Flavorful Dinner Recipe
Learn how to make delicious Creamy Peri-Peri Chicken with Rice – Flavorful Dinner Recipe. Easy recipe…
 Dinner
Zesty Herbed Lemon Couscous Bowls: A Delightful Mediterranean Dish
Delicious Zesty Herbed Lemon Couscous Bowls: A Delightful Mediterranean Dish

Clara
I cook these recipes at home before they ever land here — simple ingredients, clear steps.