Crunchy Delight Air Fryer Mac and Cheese Balls: A Flavorful Journey
 Save
Save
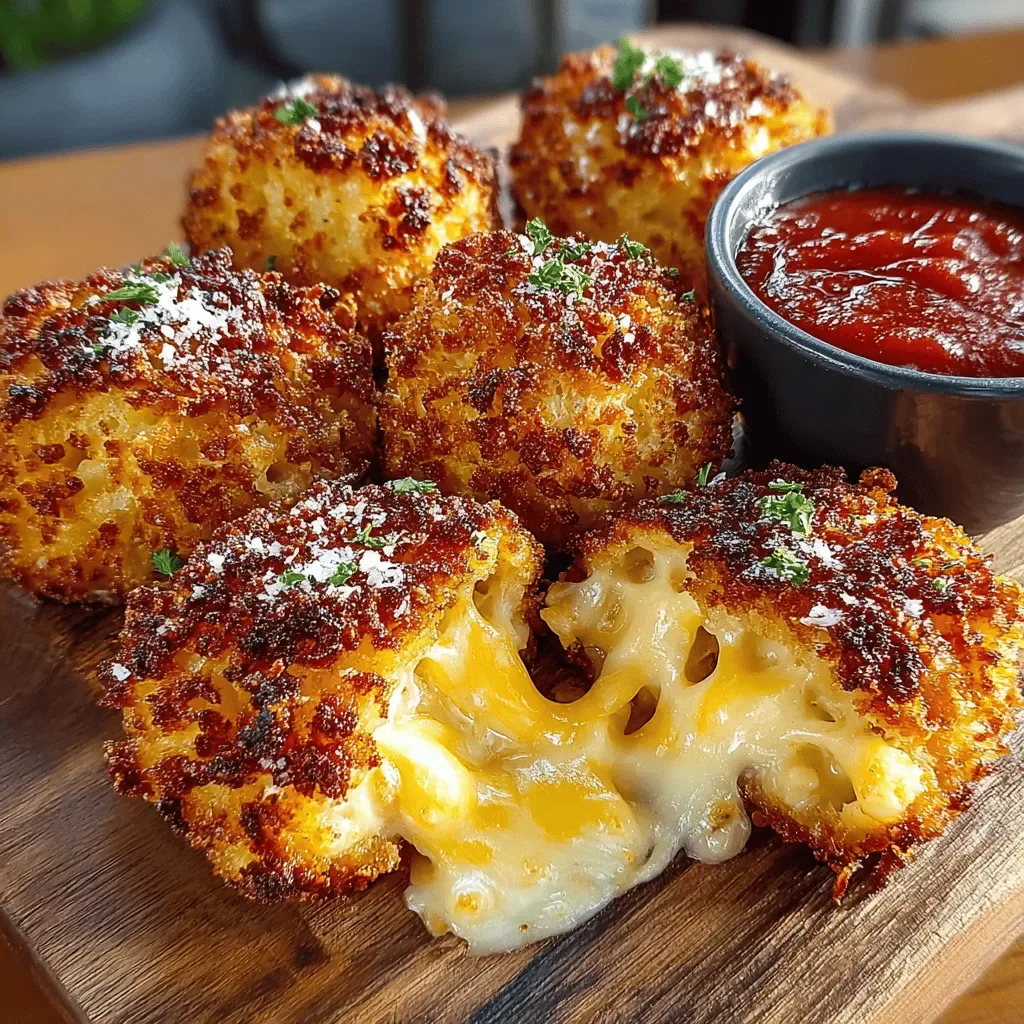
Imagine biting into a golden, crunchy sphere that oozes creamy mac & cheese with every bite—welcome to the world of Crunchy Delight Air Fryer Mac and Cheese Balls. This snack‑size marvel takes the comfort of a classic casserole and transforms it into a handheld, finger‑licking treat that’s perfect for parties, game nights, or a cozy night in.
What makes these balls truly special is the marriage of three textures: a crisp, seasoned coating, a tender, pasta‑filled interior, and a molten cheese core that stretches like a dream. The air fryer gives them an irresistibly light crunch without drowning them in oil, keeping the flavor bold yet the calories reasonable.
Kids, college students, and even the pickiest adults will love these bite‑sized wonders, especially when served hot straight from the fryer. They shine as appetizers, snack‑time heroes, or even as a playful side dish alongside a hearty soup.
The process is straightforward: cook the pasta, blend it with a rich cheese sauce, shape the mixture into balls, roll them in a seasoned breadcrumb blend, and air‑fry until perfectly golden. A quick dip in a tangy marinara or cool ranch completes the flavor journey.
Why You'll Love This Recipe
Ultimate Comfort Food: The creamy, cheesy interior taps into nostalgic comfort while the crispy exterior adds a modern twist that feels indulgent yet approachable.
Air‑Fryer Friendly: Using an air fryer means less mess, less oil, and a consistently golden crust that’s impossible to achieve with a conventional oven without extra effort.
Hands‑Free Party Star: These bite‑size balls are perfect for mingling crowds—no forks needed, just grab, dip, and devour, keeping guests happy and plates clean.
Customizable Core: Swap cheddar for pepper jack, add jalapeños, or blend in smoked gouda; the recipe welcomes creative twists without compromising texture.
Tips & Tricks
Perfecting the Recipe
Cool the sauce slightly. Allow the cheese sauce to sit for a few minutes before mixing with pasta; this prevents the mixture from becoming too runny, making shaping easier.
Use a kitchen scale. Weigh the breadcrumb mixture for consistent coating; too much or too little can affect crunch and oil absorption.
Don’t overcrowd the air‑fryer. Giving each ball space ensures hot air circulates evenly, producing a uniform crust without steaming.
Finish with a light spray. A quick mist of oil right before cooking creates a glossy finish and helps the breadcrumbs achieve that perfect amber hue.
Flavor Enhancements
Add a pinch of cayenne or a dash of hot sauce to the cheese sauce for a subtle kick. Mix finely chopped chives or parsley into the breadcrumb blend for a fresh herb note. For extra depth, stir a tablespoon of cream cheese into the sauce before folding it into the pasta.
Common Mistakes to Avoid
Avoid using over‑cooked pasta; it becomes mushy and won’t hold its shape. Skipping the cooling step for the cheese sauce often leads to a runny interior that leaks during frying. Finally, never skip the final oil spray—without it the coating can turn pale and dry.
Pro Tips
Freeze before frying. If you need to prep ahead, place the coated balls on a tray and freeze for 30 minutes; they’ll retain shape and crisp up faster in the air fryer.
Use a digital thermometer. Checking the internal temperature guarantees the cheese is fully melted and safe, especially when serving to kids.
Serve immediately. The exterior stays crisp only for a short time; plate the balls right after the air‑fryer finishes for maximum texture.
Pair with a dip. A cool ranch, marinara, or honey‑mustard dip balances the richness and adds an extra layer of flavor.
Variations
Ingredient Swaps
Swap the elbow macaroni for cavatappi or small shells for a different bite. Replace cheddar with pepper jack or smoked gouda for a spicier or smokier profile. For a gourmet twist, fold in crumbled cooked bacon or chopped sun‑dried tomatoes into the cheese mixture before shaping.
Dietary Adjustments
Use gluten‑free pasta and gluten‑free panko to keep the recipe safe for those with gluten sensitivities. For a dairy‑free version, substitute butter with olive oil, use a plant‑based milk (such as oat or almond) and melt dairy‑free cheese shreds. Vegans can replace the cheese with a blend of nutritional yeast, cashew cream, and dairy‑free cheddar, and bind the mixture with a flax‑egg.
Serving Suggestions
Serve the balls alongside a tangy tomato‑basil marinara for dipping, or pair them with a cool cucumber‑yogurt sauce for contrast. A simple mixed greens salad dressed with lemon vinaigrette brightens the plate, while a side of sweet potato fries adds a complementary sweet‑savory element.
Storage Info
Leftover Storage
Allow any leftover balls to cool completely, then place them in an airtight container. Store in the refrigerator for up to 3 days. For longer keeping, arrange the balls on a parchment‑lined tray, freeze solid for 2‑3 hours, then transfer to a freezer‑safe bag; they’ll stay fresh for up to 2 months.
Reheating Instructions
Reheat refrigerated balls in a preheated 350°F oven for 10‑12 minutes, or pop frozen balls directly into the air fryer at 375°F for 8‑10 minutes. Both methods restore the crisp exterior while keeping the interior molten. Avoid microwaving alone, as it can sog the coating.
Frequently Asked Questions
Can I make these mac & cheese balls ahead of time?
What if I don’t have an air fryer?
Which dipping sauce works best?
Can I add extra ingredients to the filling?
This crunchy, cheesy adventure delivers all the comfort of traditional mac & cheese with a fun, bite‑size twist that’s perfect for any gathering. By following the step‑by‑step guide, you’ll achieve a golden exterior and a molten, flavorful center every time. Feel free to experiment with cheeses, herbs, or heat levels—cooking is your canvas. Serve hot, dip generously, and enjoy the applause from friends and family alike!
Crunchy Delight Air Fryer Mac and Cheese Balls: A Flavorful Journey
Delicious Crunchy Delight Air Fryer Mac and Cheese Balls: A Flavorful Journey
Ingredients
Pasta & Cheese Base
- 8 oz elbow macaroni
- 1 ½ cups shredded sharp cheddar cheese
- ½ cup shredded mozzarella cheese
- 2 tablespoons butter
Cheese Sauce
- 1 cup whole milk
- 2 tablespoons all‑purpose flour
- ½ teaspoon smoked paprika
Breading & Seasoning
- 1 ½ cups panko breadcrumbs
- ¼ cup grated Parmesan cheese
- 1 teaspoon garlic powder
- ½ teaspoon dried oregano
- Salt and freshly ground black pepper, to taste
- 2 large eggs, beaten
Instructions
Preparing the Cheese Sauce
- Make a roux. In a medium saucepan melt 2 tablespoons butter over medium heat. Sprinkle 2 tablespoons all‑purpose flour over the melted butter, whisking constantly for 1‑2 minutes until the mixture turns a light golden hue. This cooks out the raw flour taste and creates the foundation for a smooth sauce.
- Add liquid. Gradually whisk in 1 cup whole milk, ensuring no lumps form. Continue stirring until the mixture thickens, about 3‑4 minutes. The sauce should coat the back of a spoon and have a velvety texture.
- Incorporate cheese. Reduce heat to low and stir in 1 ½ cups shredded sharp cheddar cheese and ½ cup shredded mozzarella cheese. Add ½ teaspoon smoked paprika, then season with salt and pepper. Stir until the cheese melts completely, creating a glossy, stretchy sauce.
Breading the Balls
- Set up a dredging station. In one shallow bowl, place 2 large eggs, beaten. In a second bowl, combine 1 ½ cups panko breadcrumbs, ¼ cup grated Parmesan cheese, 1 teaspoon garlic powder, ½ teaspoon dried oregano, and a pinch of salt and pepper.
- Dip and coat. Roll each mac & cheese ball first in the beaten egg, letting excess drip off, then coat thoroughly in the breadcrumb mixture. Press lightly so the crumbs adhere well; a uniform coating ensures an even golden crust.
Similar Recipes
 Appetizers
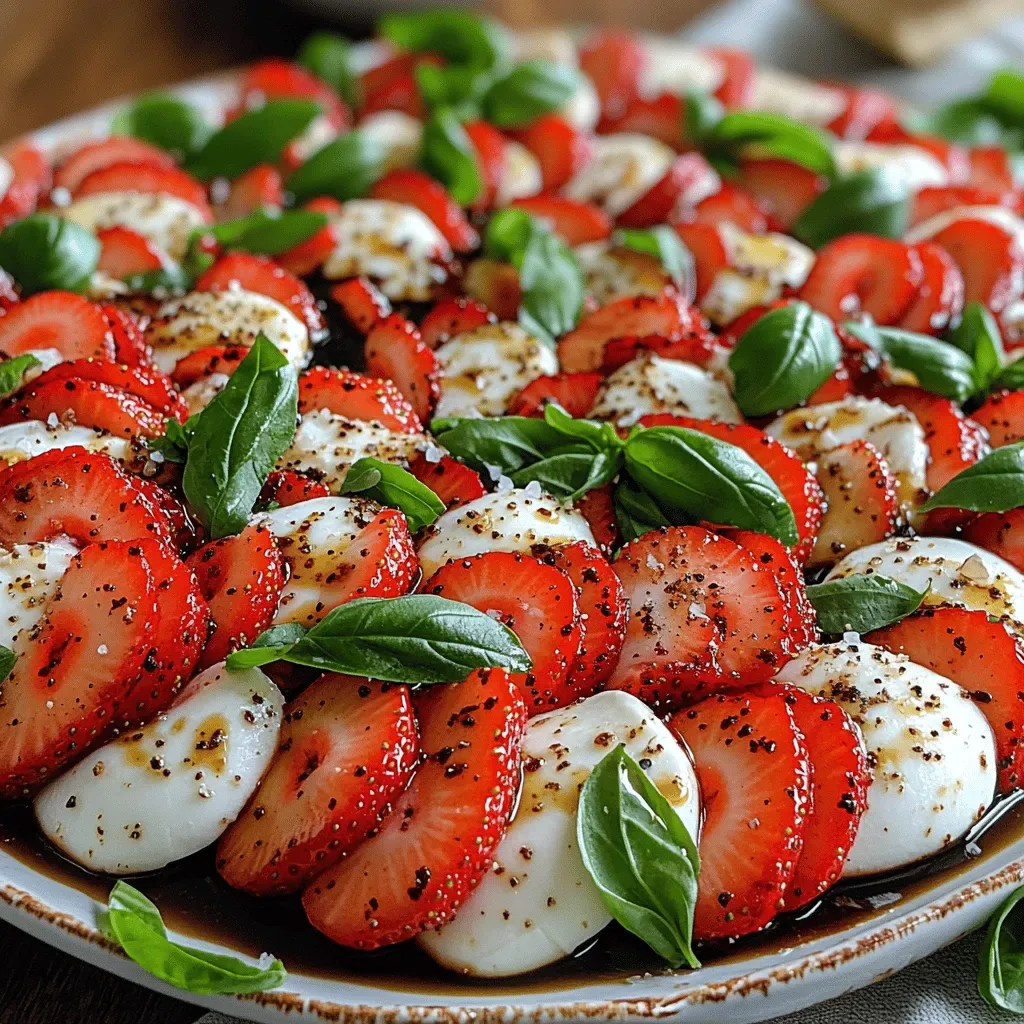
Balsamic Strawberry Caprese: A Refreshing Twist on a Classic Dish
Delicious Balsamic Strawberry Caprese: A Refreshing Twist on a Classic Dish
 Appetizers
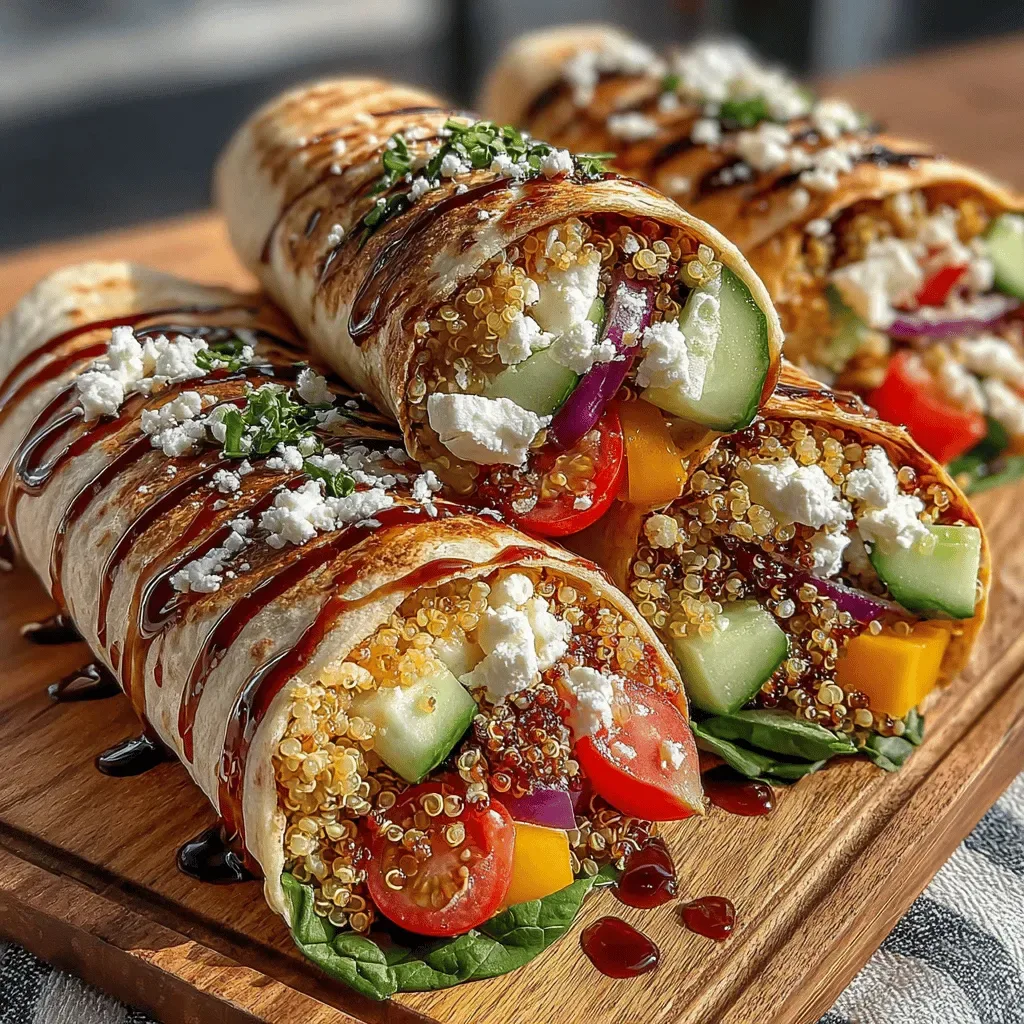
Balsamic Bliss Wraps: Your Ultimate Guide to a Healthy Delight
Delicious Balsamic Bliss Wraps: Your Ultimate Guide to a Healthy Delight
 Appetizers
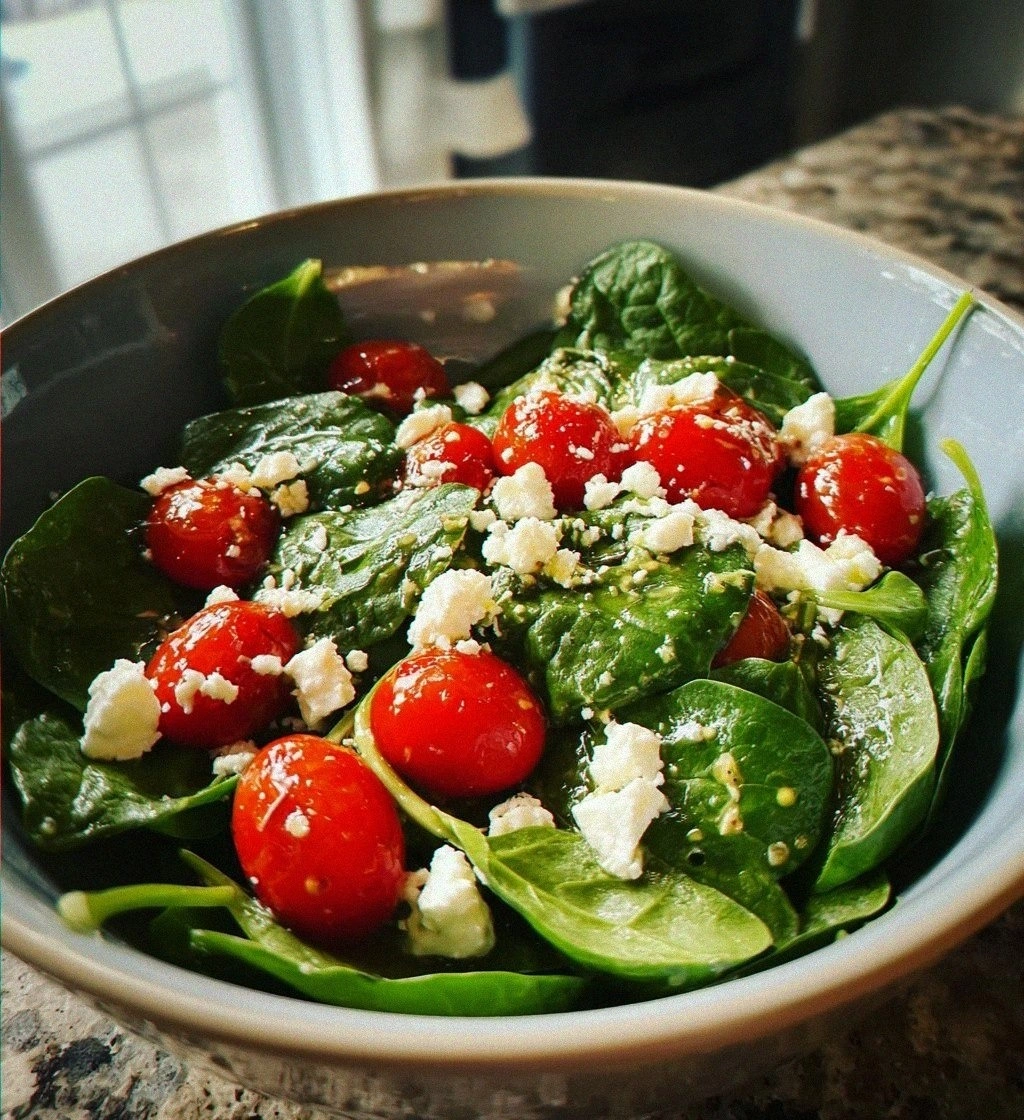
Spring Cafe: 5 Simple Steps to a Joyful Salad
Learn how to make delicious Spring Cafe: 5 Simple Steps to a Joyful Salad. Easy recipe…
 Appetizers
Baked Fajita Chicken Nachos: A Flavorful Delight
Delicious Baked Fajita Chicken Nachos: A Flavorful Delight
 Appetizers
Crispy Buffalo Cauliflower Wraps: The Ultimate Guide to Flavorful Plant-Based Eating
Delicious Crispy Buffalo Cauliflower Wraps: The Ultimate Guide to Flavorful Plant-Based Eating
 Appetizers
Savory BBQ Chicken Lettuce Cups: A Delicious Low-Carb Delight
Delicious Savory BBQ Chicken Lettuce Cups: A Delicious Low-Carb Delight
 Appetizers
Honey Glazed Grilled Carrots Recipe
Delicious Honey Glazed Grilled Carrots Recipe
 Appetizers
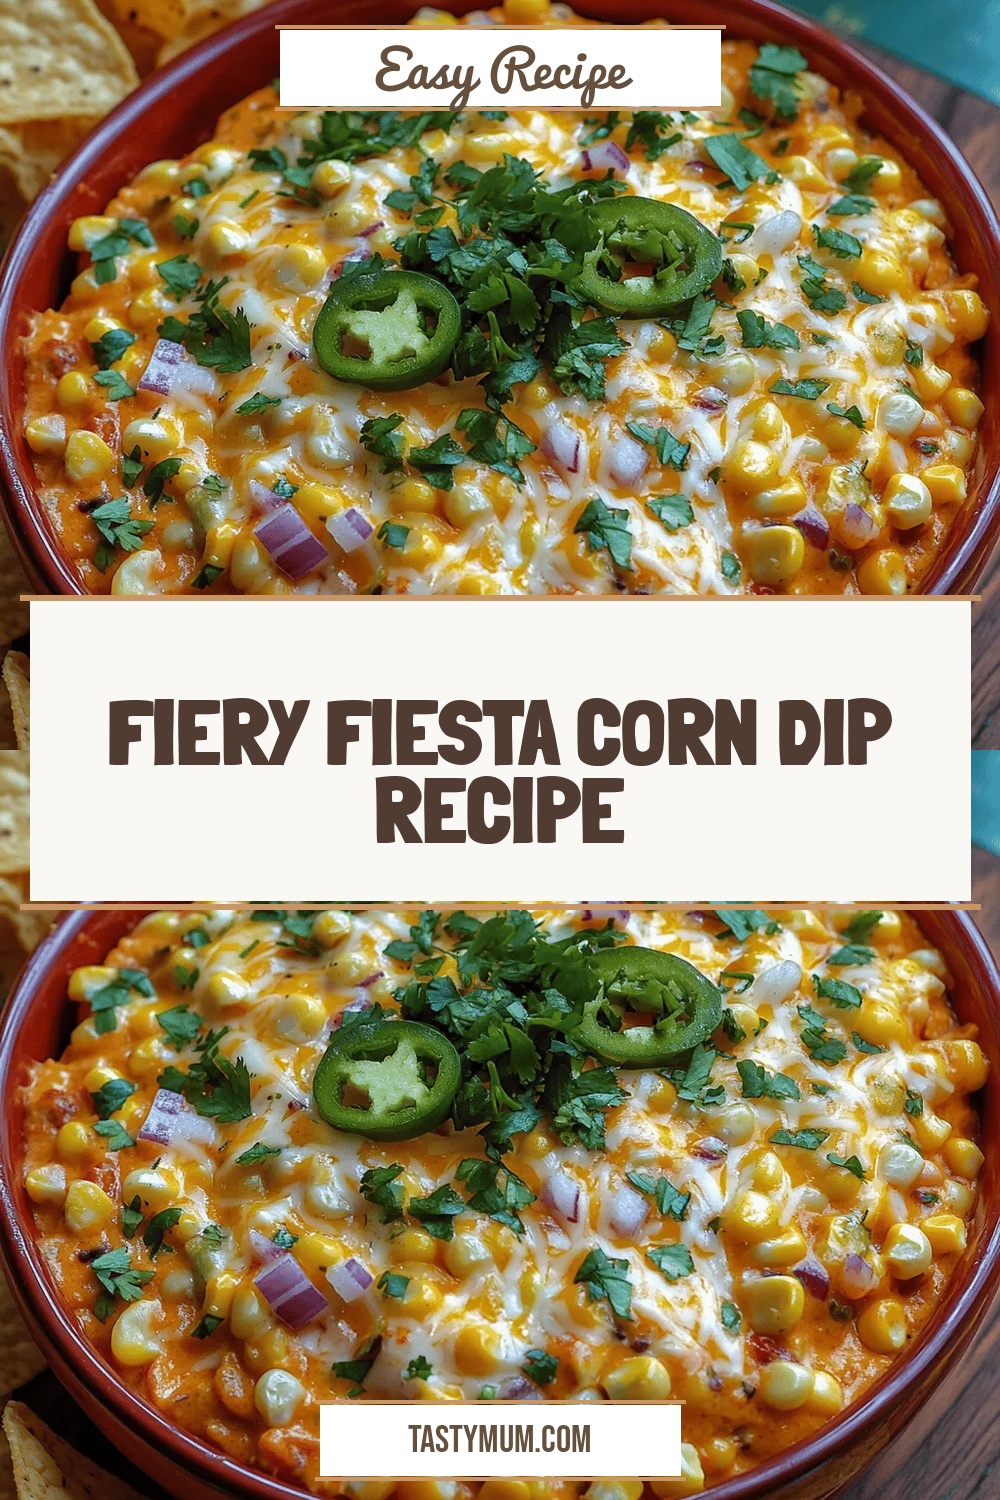
Fiery Fiesta Corn Dip Recipe
Delicious Fiery Fiesta Corn Dip Recipe

Clara
I cook these recipes at home before they ever land here — simple ingredients, clear steps.