Chocolate Peanut Butter Bliss Bars: A Delightful Dessert Experience
 Save
Save
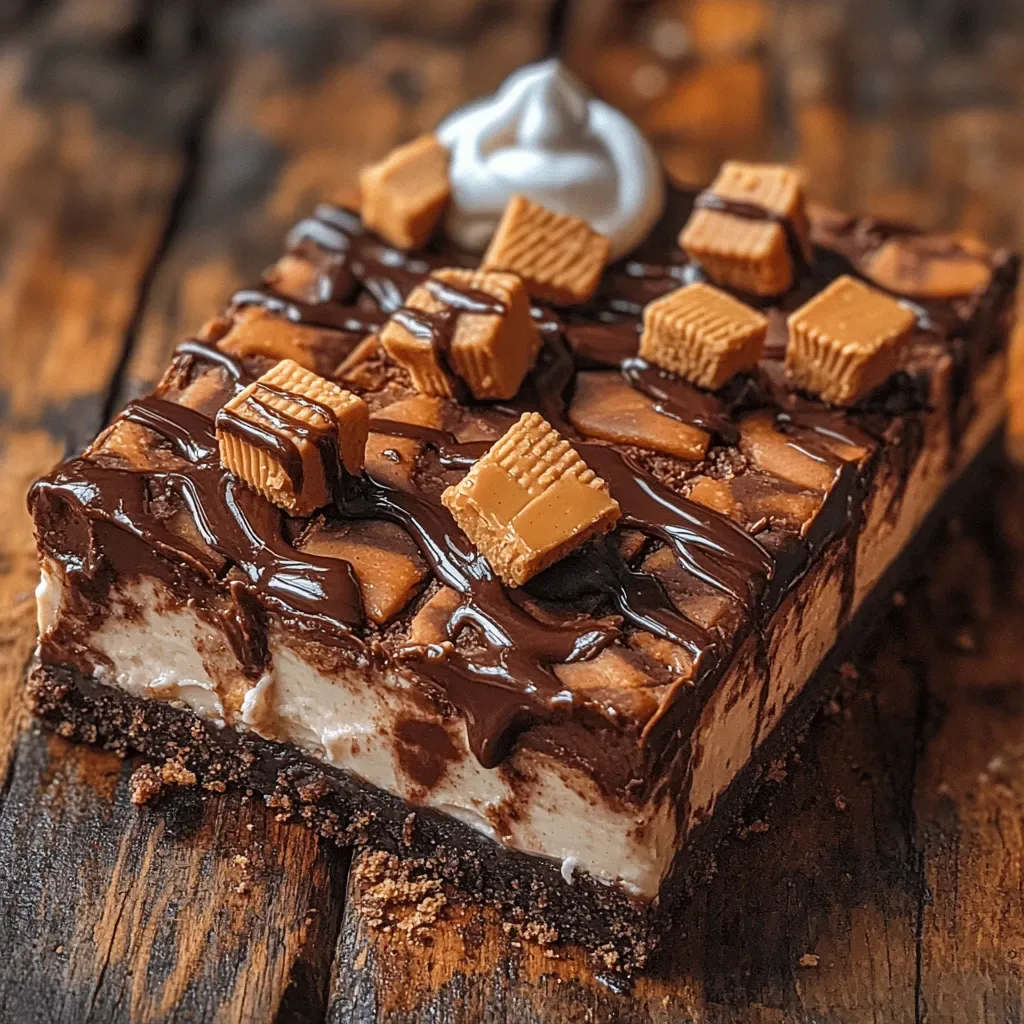
Imagine a bite that marries the deep, velvety richness of chocolate with the salty, nutty comfort of peanut butter, all wrapped in a soft, chewy bar. That’s exactly what Chocolate Peanut Butter Bliss Bars deliver—a dessert that feels both indulgent and familiar.
What sets these bars apart is the layered texture: a crumbly oat‑based crust, a silky chocolate‑peanut butter filling, and a glossy chocolate drizzle on top. Each component is balanced so that no single flavor overpowers the others.
Chocolate lovers, peanut‑butter fans, and anyone craving a quick, crowd‑pleasing treat will adore this recipe. Perfect for birthday parties, after‑school snacks, or a simple weekend indulgence, the bars are versatile enough for any occasion.
The process is straightforward: you’ll whisk together a simple crust, blend a luscious filling, bake briefly to set, then finish with a decadent drizzle. With minimal equipment and a short bake time, you’ll have a professional‑looking dessert in under an hour.
Why You'll Love This Recipe
Flavor Harmony: The sweet chocolate and salty peanut butter complement each other perfectly, creating a balanced taste that satisfies both cravings in one bite.
Texture Contrast: A crunchy oat crust meets a creamy filling and a glossy top, delivering a satisfying mouthfeel from start to finish.
Quick & Easy: With only three main steps and a total time under an hour, this dessert fits perfectly into busy weekdays or last‑minute gatherings.
Make‑Ahead Friendly: The bars keep well refrigerated, so you can prepare them ahead of time and serve them fresh whenever the mood strikes.
Tips & Tricks
Perfecting the Recipe
Press firmly. Use a flat cup or your hands to compress the crust tightly; this prevents the bars from crumbling when cut.
Cool before drizzling. Allow the bars to reach room temperature before adding chocolate; this avoids melting the drizzle into the filling.
Flavor Enhancements
Add a pinch of sea‑salt flakes on top of the chocolate drizzle for a salty‑sweet contrast. For a deeper chocolate flavor, substitute half of the dark chips with milk chocolate chips. A splash of espresso powder in the filling intensifies the cocoa notes without adding bitterness.
Common Mistakes to Avoid
Do not over‑bake the crust; it can become too hard and dominate the texture. Also, avoid using chunky peanut butter—smooth varieties blend uniformly and prevent grainy pockets. Finally, be careful not to over‑heat the chocolate drizzle, as it can seize and become grainy.
Pro Tips
Use parchment paper. Lining the pan makes removal effortless and keeps the bars intact.
Chill for clean cuts. Refrigerate the finished bars for 15‑20 minutes before slicing; this firms the filling and yields sharp, clean edges.
Measure liquids accurately. A kitchen scale ensures the almond milk and honey are balanced, preventing a runny or overly thick filling.
Customize toppings. Sprinkle toasted coconut flakes, chopped peanuts, or dried cherries on the drizzle for added texture and visual appeal.
Variations
Ingredient Swaps
Replace almonds with toasted hazelnuts or pecans for a different nutty profile. Use cashew butter instead of peanut butter for a milder flavor. Swap dark chocolate chips for white chocolate chips and add a few drops of orange zest for a citrus twist.
Dietary Adjustments
For a vegan version, choose a plant‑based butter or coconut oil and use maple syrup instead of honey. Gluten‑free diners can substitute rolled oats with certified gluten‑free oats or ground rice flour. To lower sugar, replace honey with a monk fruit blend and use unsweetened cocoa nibs for the drizzle.
Serving Suggestions
Serve the bars alongside a scoop of vanilla bean ice cream for a warm‑cold contrast, or drizzle with a caramel sauce for extra indulgence. Pair with fresh berries and a dollop of whipped coconut cream for a light, fruity finish.
Storage Info
Leftover Storage
Allow the bars to cool completely, then lift them out of the pan using the parchment overhang. Store in an airtight container in the refrigerator for up to 4 days. For longer keeping, wrap individual bars in plastic wrap and freeze for up to 3 months; this preserves both texture and flavor.
Reheating Instructions
To enjoy warm bars, preheat the oven to 300°F (150°C), place the desired number of bars on a parchment‑lined tray, and heat for 8‑10 minutes. The chocolate drizzle will soften slightly, and the filling becomes luxuriously gooey. Microwaving for 20‑30 seconds works in a pinch, but the oven method retains the best texture.
Frequently Asked Questions
Can I make these bars ahead of time?
What if I don’t have almond milk?
Can I add extra toppings without ruining the texture?
How do I know when the filling is set?
Chocolate Peanut Butter Bliss Bars bring together the best of two beloved flavors in a simple, make‑ahead dessert that looks as impressive as it tastes. By following the detailed steps, using the suggested tips, and experimenting with the variations, you’ll create a treat that’s perfect for any celebration or everyday indulgence. Feel free to add your own twists—after all, the kitchen is a playground. Enjoy every bite of this sweet, nutty bliss!
Chocolate Peanut Butter Bliss Bars: A Delightful Dessert Experience
Delicious Chocolate Peanut Butter Bliss Bars: A Delightful Dessert Experience
Ingredients
Crust
- 1 ½ cups rolled oats
- ½ cup finely chopped almonds
- ¼ cup melted coconut oil
- 2 Tbsp maple syrup
- ¼ tsp sea salt
Filling
- ½ cup creamy peanut butter (natural, no‑salt)
- ¼ cup honey
- ¼ cup unsweetened almond milk
- 1 tsp vanilla extract
- ¼ tsp kosher salt
Chocolate Drizzle
- ½ cup dark chocolate chips (70% cacao)
- 1 Tbsp coconut oil
Instructions
Forming the Base
- Press the crust. Transfer the oat mixture to an 8‑inch square baking pan lined with parchment paper. Using the back of a spoon or a flat measuring cup, press the mixture firmly into an even layer. A compact base prevents sogginess once the filling is added.
- Bake the crust. Place the pan in the preheated oven and bake for 10‑12 minutes, or until the edges turn a light golden brown. Watch closely; over‑baking will make the crust too hard to bite through.
- Cool slightly. Remove the pan and let the crust cool on a wire rack for about 5 minutes. This short cooling period stabilizes the base while you prepare the filling.
Creating the Peanut Butter Filling
- Combine wet ingredients. In a saucepan over low heat, whisk together the creamy peanut butter, honey, almond milk, vanilla extract, and kosher salt. Heat gently for 3‑4 minutes, stirring constantly, until the mixture is smooth and glossy. Low heat prevents the peanut butter from separating.
- Pour over crust. Once the filling is homogeneous, pour it evenly over the baked crust. Use a spatula to smooth the top so the layer is uniform. This uniformity helps the bars set evenly after cooling.
- Set the bars. Return the pan to the oven, lowering the temperature to 325°F (165°C). Bake for an additional 12‑15 minutes, or until the filling is just set and no longer jiggles when the pan is gently shaken.
Similar Recipes
 Desserts
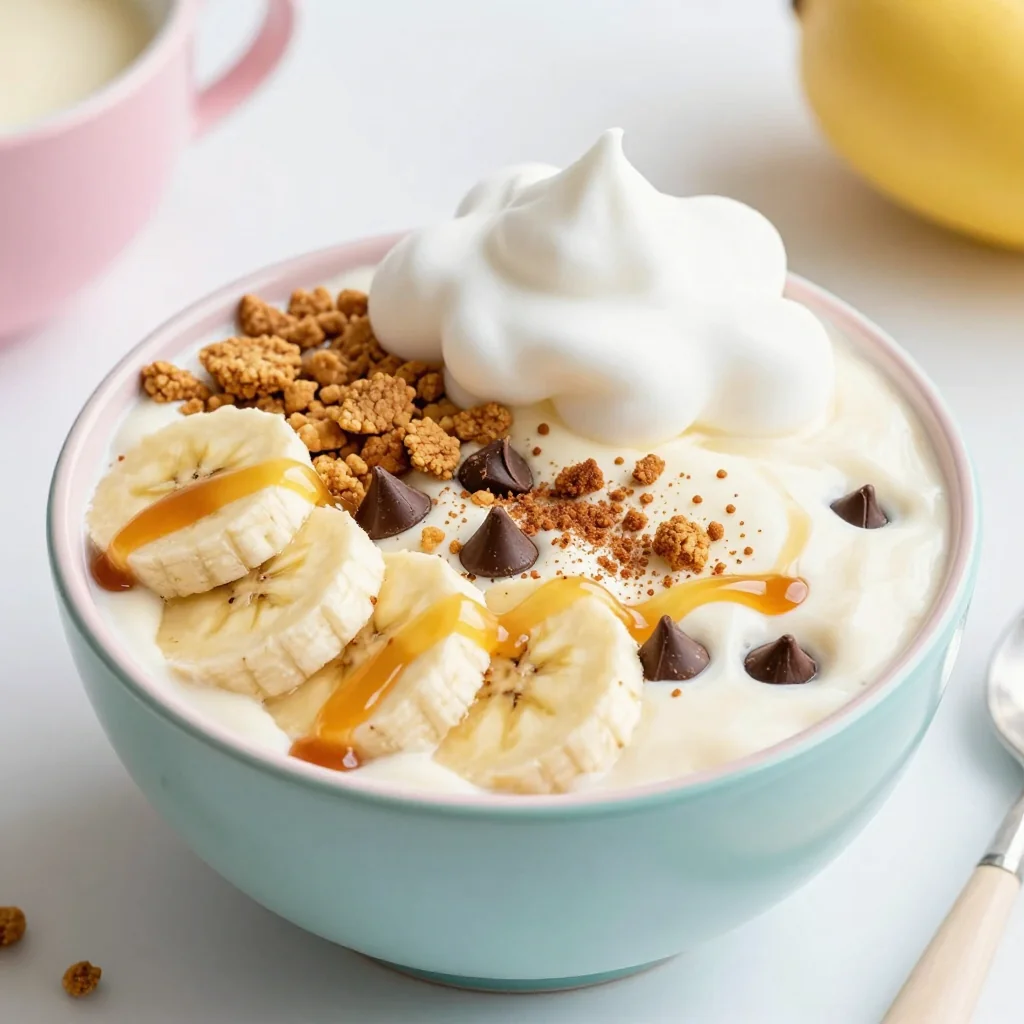
Kid-Friendly Banana Cream Pie Smoothie Bowl
Learn how to make delicious Kid-Friendly Banana Cream Pie Smoothie Bowl. Easy recipe with step-by-step instructions,…
 Desserts
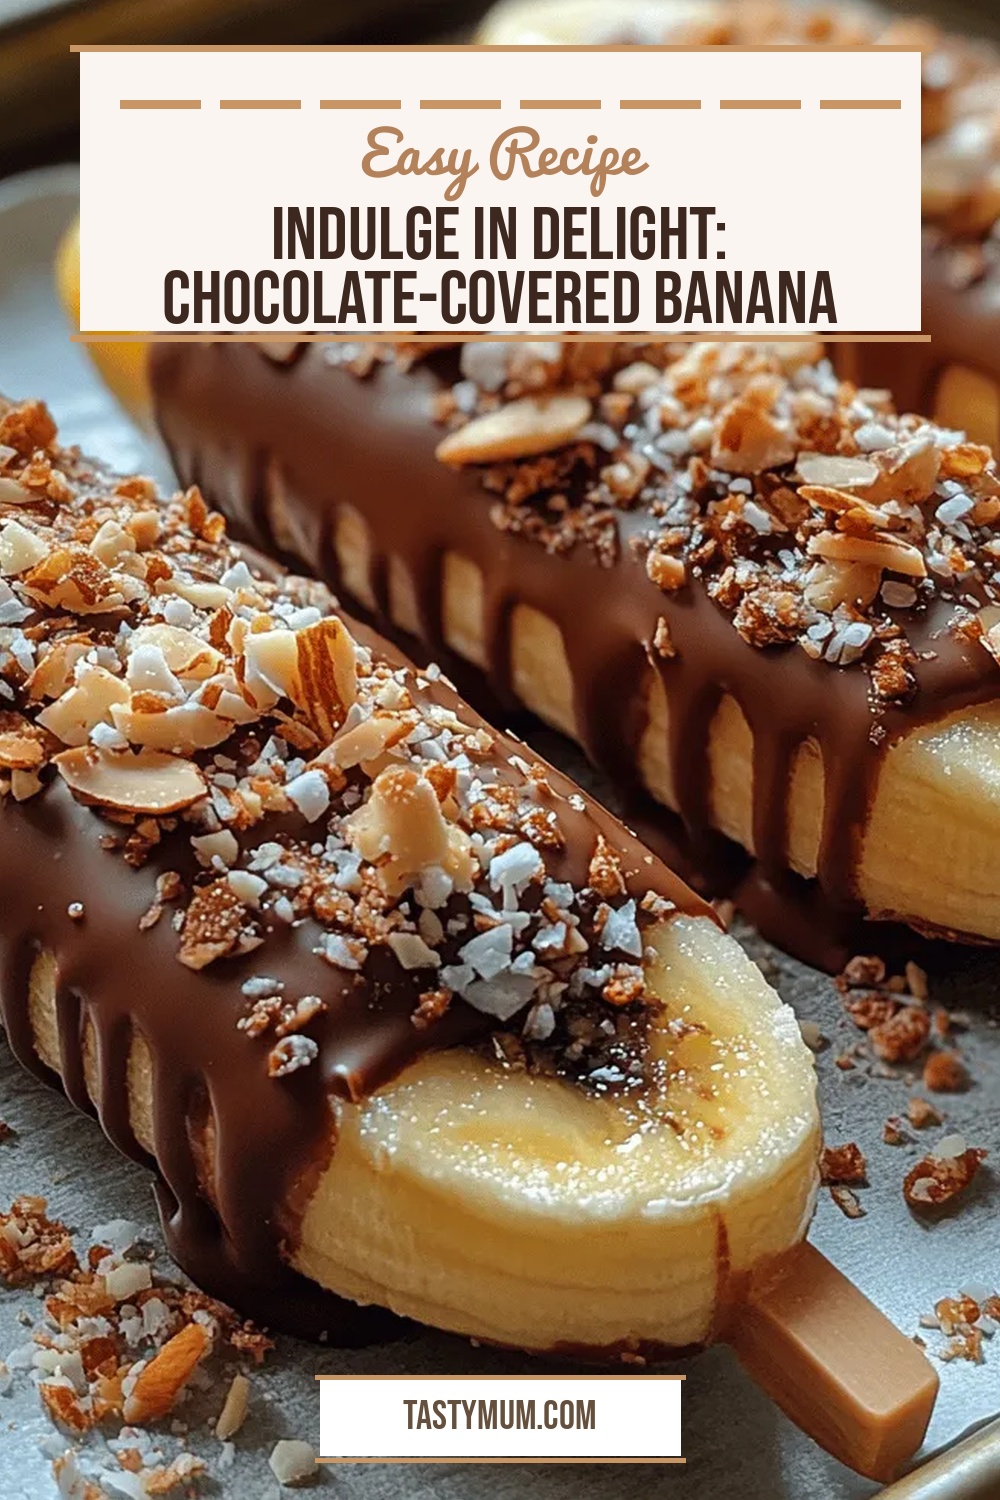
Indulge in Delight: Chocolate-Covered Banana Bliss Pops Recipe
Delicious Indulge in Delight: Chocolate-Covered Banana Bliss Pops Recipe
 Desserts
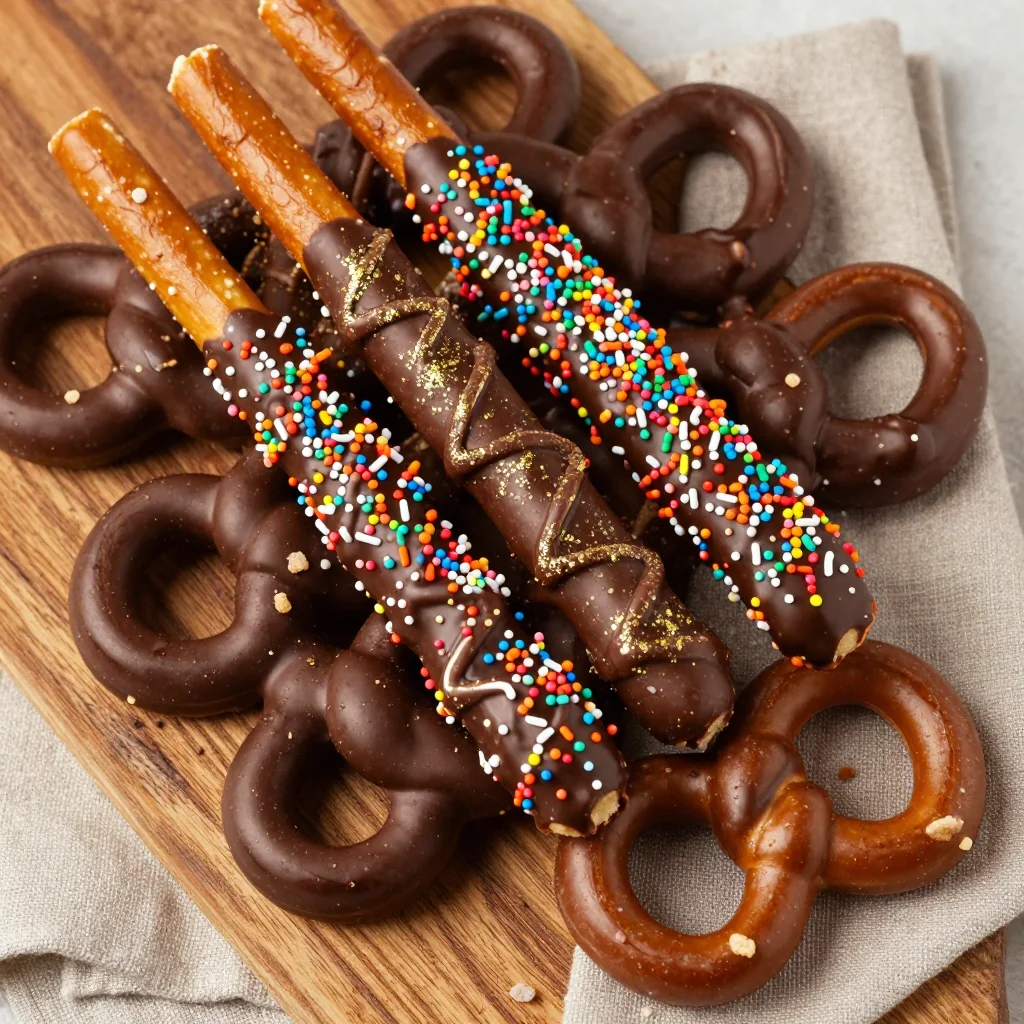
New Year’s Day Chocolate Covered Pretzels
Learn how to make delicious New Year's Day Chocolate Covered Pretzels. Easy recipe with step-by-step instructions,…
 Desserts
Irresistible Three Ingredient Peanut Butter Cookies Recipe
Learn how to make delicious Irresistible Three Ingredient Peanut Butter Cookies Recipe. Easy recipe with step-by-step…
 Desserts
Frozen Yogurt Peanut Butter Oat Clusters: A Delicious and Healthy Treat
Delicious Frozen Yogurt Peanut Butter Oat Clusters: A Delicious and Healthy Treat
 Desserts
Pistachio Cream Cannoli: Create This Delicious Treat!
Learn how to make delicious Pistachio Cream Cannoli: Create This Delicious Treat!. Easy recipe with step-by-step…
 Desserts
Peach Cream Cheesecake Bars Recipe
Delicious Peach Cream Cheesecake Bars Recipe
 Desserts
Chewy Molasses Oatmeal Raisin Cookies
Learn how to make delicious Chewy Molasses Oatmeal Raisin Cookies. Easy recipe with step-by-step instructions.

Clara
I cook these recipes at home before they ever land here — simple ingredients, clear steps.