Hawaiian Cheesecake Danish Recipe
 Save
Save
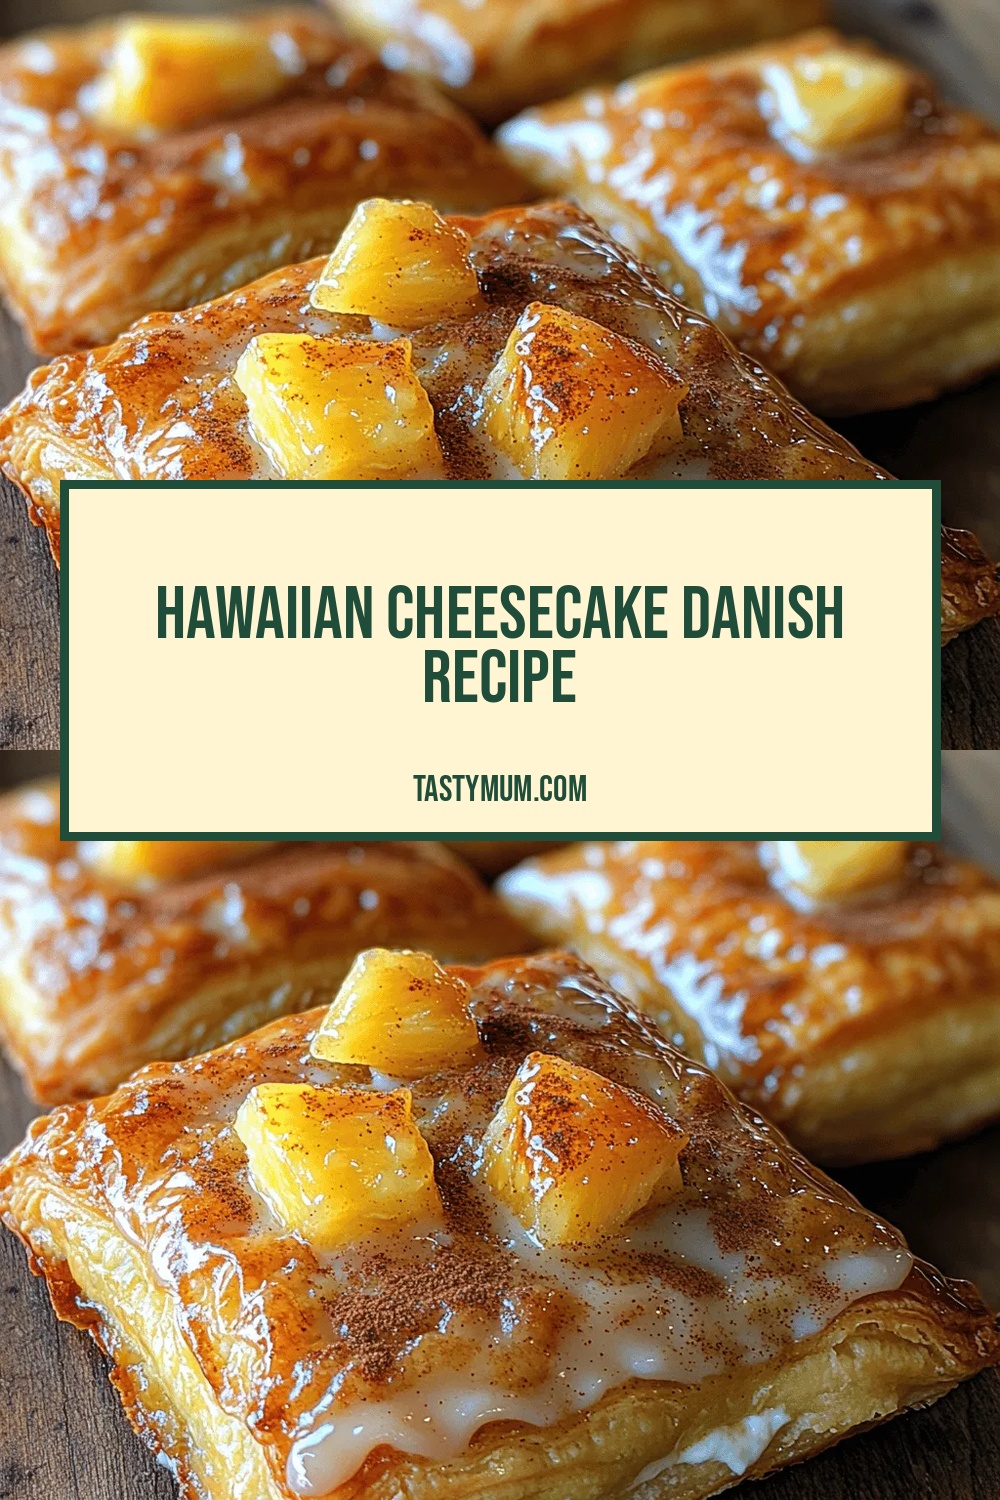
Imagine the buttery layers of a classic Danish pastry meeting the creamy, tropical goodness of a Hawaiian cheesecake. This Hawaiian Cheesecake Danish brings together flaky puff pastry, a silky cream cheese filling, and a burst of pineapple‑coconut glaze that transports you straight to a sunny island brunch.
What makes this dessert truly special is the balance of textures: a crisp, golden crust gives way to a velvety interior, while the glaze adds a glossy, fruity finish that’s both refreshing and indulgent.
Anyone who loves a sweet treat with a twist will adore this dish—whether you’re serving it at a weekend brunch, a birthday buffet, or a casual coffee‑catch‑up with friends.
The process is straightforward: start with pre‑made puff pastry, blend a light cheesecake mixture, assemble the danishes, bake until puffed, and finish with a quick pineapple‑coconut glaze. In under an hour you’ll have a show‑stopping pastry that looks as good as it tastes.
Why You'll Love This Recipe
Island Flavors in Every Bite: Pineapple, coconut, and a hint of vanilla bring a tropical vibe that feels like a mini‑vacation on a plate.
Impressive Yet Easy: Using store‑bought puff pastry cuts the prep time dramatically while still delivering that bakery‑level flakiness.
Perfect for Any Occasion: These bite‑size pastries look elegant on a brunch spread, yet are casual enough for an afternoon snack.
Customizable Sweetness: Adjust the glaze’s sugar level or add a dash of rum for an adult‑friendly twist without compromising the core flavors.
Tips & Tricks
Perfecting the Recipe
Chill the Pastry. Keep the puff pastry cold (even pop it in the freezer for 10 minutes) right before cutting and assembling. Cold butter layers create steam, which is essential for that classic lift.
Don’t Over‑mix the Filling. Mix only until smooth; over‑mixing can incorporate too much air, leading to a watery center after baking.
Use Fresh Pineapple. Fresh crushed pineapple yields a brighter flavor and less excess liquid than canned, preventing soggy glaze.
Egg Wash for Shine. A quick brush of beaten egg on the pastry edges guarantees a deep golden hue and a slight crispness.
Flavor Enhancements
For an adult twist, stir a splash of dark rum or coconut rum into the glaze just before serving. A pinch of toasted coconut flakes sprinkled on top adds texture and intensifies the island vibe. If you love extra tang, fold a teaspoon of lemon zest into the cheesecake filling.
Common Mistakes to Avoid
Avoid using wet or overly ripe pineapple—excess moisture will make the glaze runny and prevent it from setting. Also, don’t skip the cooling step for the glaze; pouring a scorching hot glaze over warm pastries can melt the flaky layers, resulting in a soggy bottom.
Pro Tips
Use a Light Hand with the Filling. A tablespoon per pastry keeps the center from overflowing during bake, preserving the pastry’s shape.
Rotate the Baking Sheet. Halfway through baking, rotate the sheet 180° to ensure even browning, especially if your oven has hot spots.
Finish Under a Broiler. If after 18 minutes the pastries aren’t as golden as you’d like, give them a quick 1‑minute burst under the broiler—watch closely!
Serve Warm. The pastry’s flakiness and the cheese’s creaminess are at their peak within 30 minutes of baking, so plan your timing accordingly.
Variations
Ingredient Swaps
Swap the classic cream cheese for mascarpone for an even richer, slightly sweeter filling. Replace pineapple with mango or passion fruit for a different tropical note. If you’re not a fan of coconut, use almond milk in the glaze and finish with a drizzle of caramel.
Dietary Adjustments
For a gluten‑free version, use a certified gluten‑free puff pastry. Substitute dairy‑free cream cheese and coconut oil (instead of butter) to make the pastry vegan. To keep carbs low, replace the brown sugar in the glaze with a keto‑friendly sweetener like erythritol.
Serving Suggestions
Pair these danishes with a tropical fruit salad or a dollop of whipped coconut cream. A chilled glass of pineapple‑mint mocktail or a light sparkling wine accentuates the island flavors beautifully. For brunch, serve alongside scrambled eggs and a side of fresh berries for a balanced spread.
Storage Info
Leftover Storage
Allow any leftovers to cool completely, then place the danishes in an airtight container. Store in the refrigerator for up to 3 days. For longer keeping, freeze individual pieces wrapped tightly in plastic wrap and then in a freezer‑safe bag; they’ll maintain quality for up to 2 months.
Reheating Instructions
Reheat refrigerated danishes in a pre‑heated 350°F (175°C) oven for 8‑10 minutes, or until the pastry regains its crispness and the glaze is glossy again. For frozen pastries, bake straight from the freezer at 375°F (190°C) for 12‑15 minutes. Microwaving is an option for a quick fix, but it may soften the pastry.
Frequently Asked Questions
Can I make the danishes ahead of time?
What if I don’t have puff pastry?
How sweet should the glaze be?
Can I add a crunchy topping?
This Hawaiian Cheesecake Danish brings together flaky pastry, creamy cheese, and a tropical glaze in a recipe that’s both impressive and approachable. By following the step‑by‑step instructions, using the tips provided, and experimenting with the suggested variations, you’ll create a pastry that feels like a vacation on a plate. Feel free to tweak flavors, add toppings, or swap ingredients to match your dietary needs—cooking is your canvas. Enjoy every buttery, tangy, pineapple‑kissed bite!
Hawaiian Cheesecake Danish Recipe
Delicious Hawaiian Cheesecake Danish Recipe
Ingredients
Pastry & Base
- 1 sheet frozen puff pastry (about 9 × 12 in)
- 1 large egg (for egg wash)
Cheesecake Filling
- 8 oz cream cheese, softened
- ¼ cup granulated sugar
- 1 large egg yolk
- 1 tsp vanilla extract
Pineapple‑Coconut Glaze
- ½ cup crushed pineapple, drained
- ¼ cup coconut milk (full‑fat)
- 2 tbsp unsalted butter
- 2 tbsp light brown sugar
- ¼ tsp ground cinnamon (optional)
Instructions
Making the Cheesecake Filling
- Blend the Base. In a medium bowl, whisk together 8 oz cream cheese and ¼ cup granulated sugar until smooth and free of lumps. The sugar dissolves fully, preventing grainy texture in the final pastry.
- Add Egg Yolk & Vanilla. Stir in 1 large egg yolk and 1 tsp vanilla extract. Mix just until incorporated; over‑mixing can introduce excess air, which may cause the filling to puff during baking.
- Cool Slightly. Let the mixture sit for 5 minutes while you prepare the glaze. This brief rest allows the filling to thicken, making it easier to spoon onto the pastry without spreading too far.
Baking
- Preheat Oven. Set your oven to 400°F (200°C) and let it fully preheat. A hot oven is crucial for the puff pastry to rise quickly and develop layers.
- Bake the Danishes. Place the baking sheet in the center rack and bake for 15‑18 minutes, or until the pastries are puffed, deeply golden, and the cheese filling is set. Watch for the edges to turn a rich amber color—that’s your visual cue for doneness.
- Cool Slightly. Remove from the oven and let the danishes rest on the sheet for 5 minutes. This short cooling period prevents the glaze from sliding off a too‑hot surface.
Similar Recipes
 Breakfast
Kid-Friendly Apple Cinnamon Overnight Oats Jars
Learn how to make delicious Kid-Friendly Apple Cinnamon Overnight Oats Jars. Easy recipe with step-by-step instructions,…
 Breakfast
Dauntless One-Pan Sweet Potato Hash Egg Delight
Delicious Dauntless One-Pan Sweet Potato Hash Egg Delight
 Breakfast
Warm Maple Glazed Cinnamon Scone Bake: A Recipe for Joy
Delicious Warm Maple Glazed Cinnamon Scone Bake: A Recipe for Joy
 Breakfast
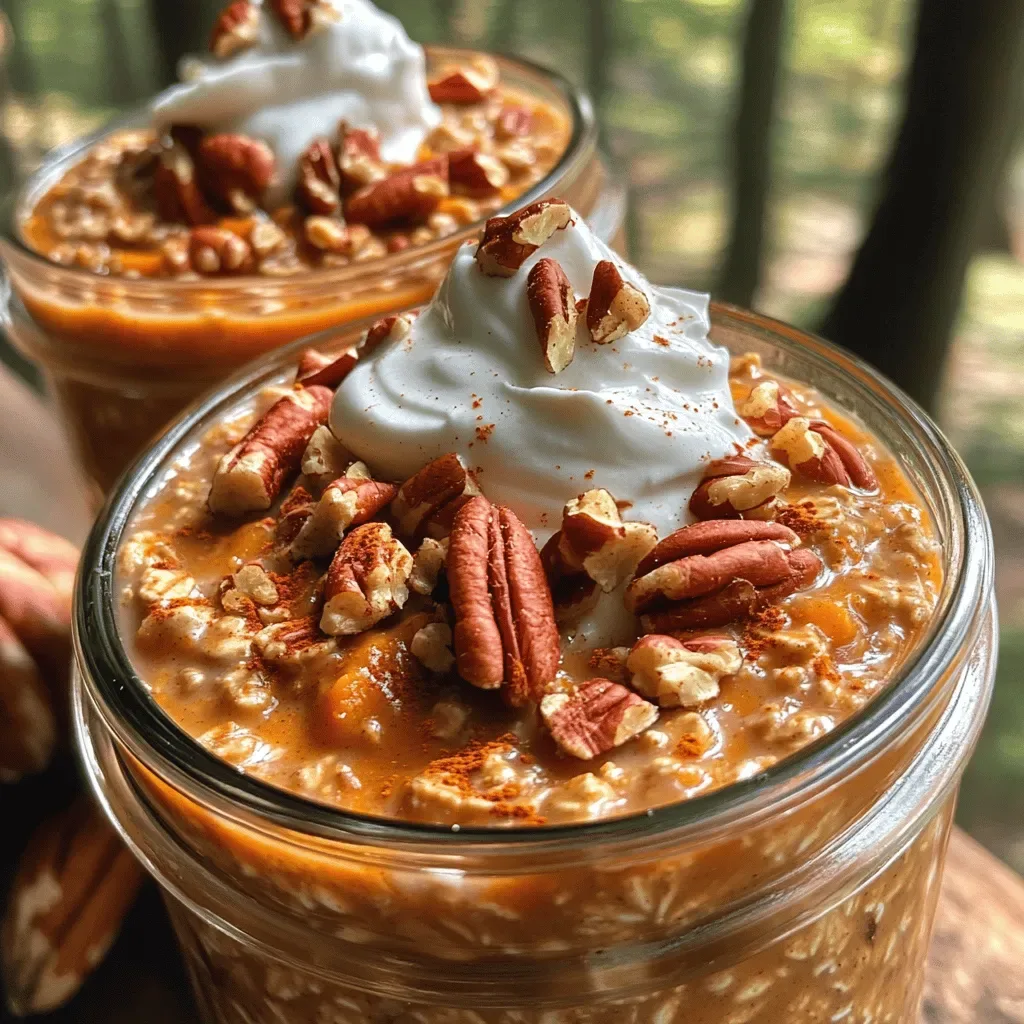
Cozy Autumn Pumpkin Pie Overnight Oats in Jars
Delicious Cozy Autumn Pumpkin Pie Overnight Oats in Jars
 Breakfast
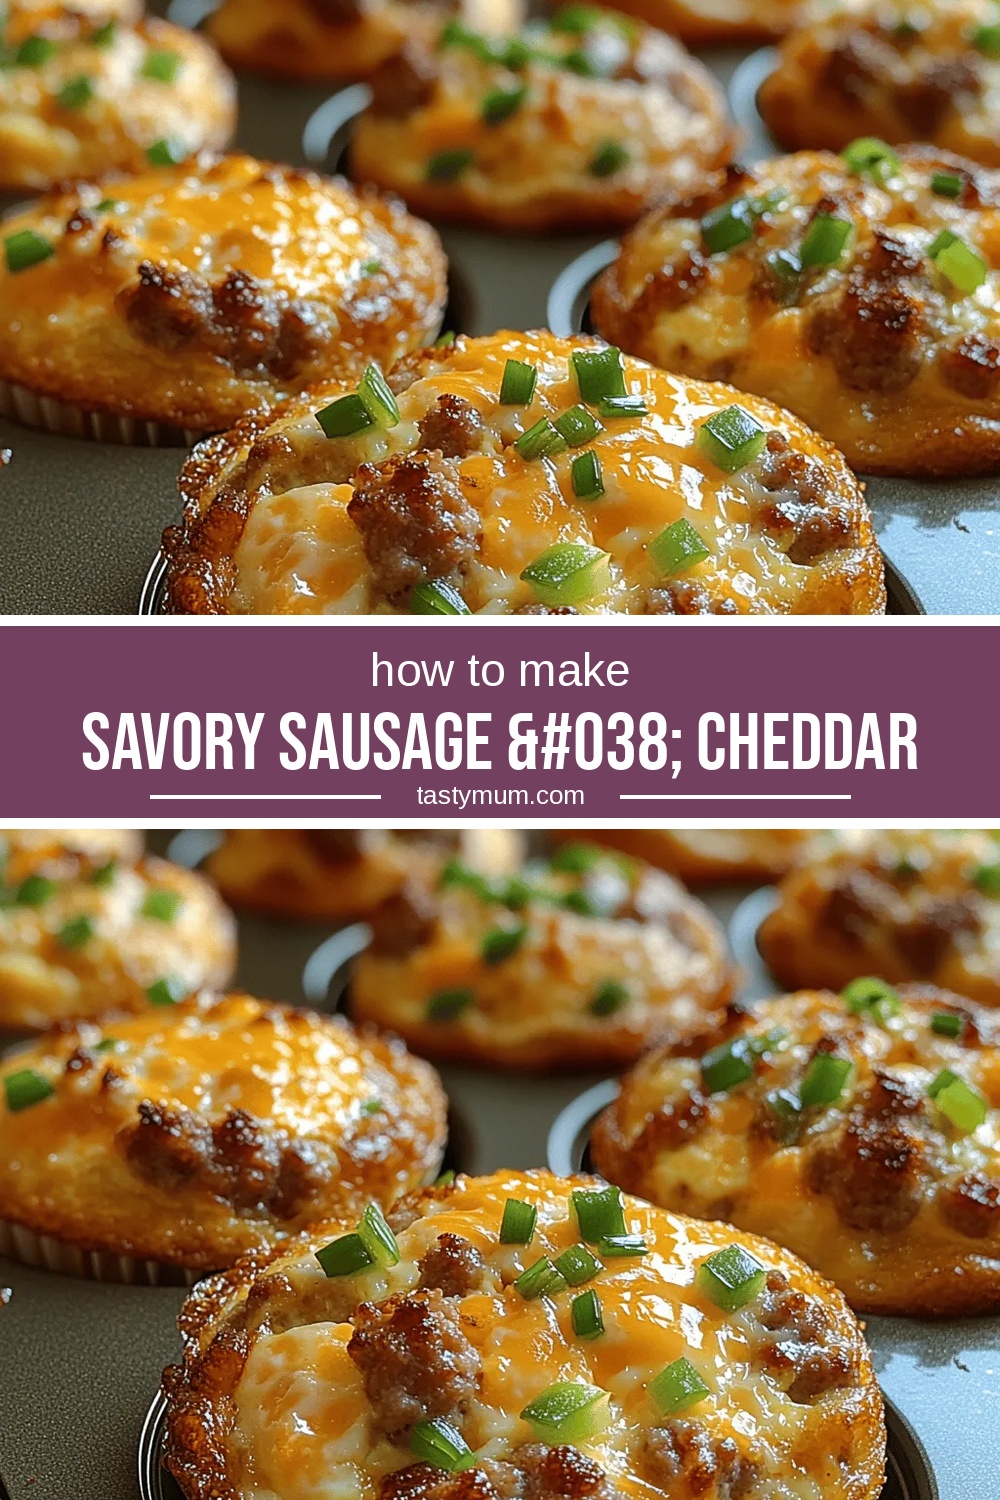
Savory Sausage & Cheddar Egg Muffins: A Delicious Breakfast Solution
Delicious Savory Sausage & Cheddar Egg Muffins: A Delicious Breakfast Solution
 Breakfast
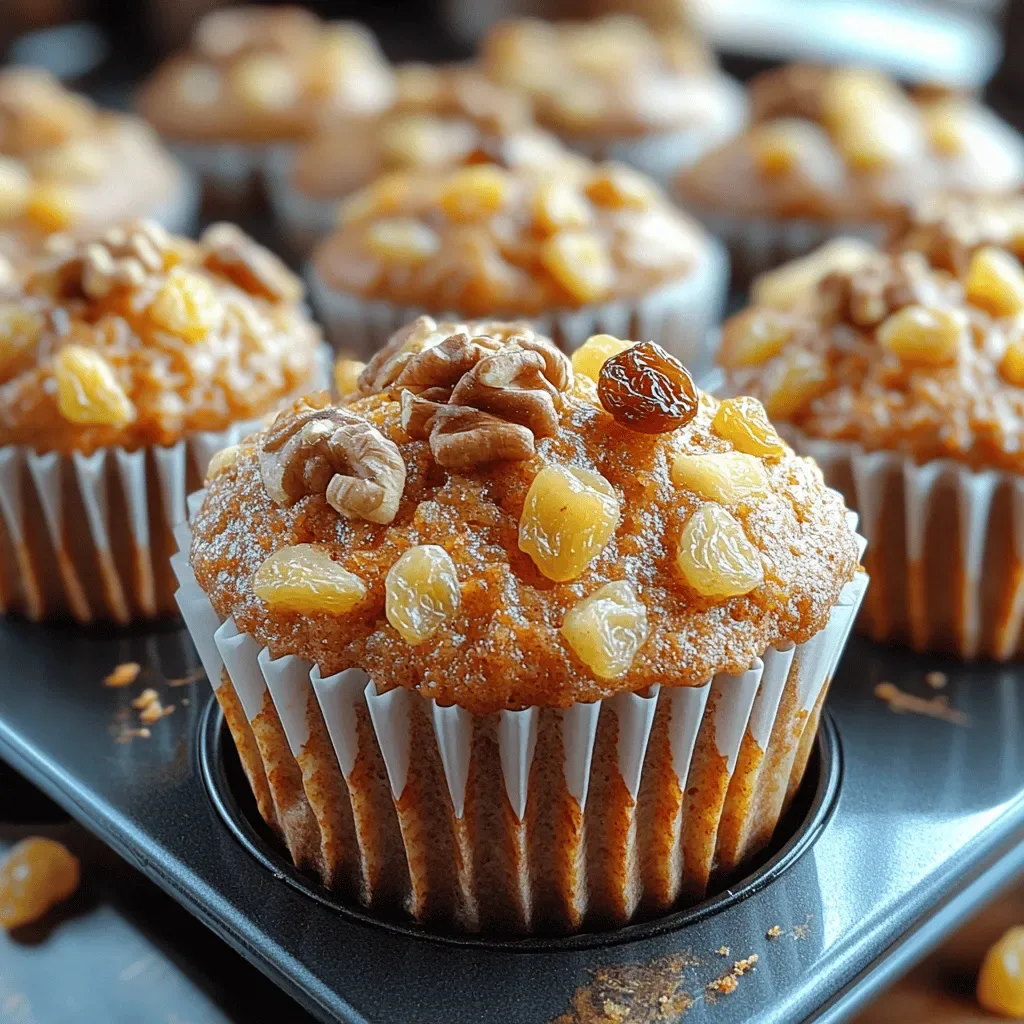
Carrot Bliss Muffins Recipe
Delicious Carrot Bliss Muffins Recipe
 Breakfast
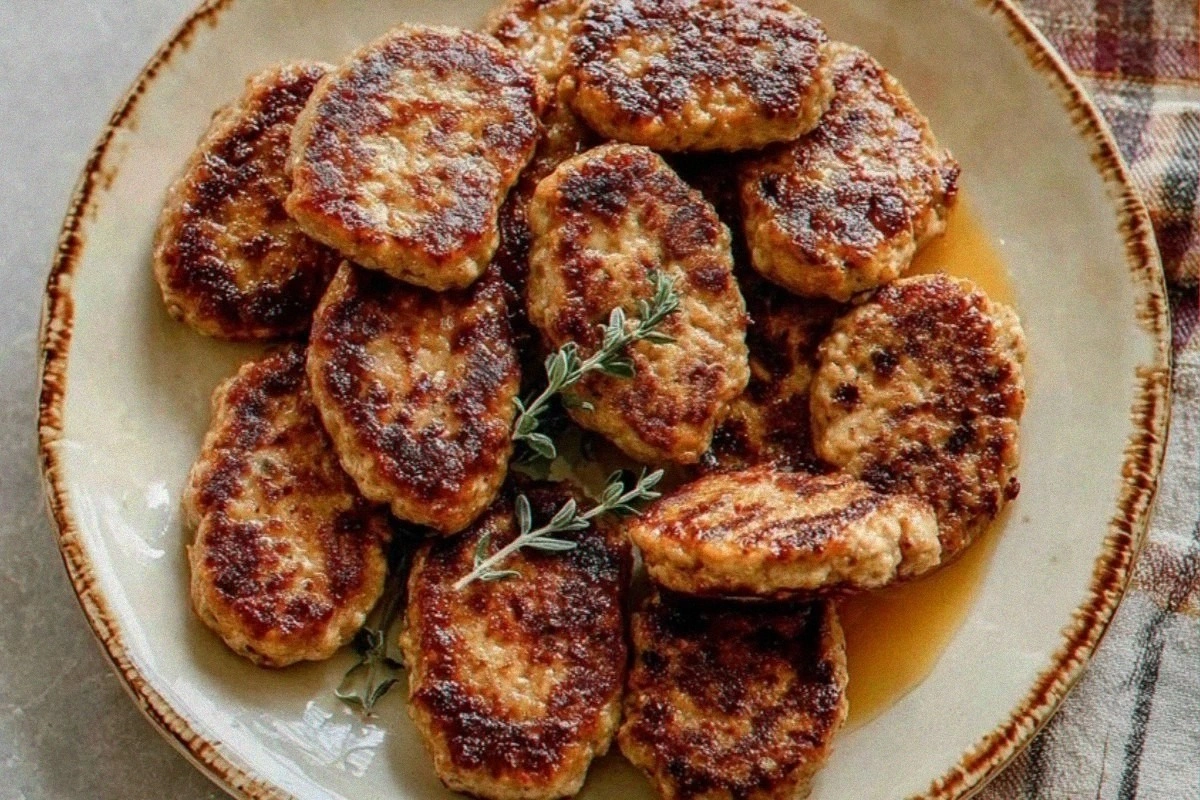
Homemade Maple Chicken Breakfast Sausage
Learn how to make delicious Homemade Maple Chicken Breakfast Sausage. Easy recipe with step-by-step instructions.
 Breakfast
Blueberry Bliss Stuffed French Toast
Delicious Blueberry Bliss Stuffed French Toast

Clara
I cook these recipes at home before they ever land here — simple ingredients, clear steps.