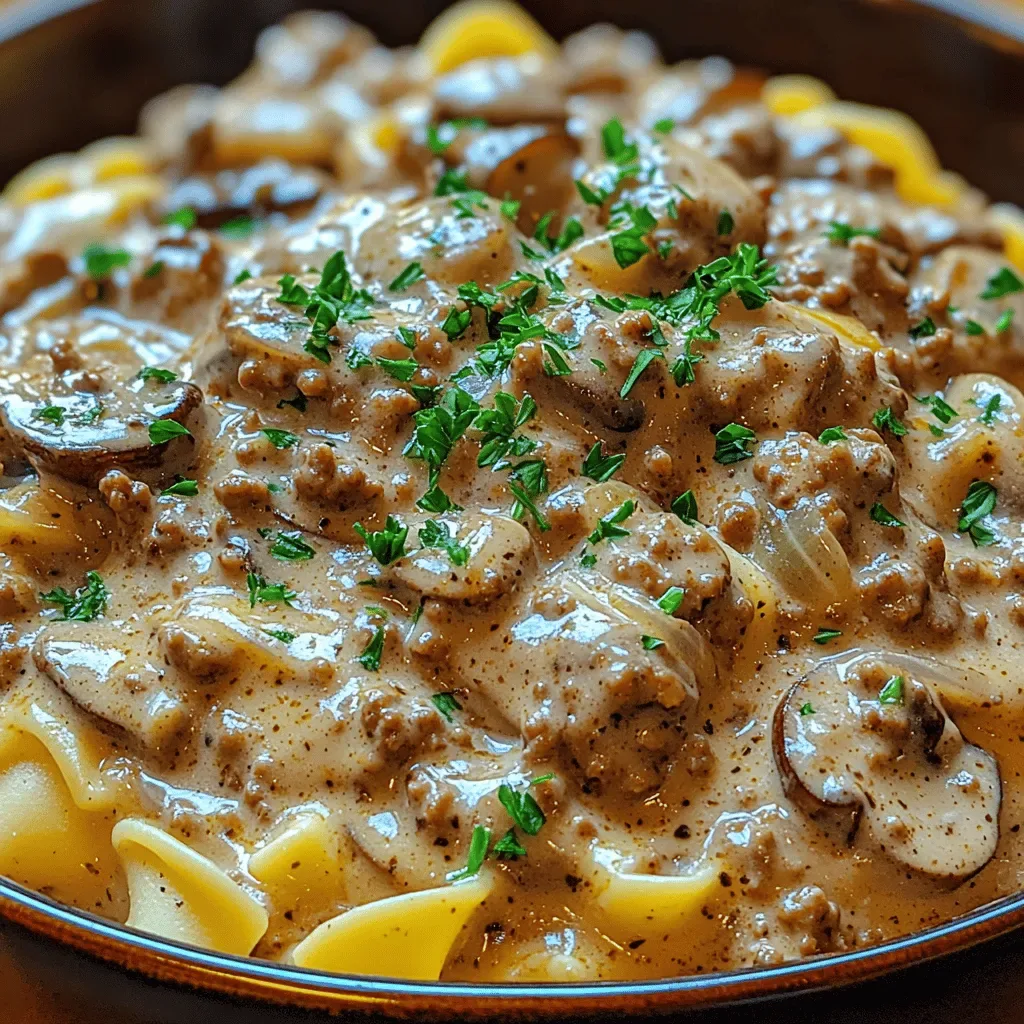
The first time I made a cheesy chicken garlic bread sandwich, I was racing against a sudden thunderstorm that rolled in while my kids were doing their homework at the kitchen table. I remember the moment I opened the pan and a warm, buttery cloud of garlic‑infused steam swirled up, instantly turning the whole room into a cozy haven that smelled like a little Italian bistro. My youngest, eyes wide with curiosity, asked, “What’s that amazing smell?” and I could see the anticipation building in every corner of the house. That instant, I realized this sandwich wasn’t just a quick snack; it was a bridge between simple comfort food and a memory‑making experience that could lift any gloomy day.
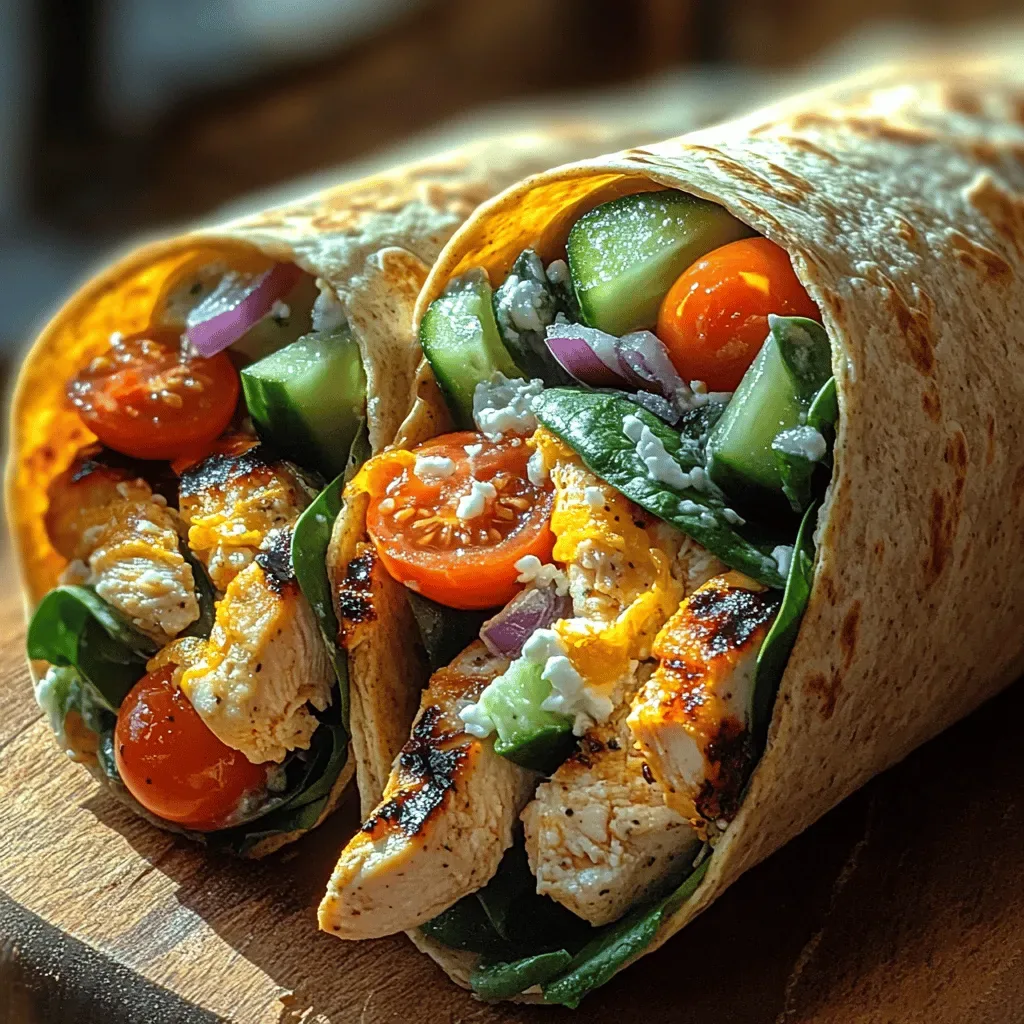
What makes this sandwich truly special is the marriage of three beloved comfort foods: tender chicken, melty mozzarella, and crisp, buttery garlic bread. Each bite delivers a crunchy bite from the toasted French or Italian bread, followed by a creamy cascade of cheese that pulls away in glorious strings, all while the chicken stays juicy and fragrant with garlic’s bright punch. The secret lies in the balance—nothing overpowers anything else, and every ingredient sings in harmony, creating a flavor profile that feels both familiar and excitingly new. Imagine the first bite: the crackle of the crust, the rich aroma of garlic butter, the savory warmth of the chicken, and the oozy cheese pulling you into a blissful loop of taste.
But wait—there’s a little twist that takes this sandwich from delicious to unforgettable, and I’ll reveal it later in the step‑by‑step guide. Have you ever wondered why restaurant versions of chicken garlic bread taste so different, even though the ingredients look the same? The answer is often a simple technique that most home cooks overlook, and I’m about to share it with you. Trust me, once you master this, you’ll be the go‑to person for a crowd‑pleasing, melt‑in‑your‑mouth sandwich that everyone will beg for seconds.
Now that you’re intrigued, let’s dive into the heart of the recipe. I’ll walk you through each stage, from picking the perfect chicken breast to achieving that golden, buttery crust that practically glows. Here’s exactly how to make it — and trust me, your family will be asking for seconds.
🌟 Why This Recipe Works
- Flavor Depth: The combination of fresh garlic and melted mozzarella creates layers of savory richness that deepen with each bite, while the butter base carries the aromatics throughout the sandwich.
- Texture Contrast: Crispy, toasted bread meets juicy, tender chicken and silky cheese, delivering a satisfying crunch followed by a melt‑in‑your‑mouth softness.
- Ease of Preparation: With just a handful of pantry staples and a straightforward cooking method, this sandwich can be assembled in under an hour, making it perfect for weeknight meals.
- Time Efficiency: The steps are designed to overlap—while the chicken cooks, you can butter the bread and preheat the oven, shaving precious minutes off the total cooking time.
- Versatility: This base recipe welcomes countless variations, from adding fresh herbs to swapping cheeses, allowing you to customize it for any palate or occasion.
- Nutrition Balance: Lean chicken provides protein, while the modest amount of butter and cheese adds satisfying fats, creating a balanced snack that fuels both body and soul.
- Crowd‑Pleasing Factor: The familiar flavors of garlic bread and cheese make this sandwich instantly appealing to both kids and adults, turning a simple meal into a celebration.
🥗 Ingredients Breakdown
The Foundation: Chicken & Bread
The three boneless, skinless chicken breasts provide the protein backbone of this sandwich, delivering a juicy, tender bite that holds up well against the robust garlic butter. When selecting chicken, look for breasts that are evenly sized and have a pinkish hue with no discoloration; this ensures even cooking and a consistent texture. If you’re pressed for time, you can pound the breasts to an even thickness, which not only speeds up cooking but also guarantees that every slice is uniformly juicy. For a twist, consider using thinly sliced chicken thighs for extra juiciness, though you’ll need to adjust cooking time slightly.
Aromatics & Spices: Garlic & Butter
Fresh garlic, minced into fine pieces, is the star aromatic that infuses the butter with a bold, pungent flavor that’s both comforting and invigorating. The half‑cup of unsalted butter acts as the perfect medium to carry the garlic’s essence, creating a silky spread that seeps into the bread’s pores. When choosing butter, opt for high‑quality, preferably European‑style butter for a richer mouthfeel; its higher fat content helps achieve that golden, crisp crust. If you’re dairy‑free, you can substitute with a plant‑based butter, but be aware that the flavor profile will shift slightly.
The Secret Weapons: Mozzarella & Seasonings
Mozzarella cheese, with its melt‑in‑your‑mouth qualities, forms the gooey layer that binds the sandwich together, ensuring each bite is a stringy, cheesy delight. The two cups of shredded mozzarella should be evenly distributed to avoid pockets of cheese that could burn; a light toss with a pinch of salt helps it melt more uniformly. Salt and pepper, though simple, are essential for seasoning the chicken and the butter mixture, enhancing the natural flavors without overwhelming the delicate garlic notes. A dash of dried oregano or Italian seasoning can add an extra layer of herbaceous depth if you’re feeling adventurous.
Finishing Touches: Bread Selection
Thick slices of French or Italian bread serve as the canvas, offering a sturdy yet tender base that can hold the generous fillings without becoming soggy. When shopping, choose bread with a firm crust and a soft interior; the crust will become wonderfully crunchy, while the interior remains plush enough to soak up the butter. If you prefer a heartier bite, opt for a rustic sourdough or a ciabatta roll, but remember to adjust the butter amount to prevent excess greasiness. Toasting the bread just before assembly locks in the crunch and creates a barrier that keeps the sandwich from getting soggy.
With your ingredients prepped and ready, let's get cooking. Here’s where the fun really begins...
🍳 Step-by-Step Instructions
Start by patting the chicken breasts dry with paper towels, then season both sides generously with salt and pepper. This simple step ensures a flavorful crust and helps the butter adhere later. Heat a large skillet over medium‑high heat and add a tablespoon of butter, letting it melt until it foams but does not brown. Place the chicken in the pan, hearing the satisfying sizzle that signals the start of a golden sear. Cook for about 5‑6 minutes per side, or until the internal temperature reaches 165°F (74°C) and the juices run clear.
While the chicken rests, melt the remaining butter in a small saucepan over low heat. Add the minced garlic and stir gently, allowing the garlic to soften and release its aroma without browning—this should take about 2 minutes. Once the butter turns a light golden hue and the garlic is fragrant, remove the pan from the heat. This garlic‑butter mixture will become the luxurious spread that infuses the bread with flavor.
Slice the chicken into thin strips or bite‑size pieces, depending on your preference. The thinner the pieces, the quicker they will meld with the cheese and bread, creating a harmonious bite. Toss the chicken pieces in half of the garlic butter, ensuring each piece is lightly coated. This step not only adds flavor but also prevents the chicken from drying out during the final bake.
Take the thick slices of French or Italian bread and lay them on a baking sheet lined with parchment paper. Brush each side generously with the remaining garlic butter, making sure to cover the edges where the cheese will melt. The butter will seep into the bread’s pores, creating a crispy, aromatic crust once baked. If you like a little extra crunch, sprinkle a pinch of grated Parmesan on top before adding the mozzarella.
Now, evenly distribute the shredded mozzarella over each buttered slice, spreading it to the edges for a uniform melt. Place the garlic‑buttered chicken pieces on top of the cheese, arranging them so every bite gets a balanced amount of meat. This layering technique ensures the cheese melts around the chicken, creating a cohesive sandwich rather than separate components.
Preheat your oven to 400°F (200°C). Once hot, slide the baking sheet into the oven and bake for 8‑10 minutes, or until the cheese bubbles and turns a light golden brown and the bread edges are crisp. Keep an eye on the top; you want the cheese to melt and slightly caramelize without burning. The aroma that fills your kitchen at this stage is the same one that made me smile on that stormy afternoon.
When the sandwich is beautifully golden, remove it from the oven and let it sit for a minute. This brief rest allows the cheese to set just enough so it doesn’t ooze everywhere when you cut it. Slice each sandwich diagonally for that classic presentation, and serve immediately while the cheese is still stretchy and the bread is hot and crunchy.
And there you have it! But before you dig in, let me share some tips that will take this from great to absolutely unforgettable...
🔐 Expert Tips for Perfect Results
The Taste Test Trick
Before you bake, give the assembled sandwich a quick taste of the garlic butter on a small piece of bread. This lets you adjust the seasoning—add a pinch more salt or a dash of crushed red pepper flakes if you crave a little heat. Trust me, a tiny adjustment at this stage can make the final product sing.
Why Resting Time Matters More Than You Think
Allowing the cooked chicken to rest for a few minutes after sautéing is a game‑changer. It prevents the juices from spilling out when you slice the meat, keeping each bite moist. I once skipped this step and ended up with dry chicken that ruined the whole sandwich—lesson learned!
The Seasoning Secret Pros Won’t Tell You
A light sprinkle of smoked paprika on the chicken before cooking adds a subtle smoky depth that pairs beautifully with the garlic butter. It’s a secret many chefs keep under wraps because it elevates the flavor without being obvious.
Cheese Placement Mastery
Spread the mozzarella in a thin, even layer rather than piling it high. This ensures the cheese melts uniformly and prevents soggy spots. I once loaded the sandwich with too much cheese, and the bottom slice became soggy—now I keep it balanced.
Crisp‑Edge Technique
If you love an extra‑crunchy edge, flip the sandwich halfway through the baking time. This gives both sides a chance to crisp up, creating a delightful textural contrast that’s hard to resist.
🌈 Delicious Variations to Try
One of my favorite things about this recipe is how versatile it is. Here are some twists I've tried and loved:
Mediterranean Twist
Swap the mozzarella for feta and add sliced Kalamata olives and sun‑dried tomatoes. The salty feta pairs beautifully with the garlic butter, while the olives introduce a briny pop that brightens the sandwich.
Spicy Southwest
Add a layer of pepper jack cheese, sprinkle chipotle powder on the chicken, and finish with a drizzle of chipotle mayo. The heat from the chipotle balances the richness of the butter, creating a bold, smoky flavor.
Herb‑Infused Garden
Incorporate fresh basil leaves and a handful of arugula after baking. The peppery arugula and sweet basil bring a fresh, garden‑like brightness that cuts through the richness.
Breakfast‑Style
Replace the chicken with crisped bacon, add a fried egg on top, and use cheddar instead of mozzarella. This version is perfect for a hearty brunch, offering a satisfying mix of protein and indulgence.
Vegan Friendly
Use marinated tofu strips in place of chicken, dairy‑free mozzarella, and olive oil instead of butter. The flavor profile remains robust, and the sandwich stays just as satisfying for plant‑based eaters.
📦 Storage & Reheating Tips
Refrigerator Storage
Place any leftover sandwiches in an airtight container and store them in the fridge for up to 3 days. To keep the bread from getting soggy, wrap each sandwich loosely in parchment paper before sealing the container.
Freezing Instructions
Wrap each sandwich tightly in foil, then place them in a zip‑top freezer bag. They’ll freeze well for up to 2 months. When you’re ready to enjoy them, thaw in the refrigerator overnight before reheating.
Reheating Methods
For the best texture, reheat the sandwich in a preheated oven at 350°F (175°C) for 10‑12 minutes, or until the cheese is melty and the bread regains its crispness. If you’re short on time, a skillet over medium heat works too—cover the pan briefly to melt the cheese, then uncover to crisp the bread. The trick to reheating without drying it out? Add a tiny splash of water to the pan and cover; the steam keeps the interior moist while the crust stays crunchy.