Crispy Thai Veggie Spring Rolls: Cooking and Serving Guide
 Save
Save
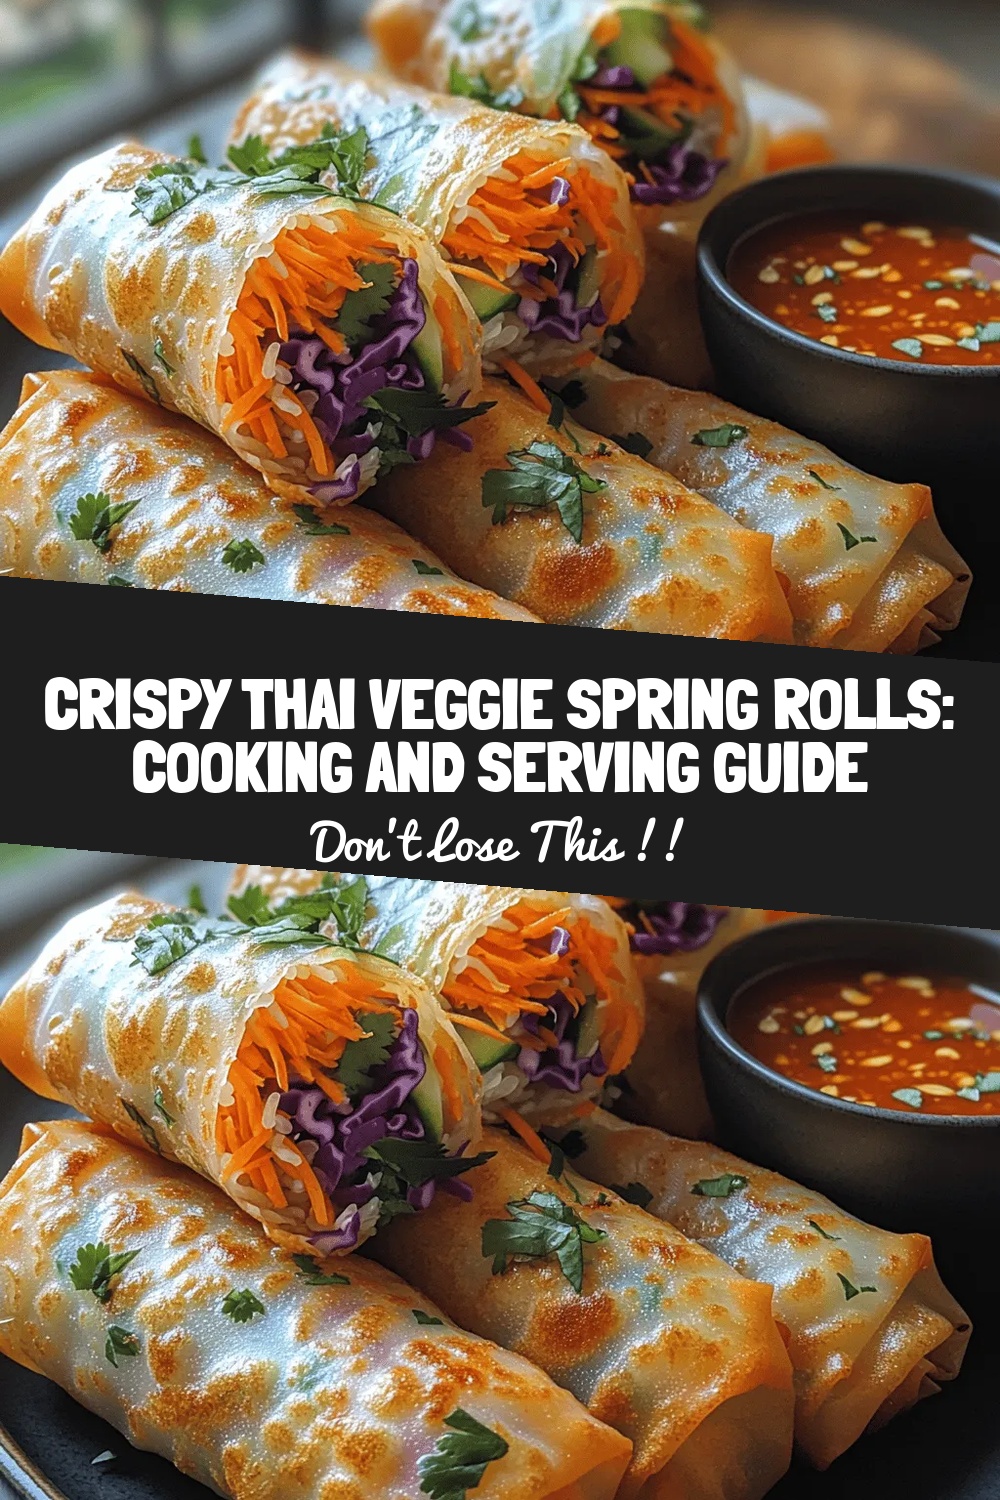
Imagine biting into a golden‑crisp roll that bursts with the bright, aromatic flavors of Thailand—sweet, tangy, and just a touch spicy. These Crispy Thai Veggie Spring Rolls deliver that experience in every mouthful, making them the perfect crowd‑pleaser for any gathering.
What sets this recipe apart is the balance between a light, vegetable‑filled interior and a satisfyingly crunchy coating that stays crisp even after a quick fry. A quick dip in our homemade peanut‑chili sauce adds depth without overwhelming the fresh vegetables.
Veggie lovers, party hosts, and anyone craving a wholesome snack will adore these rolls. Serve them as an appetizer at dinner parties, a snack during movie night, or a tasty side at a summer barbecue.
The process is straightforward: prep the fillings, roll the rice paper, coat each roll in a seasoned breadcrumb mixture, and fry until golden. A few simple steps, and you’ll have a restaurant‑quality starter ready in under an hour.
Why You'll Love This Recipe
Fresh, Vibrant Flavors: The combination of carrots, bell peppers, cabbage, and herbs delivers a crunchy, colorful bite that feels as lively as a Thai street market.
Quick & Easy Prep: With just a few minutes of chopping and rolling, you can have a batch of rolls ready to fry, perfect for busy weeknights.
Crispy Without Deep Frying: A light coating of seasoned panko and a brief pan‑fry give you that satisfying crunch without the heaviness of a full deep‑fry.
Customizable & Healthy: Swap vegetables, add tofu or shrimp, and control the oil—making the dish as light or indulgent as you like.
Tips & Tricks
Perfecting the Recipe
Dry the fillings. After tossing vegetables, pat them lightly with a clean kitchen towel. Excess moisture can make the rice paper soggy and cause the coating to slide off during frying.
Use a non‑stick skillet. A well‑seasoned non‑stick pan reduces the amount of oil needed and helps achieve an even golden crust without sticking.
Don’t over‑coat. A thin, even layer of breadcrumbs gives crunch without overwhelming the delicate roll. Tap off excess crumbs before frying.
Rest before serving. Let the rolls sit for 2‑3 minutes after frying; this allows steam to escape, preserving the crisp exterior.
Flavor Enhancements
Add a teaspoon of toasted sesame oil to the peanut‑chili sauce for a nutty depth, or sprinkle toasted sesame seeds over the finished rolls. A dash of fish sauce in the filling mix introduces authentic umami without being overpowering.
Common Mistakes to Avoid
Avoid soaking the rice paper too long—over‑softened sheets tear easily. Also, never add the rolls to cold oil; the temperature shock causes the coating to absorb oil and become soggy. Finally, don’t skip the paper towel step; residual oil will make the rolls greasy.
Pro Tips
Make a “dry run.” Assemble one roll first, fry it, and taste. Adjust seasoning, sauce consistency, or coating thickness before committing to the whole batch.
Keep the oil temperature steady. Use a thermometer; if the temperature drops below 325°F (163°C) between batches, the rolls will absorb more oil.
Use a bamboo steamer for reheating. It revives crispness better than a microwave, preserving the coating’s texture.
Prep ahead. Fillings and sauce can be made up to 24 hours in advance and stored separately, cutting down on day‑of preparation.
Variations
Ingredient Swaps
Swap the rice noodles for thinly sliced shiitake mushrooms for an earthy bite, or replace carrots with julienned purple cabbage for extra color. For protein, add pan‑seared shrimp, cubed tofu, or shredded chicken. If you love heat, fold in thinly sliced Thai bird chilies with the vegetables.
Dietary Adjustments
Use gluten‑free tamari and certified gluten‑free panko for a safe option. Replace peanut butter with almond or cashew butter for a nut‑allergy‑friendly sauce. For a low‑carb version, omit the rice noodles and increase the veggie ratio; the rolls stay light while still satisfying.
Serving Suggestions
Pair the rolls with jasmine rice or coconut‑infused quinoa for a more substantial meal. A crisp cucumber‑mint salad drizzled with lime vinaigrette adds refreshing contrast. For a party platter, include additional dips such as sweet chili sauce, hoisin‑peanut blend, or a simple soy‑ginger glaze.
Storage Info
Leftover Storage
Allow the rolls to cool completely, then place them in an airtight container lined with parchment paper to prevent sticking. Store in the refrigerator for up to 3 days. If you need longer storage, freeze the un‑fried, coated rolls on a baking sheet, then transfer to a zip‑top freezer bag; they’ll keep for up to 2 months.
Reheating Instructions
For refrigerated leftovers, reheat in a preheated 375°F (190°C) oven on a wire rack for 10‑12 minutes, turning halfway, until the coating regains its crunch. Frozen rolls can be baked directly from the freezer at 400°F (200°C) for 15‑18 minutes. Avoid microwaving, as it softens the coating.
Frequently Asked Questions
Can I make these spring rolls ahead of time?
What if I don’t have a deep fryer?
Can I freeze the cooked rolls?
What side dishes pair best with these rolls?
This Crispy Thai Veggie Spring Roll guide walks you through every step—from selecting crisp vegetables and mastering the perfect coating to creating a bold peanut‑chili dip. By following the detailed instructions, tips, and storage advice, you’ll consistently produce rolls that are crunchy, flavorful, and restaurant‑worthy. Feel free to experiment with protein swaps or spice levels to make the dish truly yours. Enjoy the satisfying crunch and fresh Thai flavors at your next gathering!
Crispy Thai Veggie Spring Rolls: Cooking and Serving Guide
Delicious Crispy Thai Veggie Spring Rolls: Cooking and Serving Guide
Ingredients
Main Ingredients
- 12 rice paper wrappers
- 1 cup shredded green cabbage
- ½ cup julienned carrots
- ½ cup thinly sliced red bell pepper
- ¼ cup fresh mint leaves, torn
- ¼ cup fresh cilantro leaves, chopped
- ½ cup cooked rice noodles, cooled
Coating & Frying
- ½ cup panko breadcrumbs
- 1 tablespoon cornstarch
- ½ teaspoon garlic powder
- ¼ teaspoon white pepper
- Vegetable oil for pan‑frying (about 2 cups)
Peanut‑Chili Dipping Sauce
- ¼ cup creamy peanut butter
- 2 tablespoons soy sauce (or tamari for gluten‑free)
- 1 tablespoon lime juice
- 1 tablespoon honey or agave syrup
- ½ teaspoon sriracha (adjust to heat preference)
- 2 teaspoons warm water (to thin)
Instructions
Assembling the Rolls
- Place the filling. Spoon about 2‑3 tablespoons of the vegetable mixture onto the lower third of the softened rice paper, leaving a small border on the edges.
- Fold and roll. Fold the bottom edge over the filling, then fold the sides inward like an envelope. Continue rolling tightly until the top edge meets the bottom, forming a compact cylinder. The rice paper will seal itself with a little moisture.
- Seal with water. Dab a fingertip of water on the final edge to ensure a tight seal. Repeat with the remaining sheets, keeping finished rolls covered with a damp towel to prevent drying.
Pan‑Frying to Golden Perfection
- Heat the oil. Pour vegetable oil into a large skillet to a depth of about ½ inch. Heat over medium‑high until a small breadcrumb sizzles upon contact (≈ 350°F/175°C). This temperature ensures a quick seal without soaking the rolls.
- Fry the rolls. Gently place 2‑3 coated rolls into the hot oil, being careful not to overcrowd. Fry for 2‑3 minutes per side, turning once, until the coating turns a uniform golden‑brown and feels crisp to the touch.
- Drain excess oil. Transfer the fried rolls onto a plate lined with paper towels. Pat the tops lightly to remove surface oil, preserving crunch.
Similar Recipes
 Appetizers
Chickpea Delight Wraps: A Perfect Plant-Based Meal
Delicious Chickpea Delight Wraps: A Perfect Plant-Based Meal
 Appetizers
Sweet Potato Cinnamon Crunch Casserole
Learn how to make delicious Sweet Potato Cinnamon Crunch Casserole. Easy recipe with step-by-step instructions.
 Appetizers
Balsamic Bliss Wraps: Your Ultimate Guide to a Healthy Delight
Delicious Balsamic Bliss Wraps: Your Ultimate Guide to a Healthy Delight
 Appetizers
Healthy Creamy Pumpkin Soup with Coconut Milk for Creaminess
Learn how to make delicious Healthy Creamy Pumpkin Soup with Coconut Milk for Creaminess. Easy recipe…
 Appetizers
Smoky Maple Bacon Brussels: A Deliciously Unique Recipe
Delicious Smoky Maple Bacon Brussels: A Deliciously Unique Recipe
 Appetizers
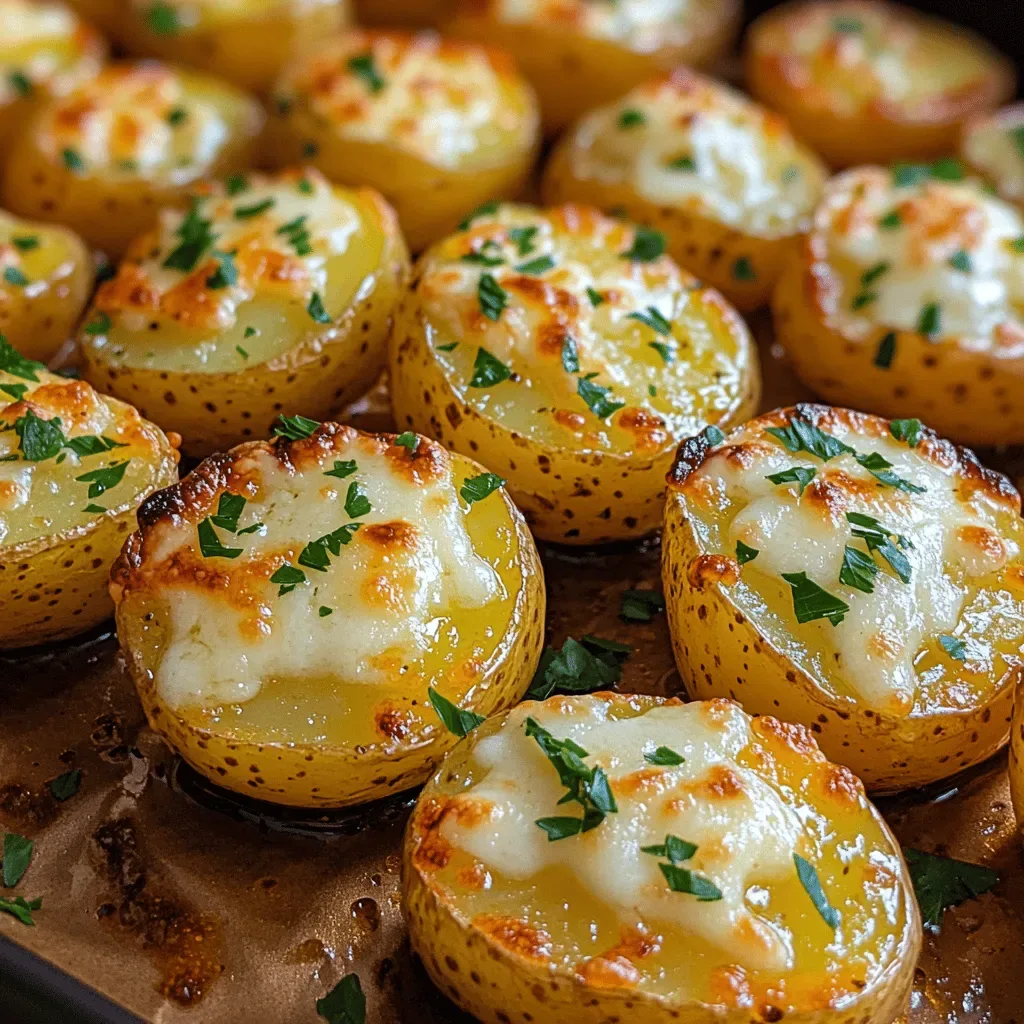
Crispy Air Fryer Baked Garlic Parmesan Potatoes: A Delicious and Healthy Delight
Delicious Crispy Air Fryer Baked Garlic Parmesan Potatoes: A Delicious and Healthy Delight
 Appetizers
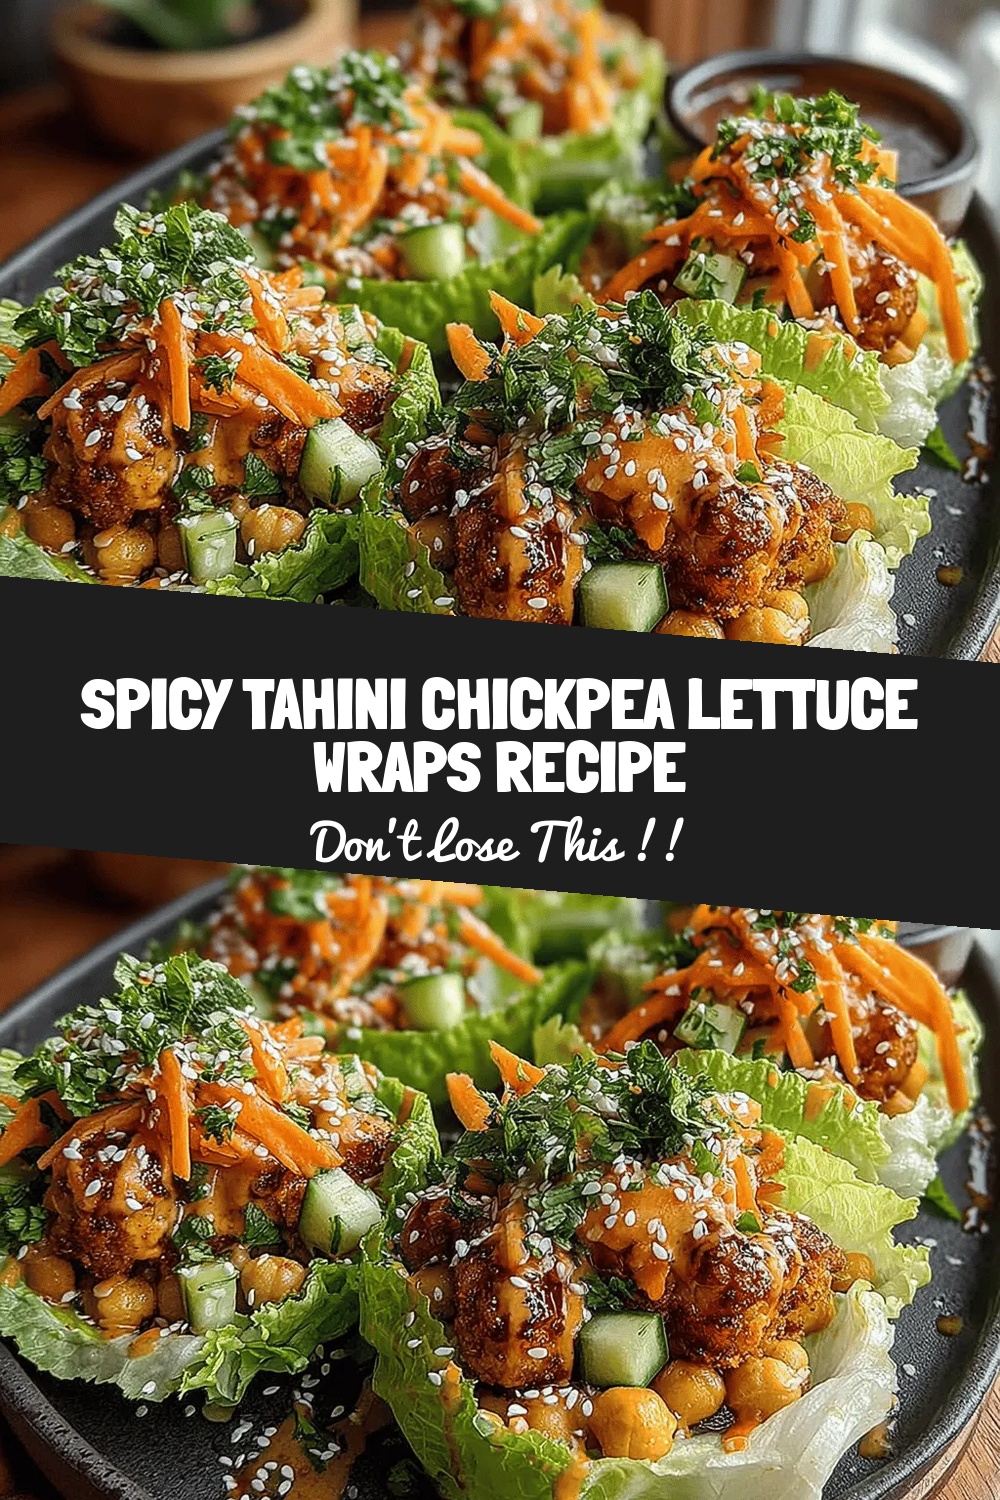
Spicy Tahini Chickpea Lettuce Wraps Recipe
Delicious Spicy Tahini Chickpea Lettuce Wraps Recipe
 Appetizers
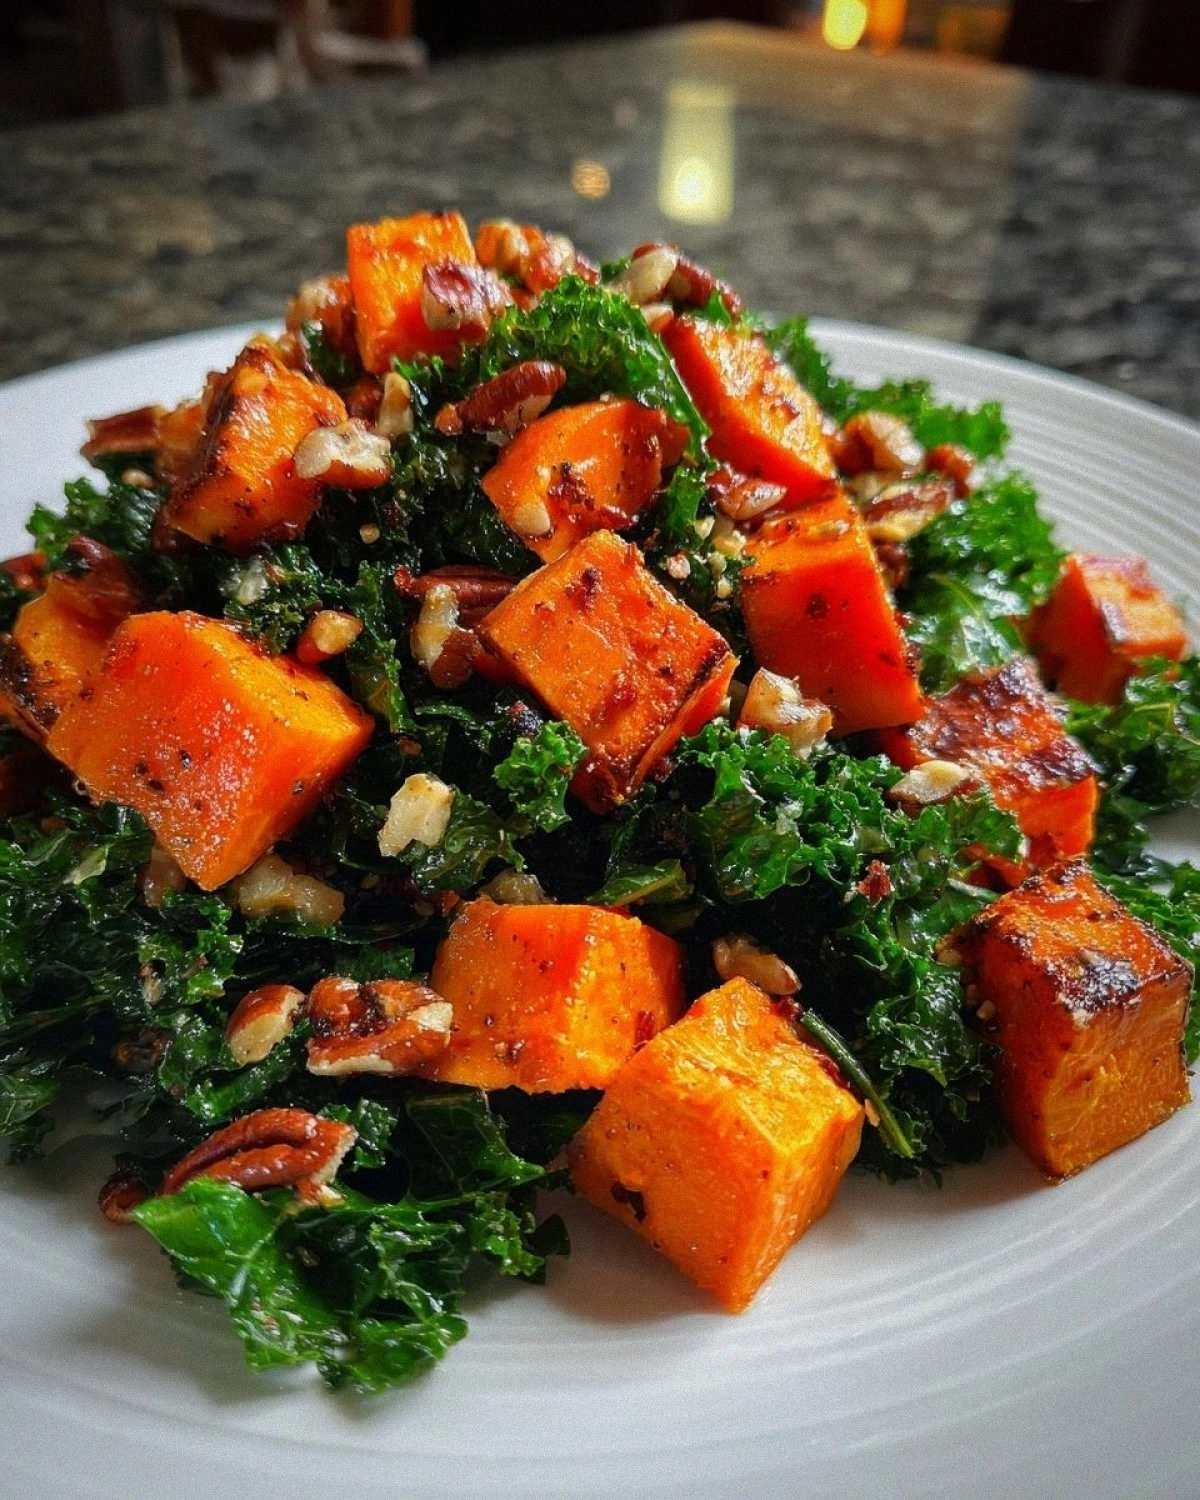
Amazing Roasted Sweet Potato and Kale Salad Joy
Learn how to make delicious Amazing Roasted Sweet Potato and Kale Salad Joy. Easy recipe with…

Clara
I cook these recipes at home before they ever land here — simple ingredients, clear steps.