Crunchy Garlic Herb Roasted Chickpeas Recipe
 Save
Save
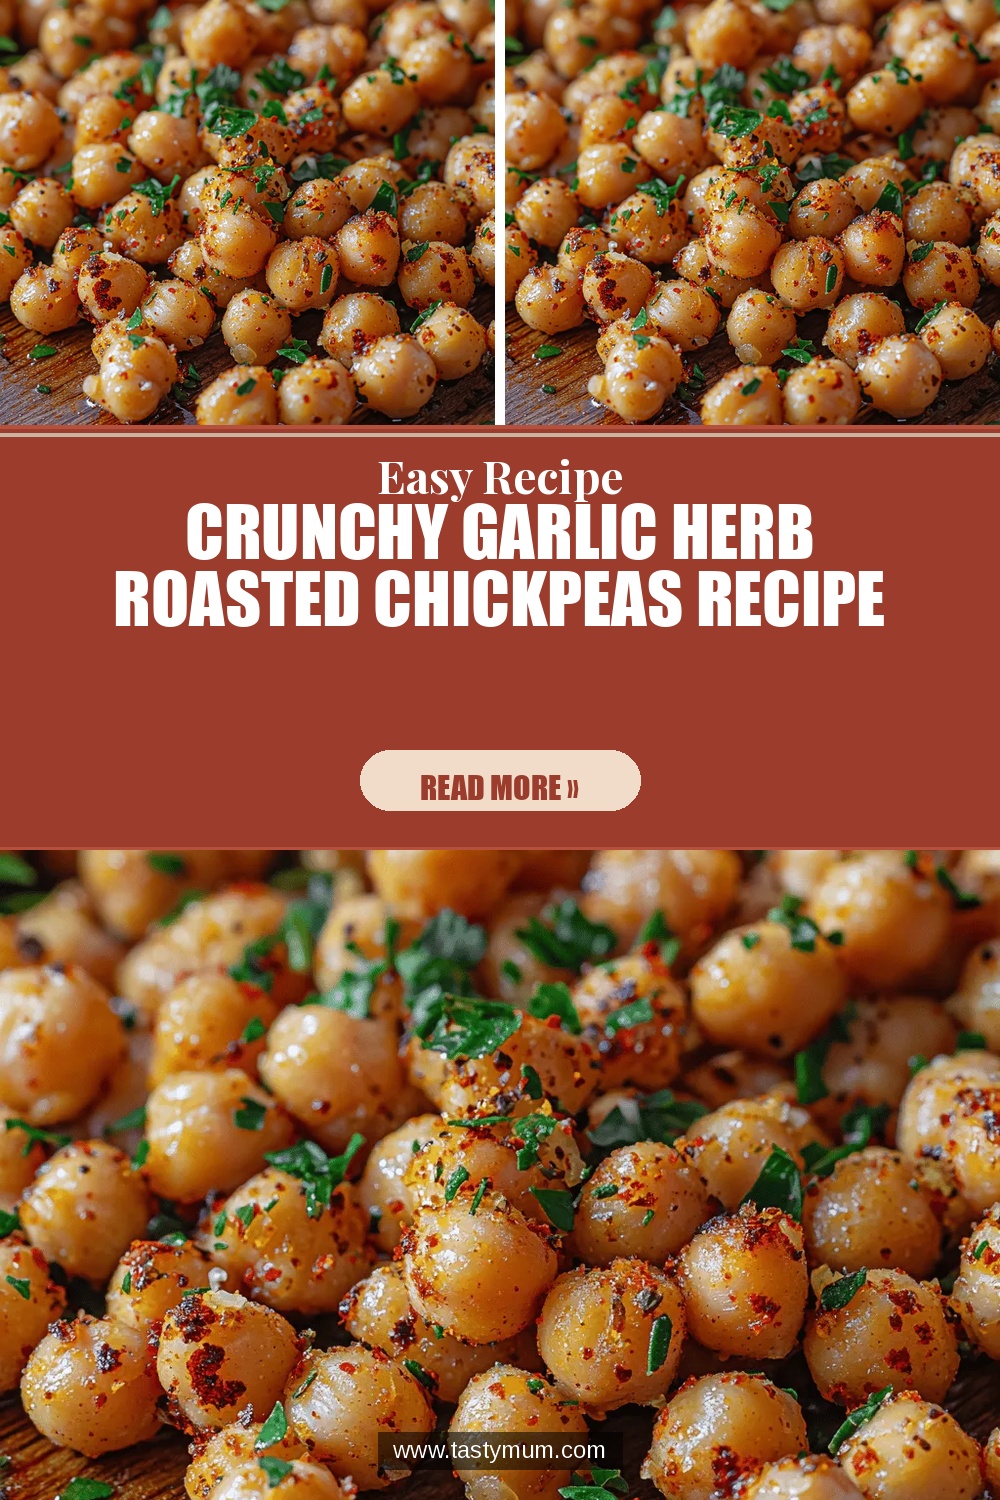
Imagine a snack that crackles with every bite, delivering a bold garlicky punch balanced by fresh herbs—welcome to the world of Crunchy Garlic Herb Roasted Chickpeas. This simple yet addictive dish turns pantry‑staple chickpeas into a gourmet‑worthy side that’s perfect for any occasion.
What makes it special is the marriage of high‑heat roasting, which creates an irresistible crunch, with a fragrant herb‑garlic coating that clings to each pea. A dash of smoked paprika adds a subtle smokiness, while lemon zest lifts the flavor profile with a bright, citrusy finish.
Everyone from busy professionals craving a quick snack to home cooks looking for a wholesome side will love this recipe. It’s ideal for dinner tables, potluck spreads, or even as a protein‑packed topping for salads and grain bowls.
The process is straightforward: rinse and dry the chickpeas, toss them in a seasoned oil blend, then roast until golden. In just half an hour you’ll have a golden, aromatic dish that stays crispy even after cooling.
Why You'll Love This Recipe
Bold Garlic‑Herb Flavor: Fresh garlic, rosemary, thyme, and parsley create a fragrant, layered taste that makes each bite feel gourmet while staying completely plant‑based.
Ultimate Crunch: High‑heat roasting drives out moisture, turning each chickpea into a crisp, satisfying morsel that rivals any store‑bought snack.
Protein‑Rich & Healthy: Chickpeas deliver plant protein, fiber, and essential minerals, making this dish a nutritious alternative to traditional fried snacks.
Versatile & Easy: Minimal prep, pantry‑friendly ingredients, and a single‑sheet‑pan method mean you can whip it up any night without fuss.
Tips & Tricks
Perfecting the Recipe
Dry Thoroughly. Pat chickpeas completely dry; even a few droplets of water will steam them and ruin the crunch.
Single‑Layer Spread. Overcrowding traps moisture. Use two sheets if you have a lot of chickpeas.
Mid‑Roast Stir. A quick toss halfway through ensures even browning on all sides.
Cool to Harden. Let the chickpeas rest a few minutes after roasting; they crisp up further as they cool.
Flavor Enhancements
Add a squeeze of fresh lemon juice right before serving for a bright pop. For a subtle heat, sprinkle a pinch of red‑pepper flakes with the herbs. A drizzle of tahini or a sprinkle of grated Parmesan (if not vegan) adds richness.
Common Mistakes to Avoid
Skipping the drying step leads to soggy beans. Using too much oil makes the chickpeas greasy rather than crisp. Also, avoid turning the oven down during the second roast; the high heat is essential for that final crunch.
Pro Tips
Use Fresh Herbs. Fresh parsley and thyme give a brighter flavor than dried, especially when added after roasting.
Season While Hot. Toss the chickpeas with a pinch more salt immediately after they exit the oven; they’ll absorb it better.
Batch Roast. If you need larger quantities, roast in batches rather than overloading a single sheet.
Store Properly. Keep leftovers in an airtight container with a paper towel to absorb excess moisture and preserve crunch.
Variations
Ingredient Swaps
Swap canned chickpeas for cooked dry chickpeas for a slightly earthier texture. Try different herb combos—basil and oregano for an Italian twist, or cilantro and cumin for a Mexican flair. Replace smoked paprika with curry powder for an exotic note, and use maple syrup instead of nutritional yeast for a sweet‑savory balance.
Dietary Adjustments
The recipe is naturally vegan and gluten‑free. For a low‑sodium version, reduce the added salt and rely on the natural flavor of the herbs. If you need a lower‑fat option, halve the olive oil and finish the chickpeas with a light spray of cooking oil before the final roast.
Serving Suggestions
Serve the crunchy chickpeas as a protein‑rich topping for mixed greens, grain bowls, or avocado toast. They also make a satisfying side alongside grilled fish or roasted chicken. For a party vibe, place them in a bowl with a small dish of spicy aioli for dipping.
Storage Info
Leftover Storage
Allow the chickpeas to cool completely, then transfer them to an airtight container. Store in the refrigerator for up to 4 days. For longer keeping, portion into freezer‑safe bags, squeeze out excess air, and freeze for up to 3 months. Thaw in the fridge before reheating.
Reheating Instructions
Re‑crisp in a preheated 350°F (175°C) oven for 8‑10 minutes, spreading them in a single layer. This restores the crunch without drying them out. If you’re short on time, a quick 2‑minute blast in a hot skillet with a splash of oil works well, but avoid the microwave as it makes them soggy.
Frequently Asked Questions
Can I make this recipe ahead of time?
Can I use dried chickpeas instead of canned?
What are the best sides to serve with these chickpeas?
How do I keep the chickpeas crunchy after storing?
This Crunchy Garlic Herb Roasted Chickpeas recipe delivers bold flavor, satisfying crunch, and wholesome nutrition with just a handful of pantry staples. By following the step‑by‑step guide, mastering the drying and roasting techniques, and using the provided tips, you’ll achieve a snack that’s perfect on its own or as a vibrant side. Feel free to experiment with herbs, spices, or add‑ins to make it truly yours. Enjoy the crispy, garlicky goodness at dinner, as a snack, or anytime you crave a healthy bite!
Crunchy Garlic Herb Roasted Chickpeas Recipe
Delicious Crunchy Garlic Herb Roasted Chickpeas Recipe
Ingredients
Main Ingredients
- 2 (15‑oz) cans chickpeas, drained and rinsed
- 2 tablespoons extra‑virgin olive oil
Herb Marinade
- 3 cloves garlic, minced
- 1 teaspoon dried rosemary
- 1 teaspoon dried thyme
- 2 tablespoons fresh parsley, finely chopped
- 1 tablespoon lemon zest
Seasonings & Optional Add‑Ins
- ½ teaspoon smoked paprika
- ½ teaspoon sea salt
- ¼ teaspoon freshly ground black pepper
- 2 tablespoons nutritional yeast (optional, for extra umami and crispness)
Instructions
Roasting to Perfection
- Preheat Oven. Set your oven to 425°F (220°C) and let it fully heat—this high temperature is crucial for creating a crispy exterior while keeping the interior tender.
- Arrange on a Sheet. Spread the seasoned chickpeas in a single layer on a parchment‑lined baking sheet. Avoid overlapping; each pea needs direct exposure to the hot air for even browning.
- First Roast. Roast for 12‑15 minutes, then remove the pan and give the chickpeas a quick stir to expose the bottom side. This step ensures uniform color and prevents burning.
- Second Roast. Return the pan to the oven and continue roasting for another 10‑12 minutes, or until the chickpeas turn deep golden‑brown and feel firm to the touch. They should emit a nutty aroma.
- Add Optional Nutritional Yeast. In the final two minutes, sprinkle the nutritional yeast over the chickpeas and give a gentle toss. The yeast will lightly crisp, adding a cheesy, umami boost.
Similar Recipes
 Appetizers
Chipotle Garlic Sauce with Sour Cream Recipe – Easy & Creamy
Learn how to make delicious Chipotle Garlic Sauce with Sour Cream Recipe – Easy & Creamy.…
 Appetizers
Zesty Creamy Cilantro Lime Dip Recipe
Delicious Zesty Creamy Cilantro Lime Dip Recipe
 Appetizers
Colorful Mini Sandwich Skewers
Delicious Colorful Mini Sandwich Skewers
 Appetizers
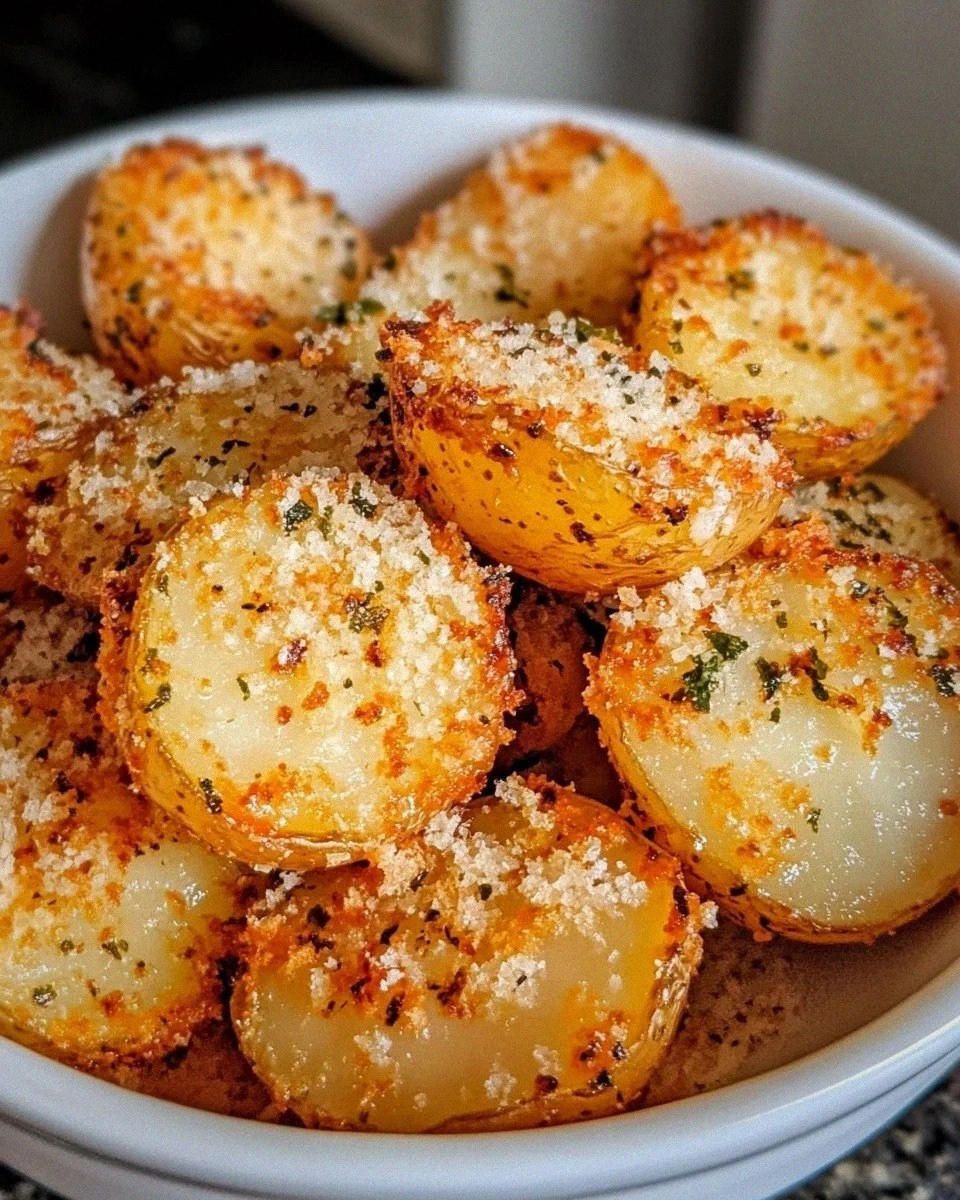
Crispy Parmesan Baby Potatoes
Learn how to make delicious Crispy Parmesan Baby Potatoes. Easy recipe with step-by-step instructions.
 Appetizers
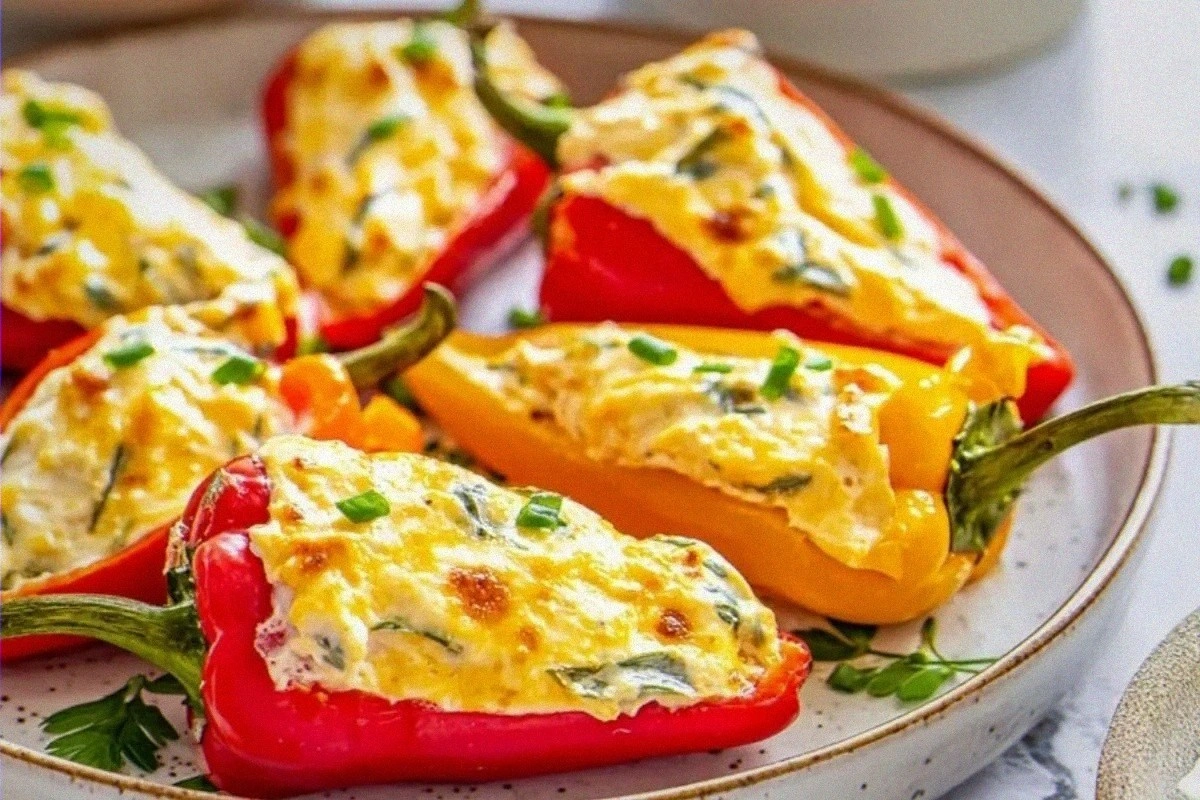
Easy Cream Cheese Stuffed Peppers Appetizer
Learn how to make delicious Easy Cream Cheese Stuffed Peppers Appetizer. Easy recipe with step-by-step instructions.
 Appetizers
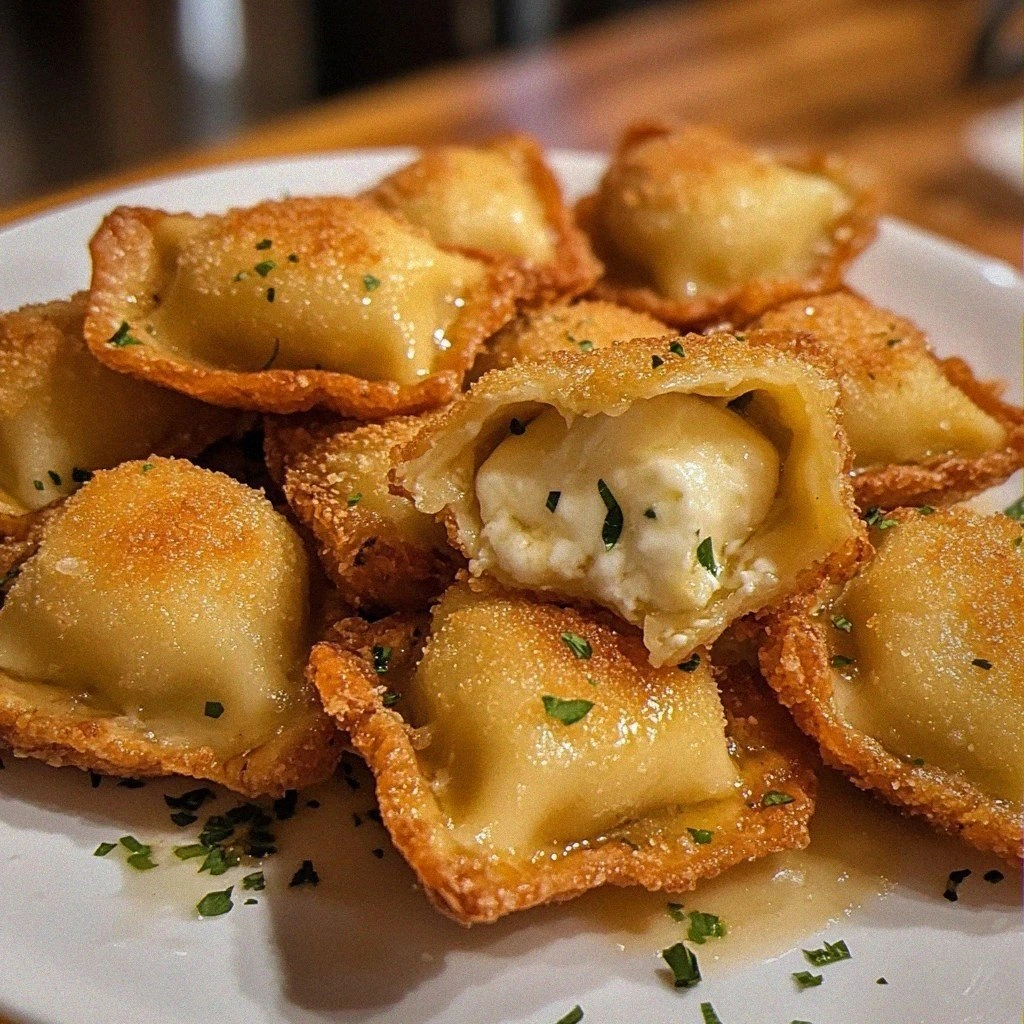
Indulge in Delicious Mozzarella-Stuffed Fried Ravioli Bites Today!
Learn how to make delicious Indulge in Delicious Mozzarella-Stuffed Fried Ravioli Bites Today!. Easy recipe with…
 Appetizers
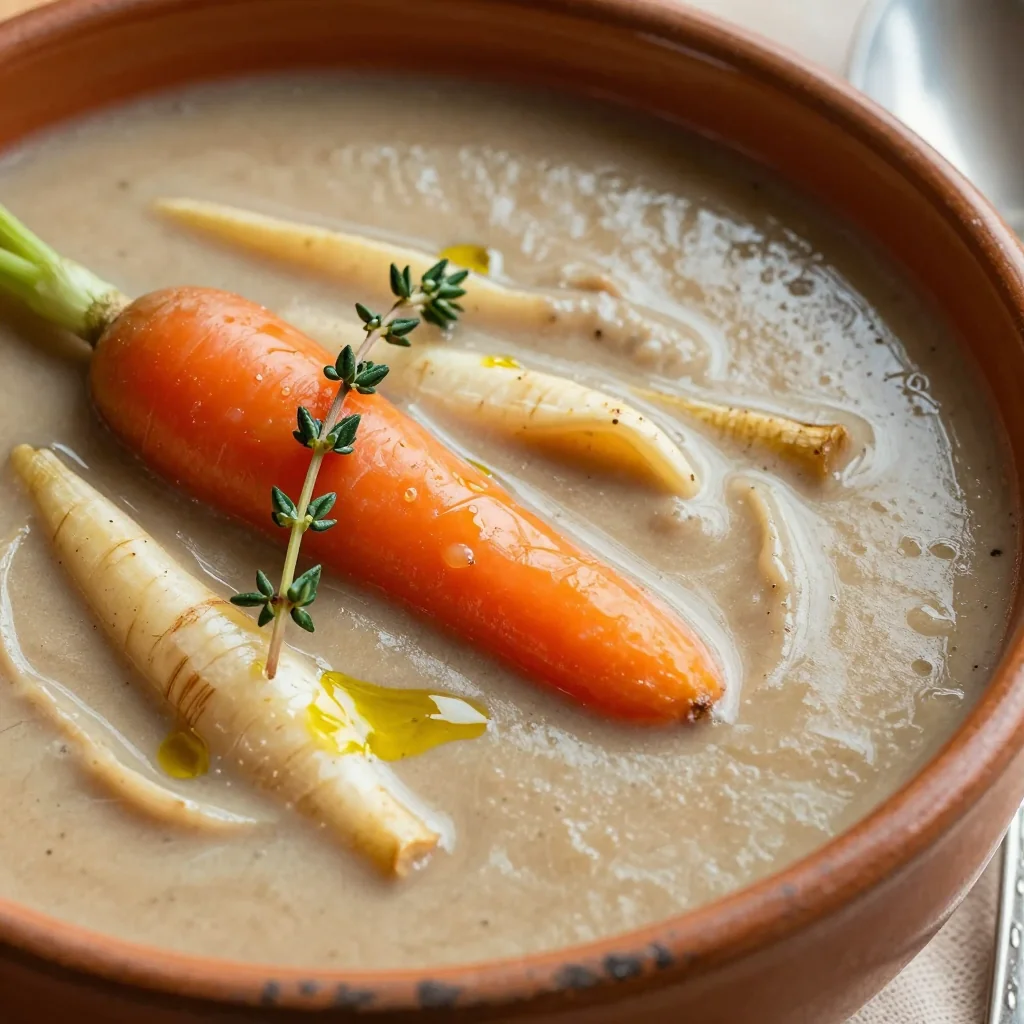
warm carrot and parsnip soup with fresh thyme for winter comfort
Learn how to make delicious warm carrot and parsnip soup with fresh thyme for winter comfort.…
 Appetizers
Christmas Mix Snack: 5 Festive Flavors to Delight You
Learn how to make delicious Christmas Mix Snack: 5 Festive Flavors to Delight You. Easy recipe…

Clara
I cook these recipes at home before they ever land here — simple ingredients, clear steps.