Decadent No-Bake Brownie Batter Bites: The Ultimate Recipe
 Save
Save
Imagine sinking your teeth into a bite‑size treat that feels like a brownie, yet never touches an oven. These Decadent No‑Bake Brownie Batter Bites deliver that dreamy, fudgy indulgence in a fraction of the time, making them perfect for spontaneous cravings or elegant dessert tables.
What sets this recipe apart is the silky chocolate‑cocoa base combined with a hint of espresso and a buttery, nut‑infused crust that stays perfectly firm without baking, preserving the deep, glossy sheen of a classic brownie.
Chocolate lovers, busy parents, and anyone who craves a quick, elegant sweet will adore these bites. Serve them at birthday parties, after‑dinner gatherings, or as a midnight treat when you need a luxurious pick‑me‑up.
The process is straightforward: blend the dry ingredients, whisk in the wet components, press the mixture into mini silicone molds, chill until set, and finish with a drizzle of ganache or a sprinkle of sea salt. No oven, no fuss, pure pleasure.
Why You'll Love This Recipe
Zero‑Bake Simplicity: Skip the oven and still achieve a dense, fudgy texture that rivals traditional brownies, saving energy and time for busy schedules.
Portion‑Perfect Bites: Each bite is pre‑measured, making it effortless to serve a crowd or keep calories in check without guesswork.
Customizable Flavors: The base welcomes espresso, orange zest, or toasted nuts, allowing you to tailor the flavor profile to any occasion.
Kid‑Friendly Fun: Kids can help press the mixture into molds, turning dessert prep into a playful activity that ends with a delicious reward.
Tips & Tricks
Perfecting the Recipe
Use a thermometer. Keep the chocolate‑butter mixture between 115‑120°F before adding cream; this prevents the butter from solidifying too quickly and ensures a smooth batter.
Press firmly. A compact batter yields a dense, brownie‑like texture. Lightly tapping the mold on the counter after pressing removes air pockets.
Flavor Enhancements
Add a teaspoon of vanilla extract for aromatic depth, or fold in orange zest for a citrus‑bright twist. A pinch of cayenne pepper can introduce a subtle heat that elevates the chocolate flavor without overwhelming the palate.
Common Mistakes to Avoid
Do not over‑heat the chocolate; scorching creates a bitter aftertaste. Also, avoid using low‑fat butter—it won’t provide the same richness, leading to a crumbly bite. Finally, never skip the chilling step; insufficient set time results in a soft, messy bite.
Pro Tips
Toast nuts beforehand. Lightly toasting walnuts releases their oils and intensifies flavor, giving each bite an extra layer of nuttiness.
Use high‑quality chocolate. A good chocolate with at least 70% cacao provides the deep, complex flavor essential for a true brownie experience.
Store in a single layer. When refrigerating, place bites on a parchment‑lined tray before covering; this prevents them from sticking together.
Finish with a glaze. Warm a small amount of chocolate and drizzle quickly for a glossy finish that sets within minutes.
Variations
Ingredient Swaps
Swap dark chocolate for milk chocolate for a milder, sweeter bite, or use white chocolate with a dash of raspberry puree for a fruity contrast. Replace walnuts with toasted pistachios or almond slivers for different textures and flavors.
Dietary Adjustments
For a vegan version, substitute butter with coconut oil and use a plant‑based cream (coconut or oat). Choose a sugar‑free powdered sweetener to keep carbs low, and ensure the chocolate is dairy‑free. Gluten concerns are minimal, but always verify that any add‑ins are certified gluten‑free.
Serving Suggestions
Plate the bites on a slate board with fresh berries and a dollop of whipped coconut cream. For an elegant touch, serve them alongside a scoop of vanilla bean ice cream and a drizzle of salted caramel. Pair with a robust espresso or a glass of chilled red wine for an adult‑only indulgence.
Storage Info
Leftover Storage
Allow the bites to cool completely, then transfer them to an airtight container. Store in the refrigerator for up to 5 days. For longer keeping, place them in a freezer‑safe bag, squeeze out excess air, and freeze for up to 3 months. Thaw in the fridge before serving.
Reheating Instructions
To enjoy a warm bite, place a few bites on a microwave‑safe plate, cover loosely with a damp paper towel, and microwave on medium power for 15‑20 seconds. Alternatively, warm them in a pre‑heated 300°F oven for 5‑7 minutes; the exterior will soften while the interior stays luscious.
Frequently Asked Questions
Can I make these bites ahead of time for a party?
What if I don’t have a silicone mold?
Can I substitute the heavy cream?
How do I achieve a glossy finish without a glaze?
This no‑bake brownie batter bite recipe delivers rich, fudgy indulgence in a fraction of the time, with simple steps, versatile variations, and fool‑proof storage tips. By mastering the balance of chocolate, butter, and cream, you’ll create a dessert that feels luxurious yet effortless. Feel free to experiment with nuts, citrus, or spice to make it uniquely yours. Enjoy every bite, and let these treats become a staple for celebrations, cravings, or simply a sweet pause in your day.
Decadent No-Bake Brownie Batter Bites: The Ultimate Recipe
Delicious Decadent No-Bake Brownie Batter Bites: The Ultimate Recipe
Ingredients
Base Ingredients
- 1 cup dark chocolate chips (70% cacao)
- 1/2 cup unsalted butter, melted
- 1/3 cup heavy cream
Dry Mix
- 3/4 cup powdered sugar
- 1/2 cup unsweetened cocoa powder
- 2 tablespoons instant espresso powder
- 1/4 teaspoon sea salt
Add‑Ins & Toppings
- 1/4 cup toasted chopped walnuts (optional)
- Extra dark chocolate for drizzling
- Flaky sea salt for garnish
Instructions
Bringing It All Together
- Incorporate the chocolate. Pour the warm chocolate‑cream mixture into the dry ingredient well. Fold gently with a rubber spatula until the batter is thick, glossy, and fully combined. Over‑mixing can introduce excess air, which may cause the bites to become crumbly after chilling.
- Add optional mix‑ins. If using, fold in the toasted walnuts now. Their buttery crunch will remain distinct after the batter sets, providing textural contrast.
- Prepare the molds. Lightly grease a silicone mini‑muffin or bite‑size mold with a dab of melted butter. This ensures clean release once the bites have chilled.
- Press the batter. Spoon the batter into each cavity, pressing down firmly with the back of a spoon or a small spatula. Aim for a uniform height of about 1‑inch; this promotes even setting and a professional appearance.
- Chill to set. Transfer the filled mold to the refrigerator and chill for at least 30 minutes, or until the bites are firm to the touch. The cold temperature solidifies the butter and cream, giving the bites a firm yet tender bite.
Similar Recipes
 Desserts
Rolo-Packed Gooey Brownies: A Chocolate Lover’s Dream
Delicious Rolo-Packed Gooey Brownies: A Chocolate Lover’s Dream
 Desserts
PEACH BARS: HEAVENLY & EASY
Learn how to make delicious PEACH BARS: HEAVENLY & EASY. Easy recipe with step-by-step instructions.
 Desserts
Peachy Summer Chill Galette: Step-by-Step Guide
Delicious Peachy Summer Chill Galette: Step-by-Step Guide
 Desserts
Crispy Delight: Air Fryer S’mores Bites
Delicious Crispy Delight: Air Fryer S’mores Bites
 Desserts
Irresistible Three Ingredient Peanut Butter Cookies Recipe
Learn how to make delicious Irresistible Three Ingredient Peanut Butter Cookies Recipe. Easy recipe with step-by-step…
 Desserts
Nightmare Before Christmas fudge:5x betere feestelijke verrassing
Learn how to make delicious Nightmare Before Christmas fudge:5x betere feestelijke verrassing. Easy recipe with step-by-step…
 Desserts
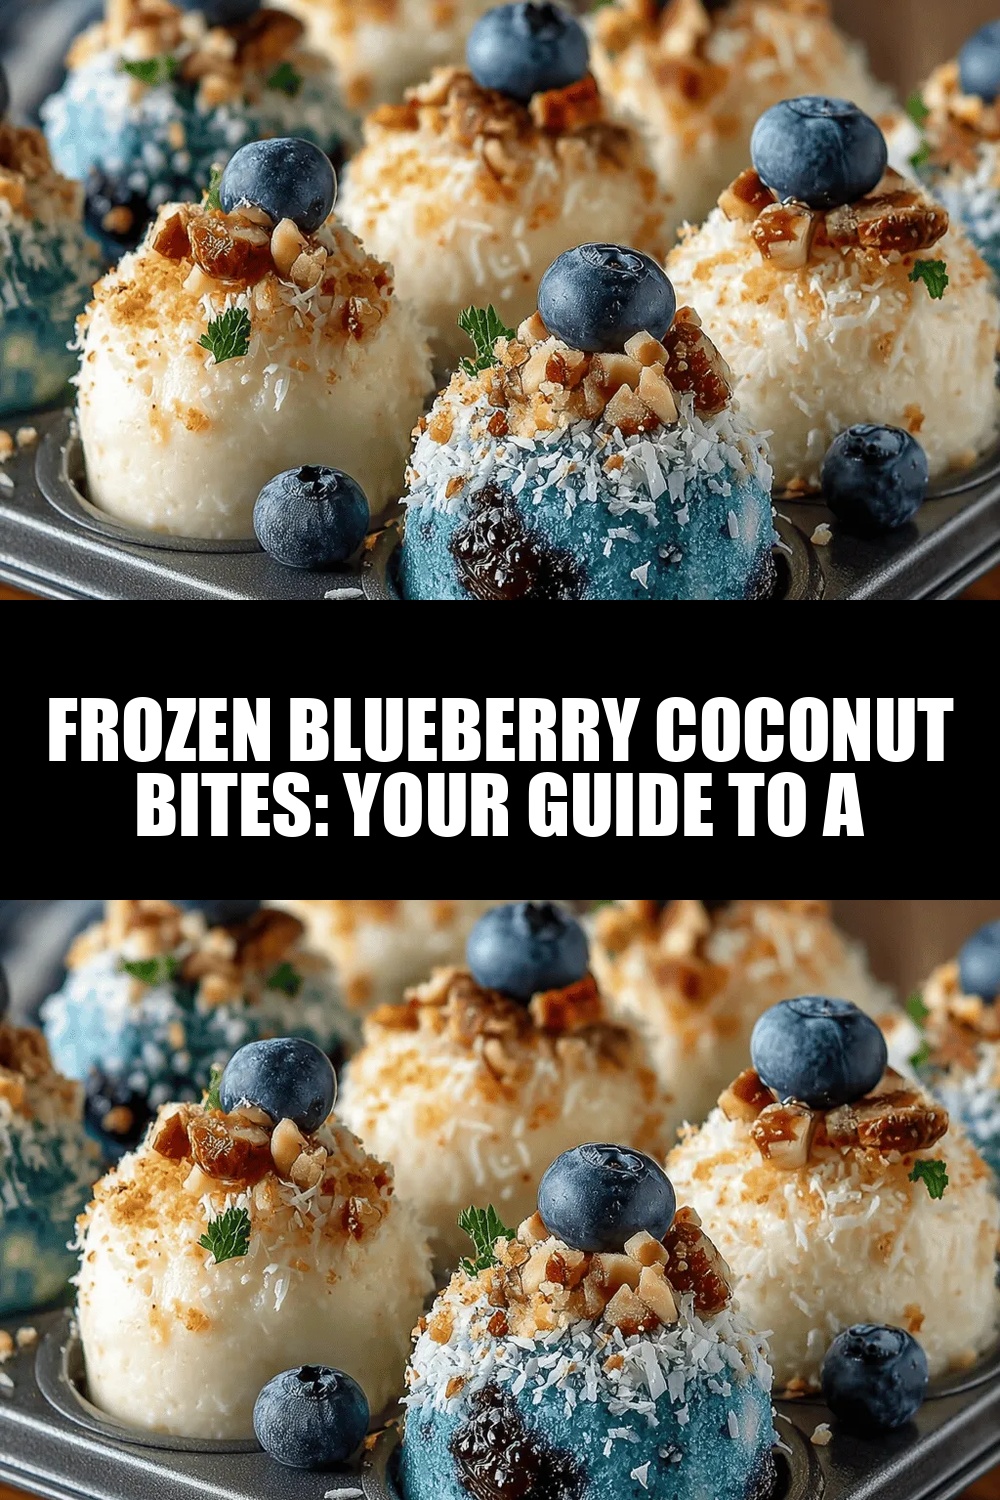
Frozen Blueberry Coconut Bites: Your Guide to a Wholesome Treat
Delicious Frozen Blueberry Coconut Bites: Your Guide to a Wholesome Treat
 Desserts
Sweet & Gooey S’mores Crescent Rolls Recipe
Delicious Sweet & Gooey S’mores Crescent Rolls Recipe

Clara
I cook these recipes at home before they ever land here — simple ingredients, clear steps.