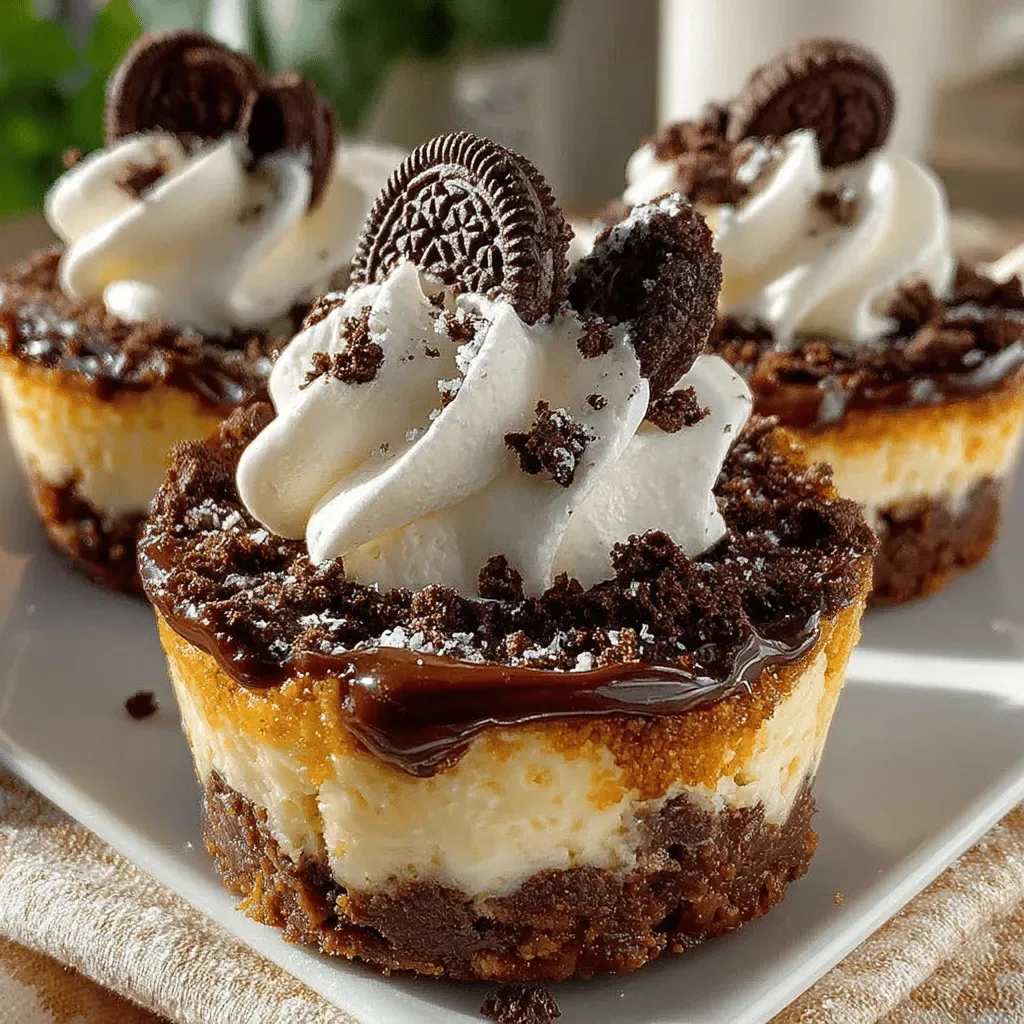
Decadent No-Bake Oreo Cheesecake Cups
 Save
Save
Imagine a dessert that delivers the indulgent richness of cheesecake without ever touching an oven. Decadent No‑Bake Oreo Cheesecake Cups bring that dream to life in just a few simple steps, perfect for a quick dinner‑time treat or an elegant after‑dinner surprise.
What makes this recipe truly special is the marriage of creamy, tangy cheesecake filling with the crunchy, chocolatey goodness of Oreo crumbs, all layered in individual cups for effortless portion control.
This dessert will win over anyone with a sweet tooth—kids, busy parents, or guests looking for a show‑stopping finale. Serve it at family gatherings, holiday parties, or whenever you crave a sophisticated yet effortless sweet.
The process is straightforward: crush the cookies, blend a silky cream cheese mixture, fold in whipped topping, assemble the cups, and let them chill until set. No baking, no fuss, just pure dessert bliss.
Why You'll Love This Recipe
Zero‑Bake Simplicity: No oven means less heat in the kitchen and a faster turnaround, perfect for warm evenings or last‑minute gatherings.
Portion‑Perfect Cups: Individual servings look polished, eliminate the need for slicing, and make plating a breeze.
Rich Oreo Flavor: Crushed Oreos create a buttery crust and a chocolate‑streaked swirl that satisfies any cookie lover.
Customizable Toppings: Fresh berries, caramel drizzle, or shaved chocolate let you tailor each cup to your personal taste.
Tips & Tricks
Perfecting the Recipe
Room‑temperature cream cheese. Soften the cheese completely before mixing; this prevents lumps and creates a silky base.
Cold whipping cream. Keep the cream and bowl chilled; cold cream whips faster and holds peaks longer.
Even crust pressure. Press the cookie crust with the back of a measuring cup for uniform thickness and stability.
Flavor Enhancements
Add a teaspoon of espresso powder to the filling for a subtle coffee note that deepens the chocolate flavor. A pinch of sea salt on the final garnish can balance the sweetness and make the Oreo taste pop.
Common Mistakes to Avoid
Do not over‑whip the cream; it can turn buttery and lose its light texture. Also, avoid skipping the final chill—serving the cups too soon results in a runny filling that won’t hold its shape.
Pro Tips
Use a food processor. For an ultra‑fine crust, pulse the Oreos in a processor instead of a zip‑top bag.
Layer flavors. Sprinkle a thin layer of cocoa powder between crust and filling for an extra chocolate depth.
Garnish just before serving. Adding fresh fruit or chocolate drizzle right before plating preserves texture and visual appeal.
Variations
Ingredient Swaps
Replace classic Oreos with chocolate‑mint or peanut‑butter varieties for a different flavor profile. For a lighter base, use crushed graham crackers mixed with a splash of coconut oil. If you prefer fruit, blend a handful of frozen berries into the filling for a natural swirl.
Dietary Adjustments
Gluten‑free diners can swap Oreos for certified gluten‑free chocolate cookies. To make it dairy‑free, use a plant‑based cream cheese (such as almond‑based) and coconut‑cream whipped instead of heavy cream. For a lower‑sugar version, substitute the condensed milk with a sugar‑free sweetened condensed alternative.
Serving Suggestions
Serve the cups alongside a dollop of whipped coconut cream for extra tropical flair, or pair them with a crisp glass of chilled dessert wine. Miniature chocolate wafers placed on the rim add a playful crunch, while a drizzle of caramel sauce turns each bite into a decadent experience.
Storage Info
Leftover Storage
Allow any remaining cups to cool completely, then seal each glass with a tight‑fitting lid or plastic wrap. Store in the refrigerator for up to 4 days. For longer keeping, transfer the filling to a freezer‑safe container, layer the crust separately, and freeze for up to 2 months. Thaw overnight in the fridge before reassembling.
Reheating Instructions
Because this is a no‑bake dessert, reheating isn’t required. If you prefer a slightly softer texture, let the cups sit at room temperature for 10 minutes before serving. For a warm twist, gently microwave a single cup for 15‑20 seconds; the crust will soften just enough to create a delightful contrast with the cool filling.
Frequently Asked Questions
Can I make these cheesecake cups ahead of time?
What if I don’t have a food processor for crushing Oreos?
How can I make the filling less sweet?
What are good toppings for a festive presentation?
This Decadent No‑Bake Oreo Cheesecake Cup recipe delivers restaurant‑level elegance with minimal effort. By mastering the crust, mastering the airy filling, and chilling to perfection, you’ll create a dessert that’s both impressive and comforting. Feel free to experiment with toppings, flavor swaps, or dietary tweaks—your creativity is the only limit. Serve, savor, and share the joy of a truly indulgent, no‑bake cheesecake experience!
Decadent No-Bake Oreo Cheesecake Cups
Delicious Decadent No-Bake Oreo Cheesecake Cups
Ingredients
Crust
- 1½ cups (about 24) Oreo cookies, finely crushed
- 3 tablespoons unsalted butter, melted
Filling
- 16 oz (2 packages) cream cheese, softened
- ½ cup sweetened condensed milk
- 1 teaspoon pure vanilla extract
- 1 cup heavy whipping cream, chilled
- 2 tablespoons powdered sugar (optional, for extra sweetness)
Garnish (Optional)
- Additional crushed Oreos
- Fresh berries (strawberries, raspberries, or blueberries)
- Chocolate shavings or drizzle
Instructions
Forming the Base
- Press the crust. Evenly divide the buttered crumbs among eight 4‑oz serving glasses. Using the back of a spoon, press each portion firmly against the sides and bottom of the glass, creating a compact layer. A tight crust prevents the filling from sinking and gives a pleasant crunch with each bite.
- Chill the crust. Place the glasses in the refrigerator for about 10 minutes. This short chill solidifies the butter, locking the crust in place before the filling arrives.
Making the Cream Cheese Filling
- Blend cheese and sweetener. In a large mixing bowl, beat the softened cream cheese with an electric mixer on medium speed until smooth and free of lumps, about 2 minutes. Add the sweetened condensed milk and vanilla extract, then continue mixing until the mixture is uniform and glossy.
- Whip the cream. In a separate chilled bowl, whip the heavy cream (and powdered sugar, if using) on high speed until stiff peaks form, roughly 3–4 minutes. The stiff peaks will give the filling a light, airy texture.
- Fold together. Gently fold the whipped cream into the cream‑cheese mixture using a spatula. Incorporate it in two additions, turning the bowl over each time. This technique preserves the air you’ve beaten into the cream, ensuring a mousse‑like consistency.
Similar Recipes
 Desserts
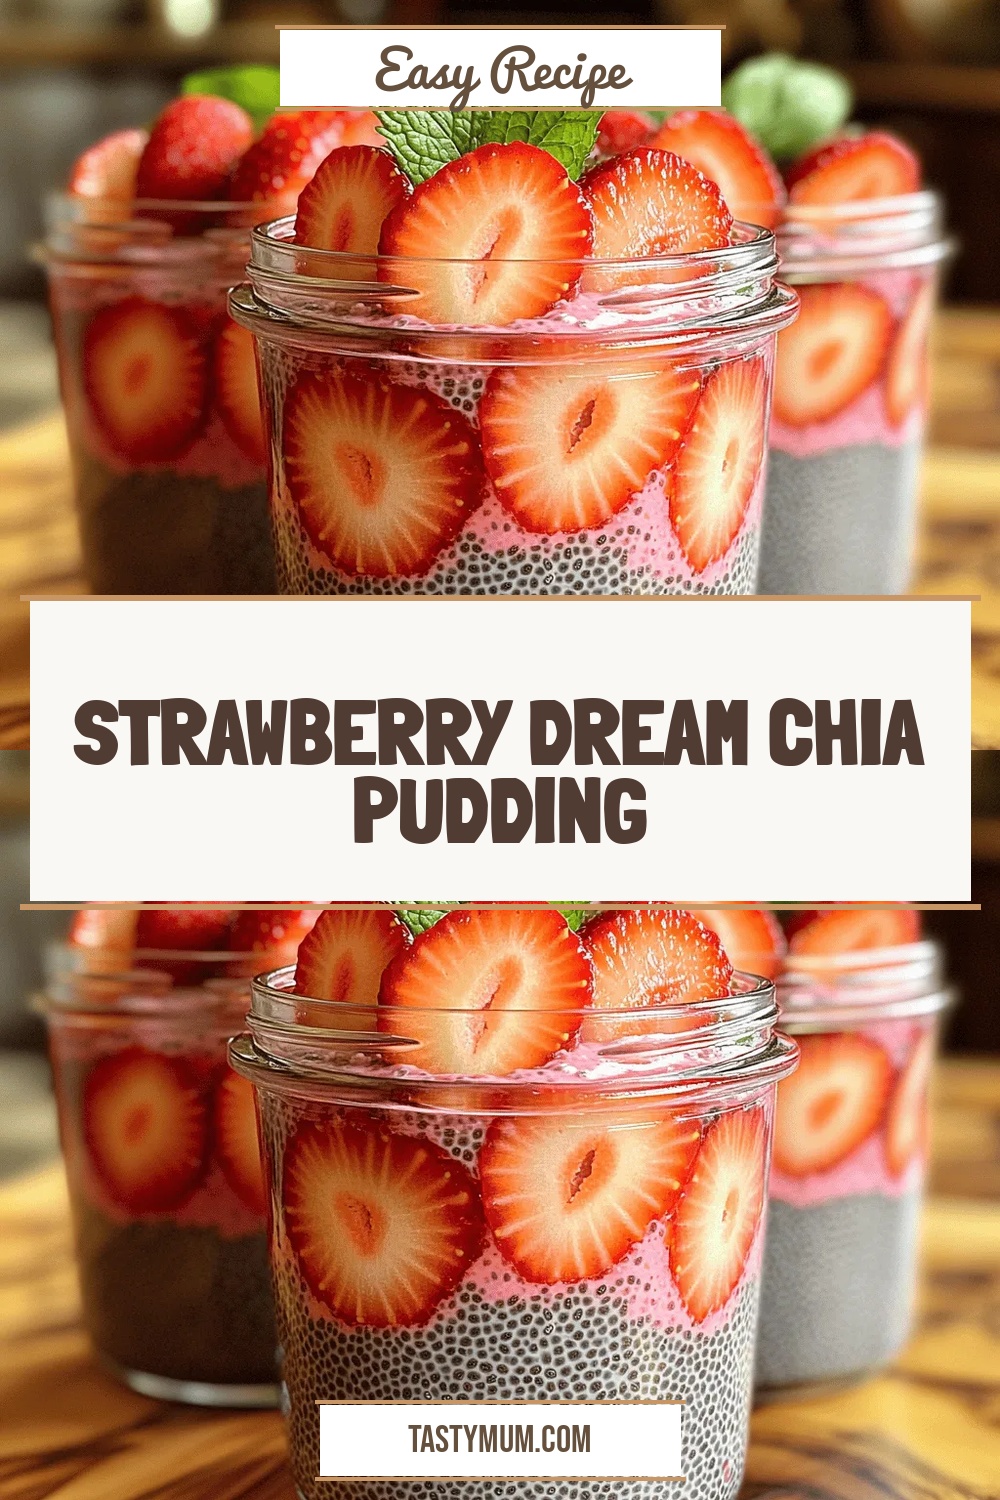
Strawberry Dream Chia Pudding
Delicious Strawberry Dream Chia Pudding
 Desserts
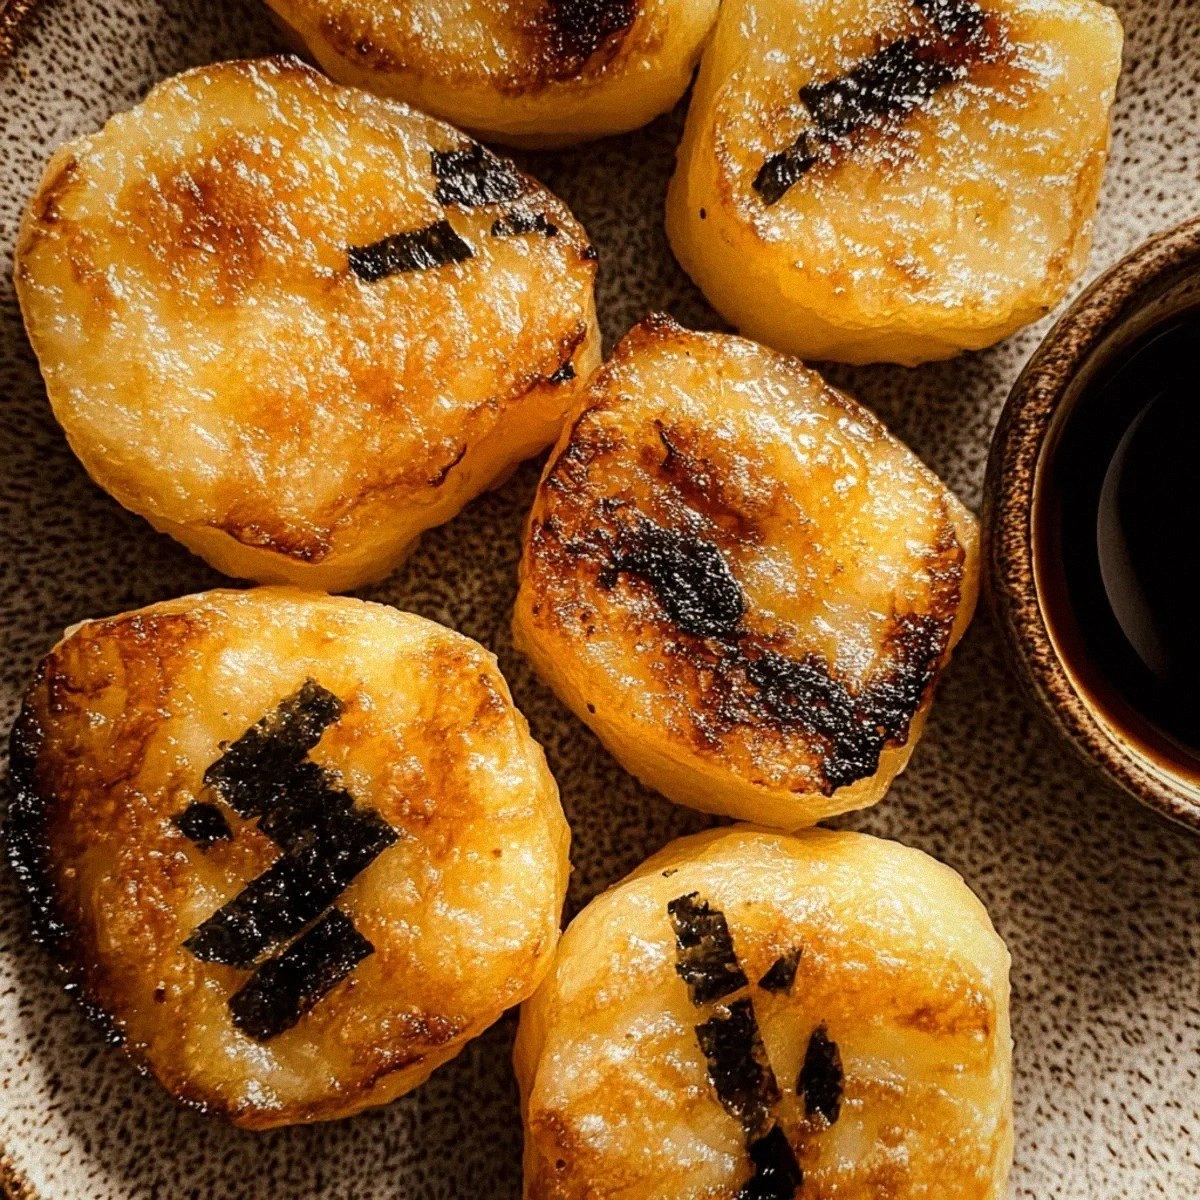
Delicious Potato Mochi: Chewy Vegan Treats You’ll Love
Learn how to make delicious Delicious Potato Mochi: Chewy Vegan Treats You’ll Love. Easy recipe with…
 Desserts
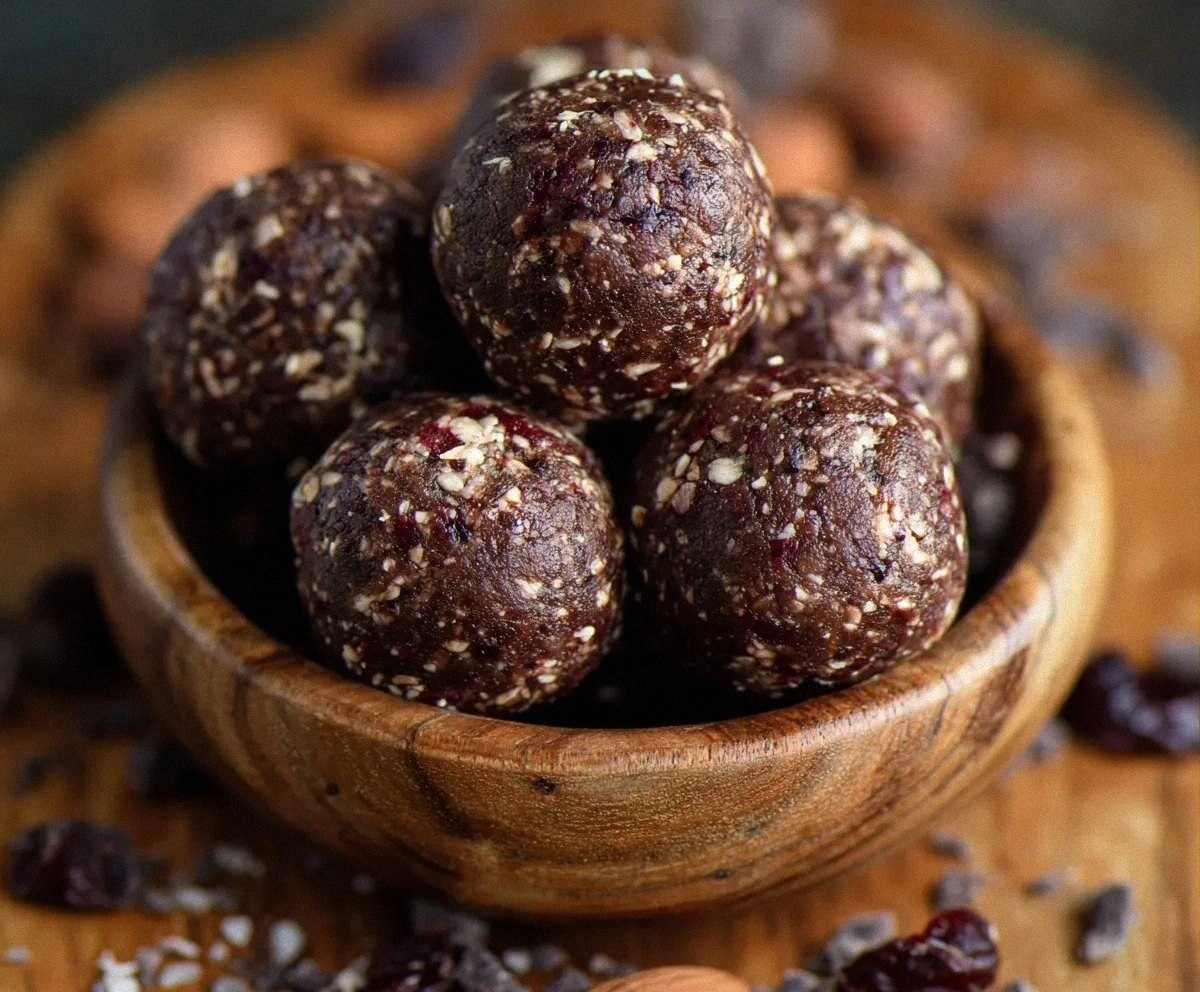
Dark Chocolate Energy Bites
Learn how to make delicious Dark Chocolate Energy Bites. Easy recipe with step-by-step instructions.
 Desserts
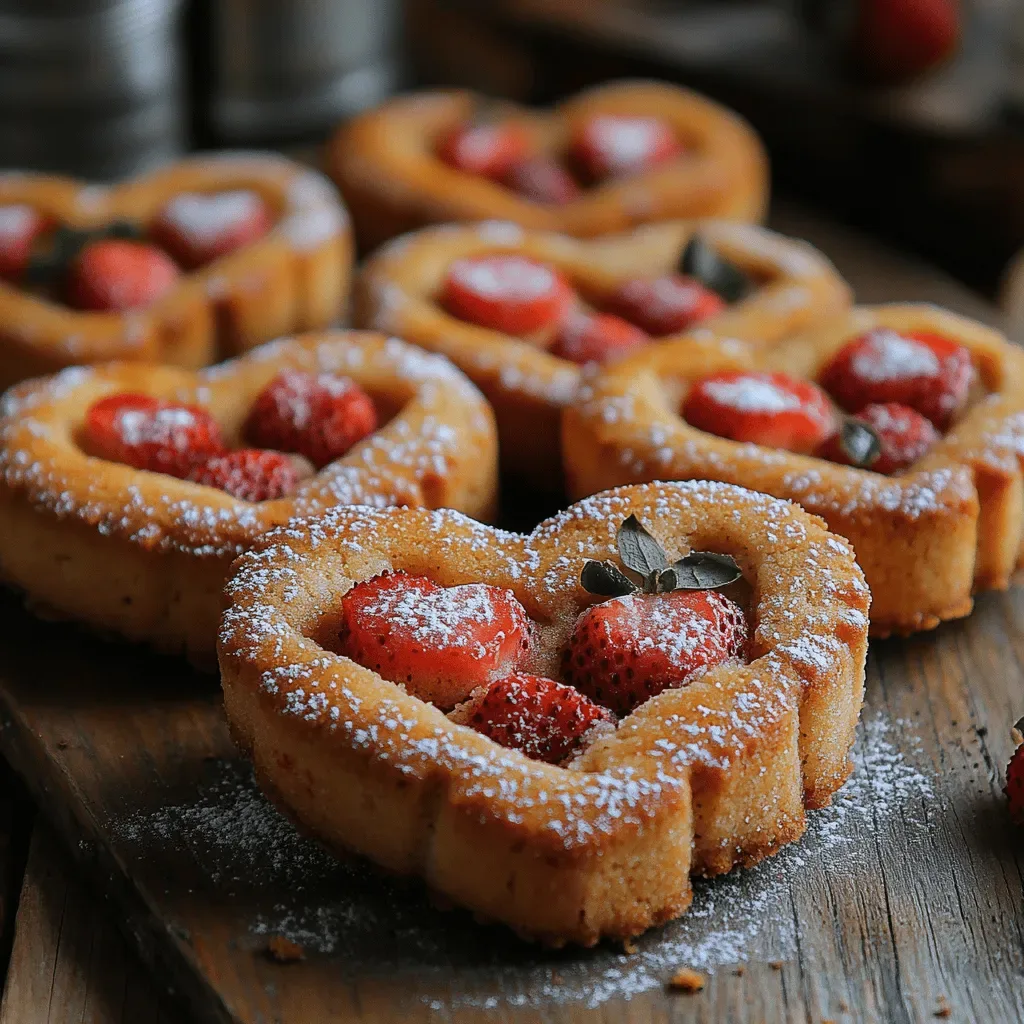
Sweet Strawberry Heart Sugar Cookies: A Heartfelt Baking Experience
Delicious Sweet Strawberry Heart Sugar Cookies: A Heartfelt Baking Experience
 Desserts
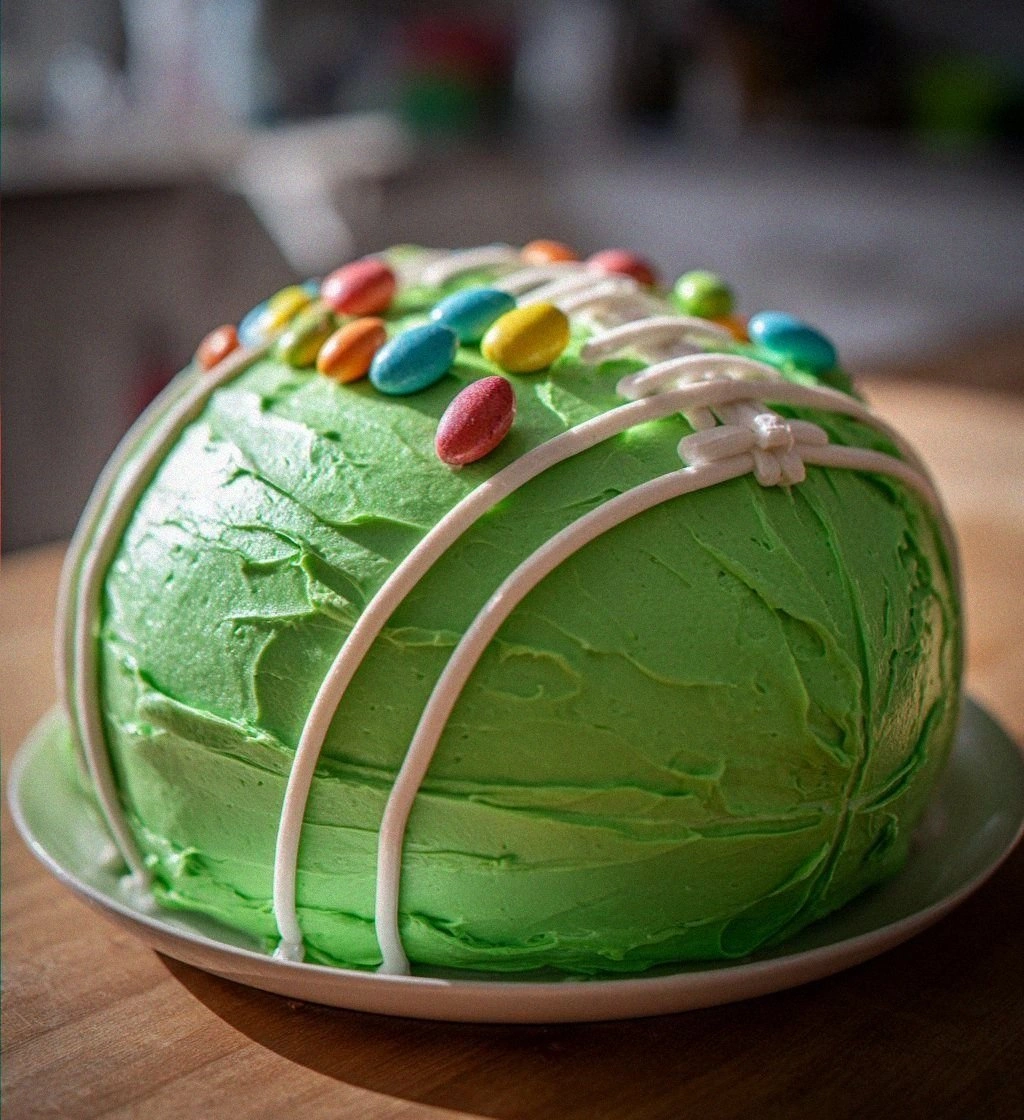
easy football cake: 5 Simple Steps to Score Big Delight
Learn how to make delicious easy football cake: 5 Simple Steps to Score Big Delight. Easy…
 Desserts
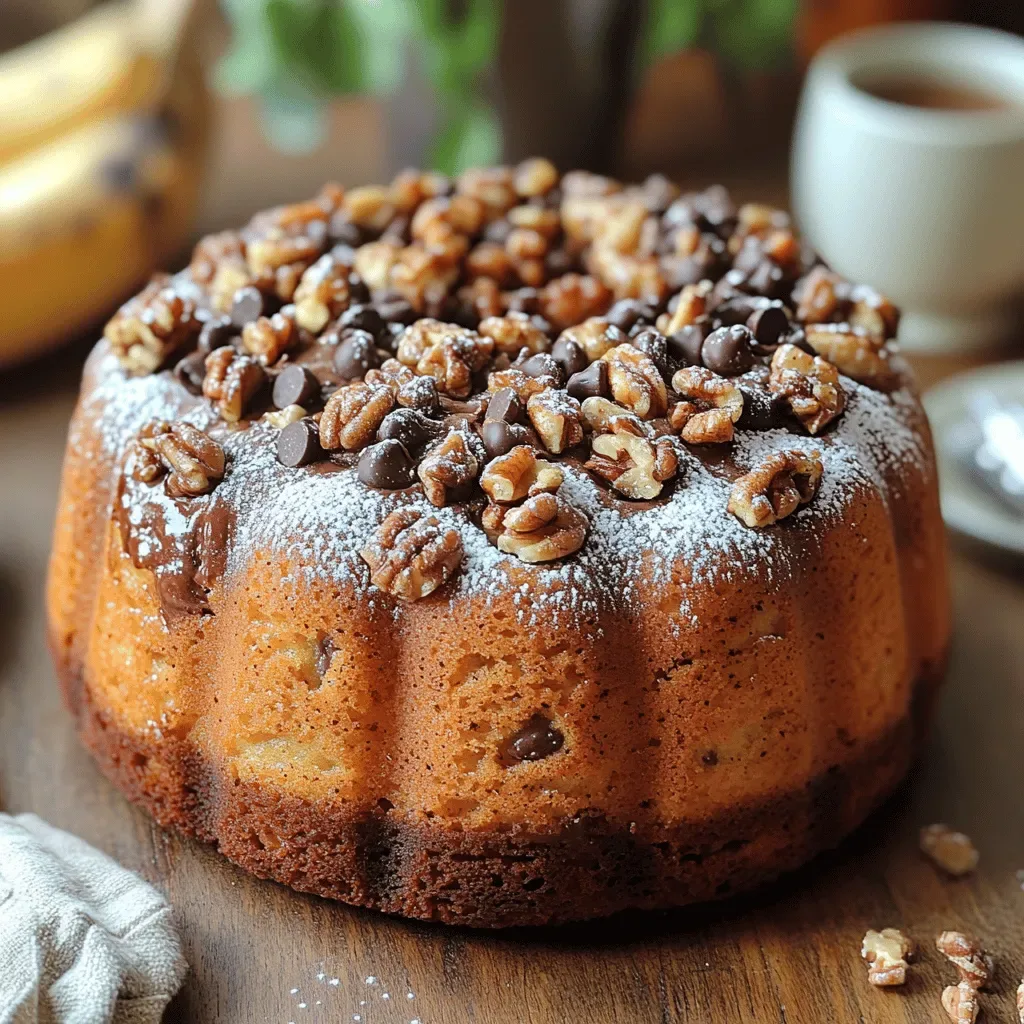
Delightful Banana Bliss Bundt Cake: A Recipe to Savor
Delicious Delightful Banana Bliss Bundt Cake: A Recipe to Savor
 Desserts
Frozen Blueberry Coconut Bites: Your Guide to a Wholesome Treat
Delicious Frozen Blueberry Coconut Bites: Your Guide to a Wholesome Treat
 Desserts
Healthier Twix Bars That Satisfy Your Sweet Cravings
Learn how to make delicious Healthier Twix Bars That Satisfy Your Sweet Cravings. Easy recipe with…

Clara
I cook these recipes at home before they ever land here — simple ingredients, clear steps.