Gooey Italian Ricotta Cookies: A Sweet Dive into Italian Baking
 Save
Save
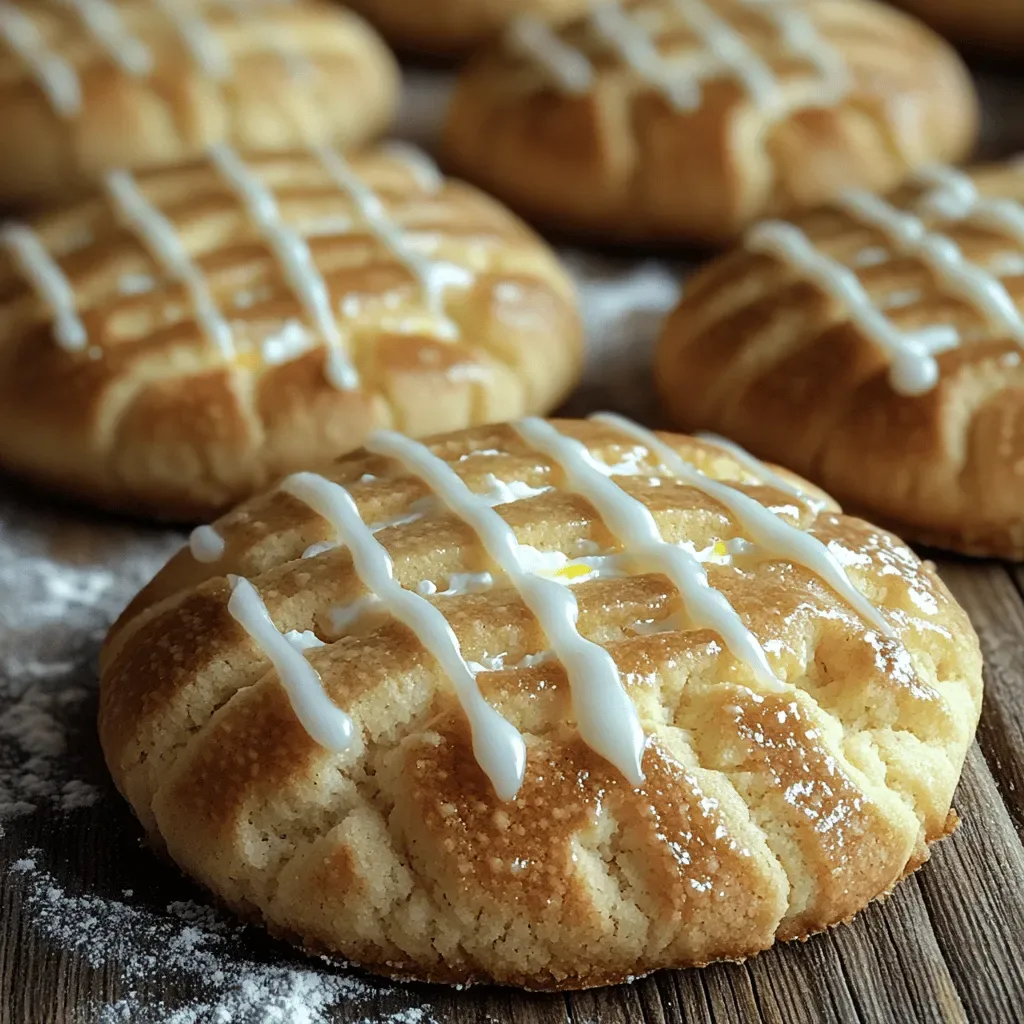
Imagine biting into a cookie that feels like a sweet, creamy hug while still delivering that satisfying snap of a classic Italian biscuit. Gooey Italian Ricotta Cookies capture that moment perfectly, marrying airy texture with a luscious ricotta center that melts on the tongue.
What makes these cookies truly special is the use of fresh ricotta cheese, a hint of lemon zest, and a touch of vanilla that together create a bright, buttery flavor profile you won’t find in ordinary sugar cookies.
This treat is ideal for anyone who loves a light yet indulgent dessert—perfect for brunch, an afternoon tea, or a festive holiday spread where you want to impress without spending hours in the kitchen.
The process is straightforward: combine dry ingredients, fold in a silky ricotta mixture, shape the dough, and bake until the edges are golden while the centers stay irresistibly soft.
Why You'll Love This Recipe
Light & Gooey Texture: The ricotta creates a moist crumb that stays soft after cooling, giving each bite a cloud‑like feel that’s impossible to resist.
Simple Ingredient List: Only pantry staples and fresh ricotta are needed, so you won’t have to hunt for exotic items before you start.
Versatile Flavor Base: Lemon zest, vanilla, and a pinch of almond extract let you easily tweak the flavor to match any season or occasion.
Perfect for Gatherings: Their bite‑size shape makes them ideal for cookie platters, gift boxes, or a quick dessert that looks as good as it tastes.
Tips & Tricks
Perfecting the Recipe
Use Full‑Fat Ricotta. The higher fat content gives the cookies their signature richness and helps them stay moist after cooling.
Chill the Dough. Refrigerate the dough for 15 minutes before shaping; this firms the butter, preventing excessive spreading in the oven.
Don’t Over‑Mix. Stir the dry ingredients into the wet just until combined to avoid developing gluten, which would make the cookies dense.
Even Portioning. Use a cookie scoop to keep each cookie the same size, ensuring uniform baking and consistent texture.
Flavor Enhancements
Add a teaspoon of orange zest alongside the lemon for a citrus duet, or stir in ¼ cup finely chopped pistachios for crunch and a subtle earthiness. A drizzle of honey on warm cookies intensifies the sweet‑savory balance while providing a glossy finish.
Common Mistakes to Avoid
Skipping the short cooling period on the baking sheet often leads to broken cookies because the interior is still too soft. Also, baking at too high a temperature can brown the edges before the center sets, resulting in a dry rim and an undercooked center.
Pro Tips
Finish with Sea Salt. A light sprinkle of flaky sea salt right after dusting with powdered sugar adds a sophisticated contrast.
Use a Light‑Colored Baking Sheet. This helps you monitor browning more accurately, preventing over‑caramelization.
Store in a Single Layer. Stack cookies only after they are completely cooled; otherwise steam will make the bottoms soggy.
Warm Before Serving. A quick 5‑minute warm‑up in a low oven revives the gooey center without drying the edges.
Variations
Ingredient Swaps
Replace ricotta with mascarpone for an even richer mouthfeel, or use Greek yogurt for a tangier, lower‑fat alternative. Swap lemon zest for orange or lime zest to shift the citrus profile, and experiment with almond or hazelnut extract instead of vanilla for a nutty twist.
Dietary Adjustments
For gluten‑free versions, use a 1:1 gluten‑free flour blend. Vegan bakers can substitute dairy ricotta with a well‑drained tofu‑ricotta blend and replace butter with coconut oil. To keep carbs low, swap regular sugar for erythritol or monk fruit sweetener, and use almond flour for the base.
Serving Suggestions
Pair these cookies with a glass of chilled Moscato d’Asti or a shot of espresso for an authentic Italian experience. For brunch, serve alongside fresh berries and a dollop of whipped mascarpone. A light dusting of cocoa powder adds a sophisticated finish for holiday gatherings.
Storage Info
Leftover Storage
Allow the cookies to cool completely, then place them in an airtight container lined with parchment. Store at room temperature for up to 3 days; the ricotta interior stays soft thanks to the sealed environment. For longer keeping, freeze in a single layer on a tray, then transfer to a freezer‑safe bag—up to 2 months—protecting them from freezer burn.
Reheating Instructions
Reheat in a pre‑heated 300°F (150°C) oven for 8‑10 minutes, covering loosely with foil to prevent over‑browning. This restores the gooey center while keeping the exterior tender. In a pinch, microwave a single cookie on medium power for 20‑30 seconds, adding a tiny splash of milk to revive moisture.
Frequently Asked Questions
Can I make these cookies ahead of time?
What if I can’t find fresh ricotta?
How do I keep the cookies from becoming too dry?
These Gooey Italian Ricotta Cookies bring together the best of classic Italian baking and modern comfort food. With a simple ingredient list, clear steps, and plenty of room for personalization, they’re perfect for any occasion—from casual family snacks to elegant dessert tables. Feel free to experiment with flavors, textures, and presentations—after all, the kitchen is your playground. Serve them warm, share them generously, and enjoy every buttery, creamy bite!
Gooey Italian Ricotta Cookies: A Sweet Dive into Italian Baking
Delicious Gooey Italian Ricotta Cookies: A Sweet Dive into Italian Baking
Ingredients
Cookie Base
- 1 ½ cups all‑purpose flour
- ½ teaspoon baking powder
- ¼ teaspoon salt
Ricotta Mixture
- 1 cup fresh ricotta cheese
- ¼ cup unsalted butter, softened
- ⅓ cup granulated sugar
Flavor Add‑Ins
- 1 teaspoon vanilla extract
- ½ teaspoon almond extract (optional)
- Zest of 1 lemon
Instructions
Baking the Cookies
- Preheat the Oven. Set your oven to 350°F (175°C) and line a baking sheet with parchment paper. A consistent temperature ensures the edges brown while the centers stay soft and gooey.
- Shape the Cookies. Using a tablespoon or a small ice‑cream scoop, portion the dough onto the prepared sheet, spacing them about 2 inches apart. Gently flatten each mound by pressing the back of a spoon; this creates a uniform thickness for even baking.
- First Bake. Slide the tray into the oven and bake for 10‑12 minutes, or until the tops turn a light golden‑brown and the edges are set. The centers will still look slightly soft—that’s the gooey signature we’re after.
- Cool Slightly. Remove the cookies and let them rest on the sheet for 2 minutes. This short cooling period lets the structure firm just enough to handle without breaking, while the interior remains molten.
- Final Dust. Transfer the cookies to a wire rack and immediately dust with powdered sugar. The warm cookies absorb the sugar, creating a delicate glaze that adds both visual appeal and a hint of extra sweetness.
Similar Recipes
 Desserts
Red and White Valentines Cake: 12 Slices of Love
Learn how to make delicious Red and White Valentines Cake: 12 Slices of Love. Easy recipe…
 Desserts
Cozy Apple Pie Oatmeal Bars Recipe
Delicious Cozy Apple Pie Oatmeal Bars Recipe
 Desserts
Chocolate Strawberry Greek Yogurt Bark: A Healthy Dessert Option
Delicious Chocolate Strawberry Greek Yogurt Bark: A Healthy Dessert Option
 Desserts
Irresistible Christmas Pecan Turtles for Merry Gift Giving
Learn how to make delicious Irresistible Christmas Pecan Turtles for Merry Gift Giving. Easy recipe with…
 Desserts
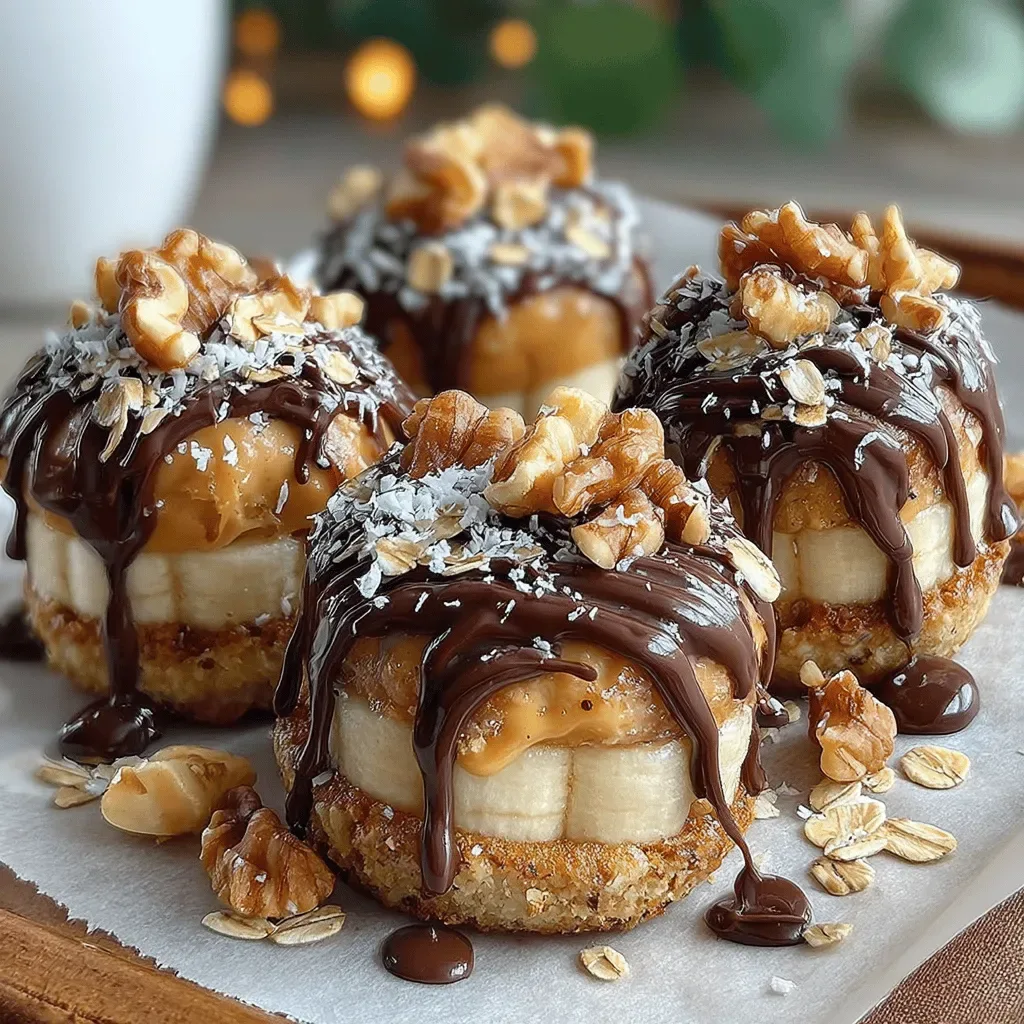
Frozen Peanut Butter Banana Bliss Bites Recipe
Delicious Frozen Peanut Butter Banana Bliss Bites Recipe
 Desserts
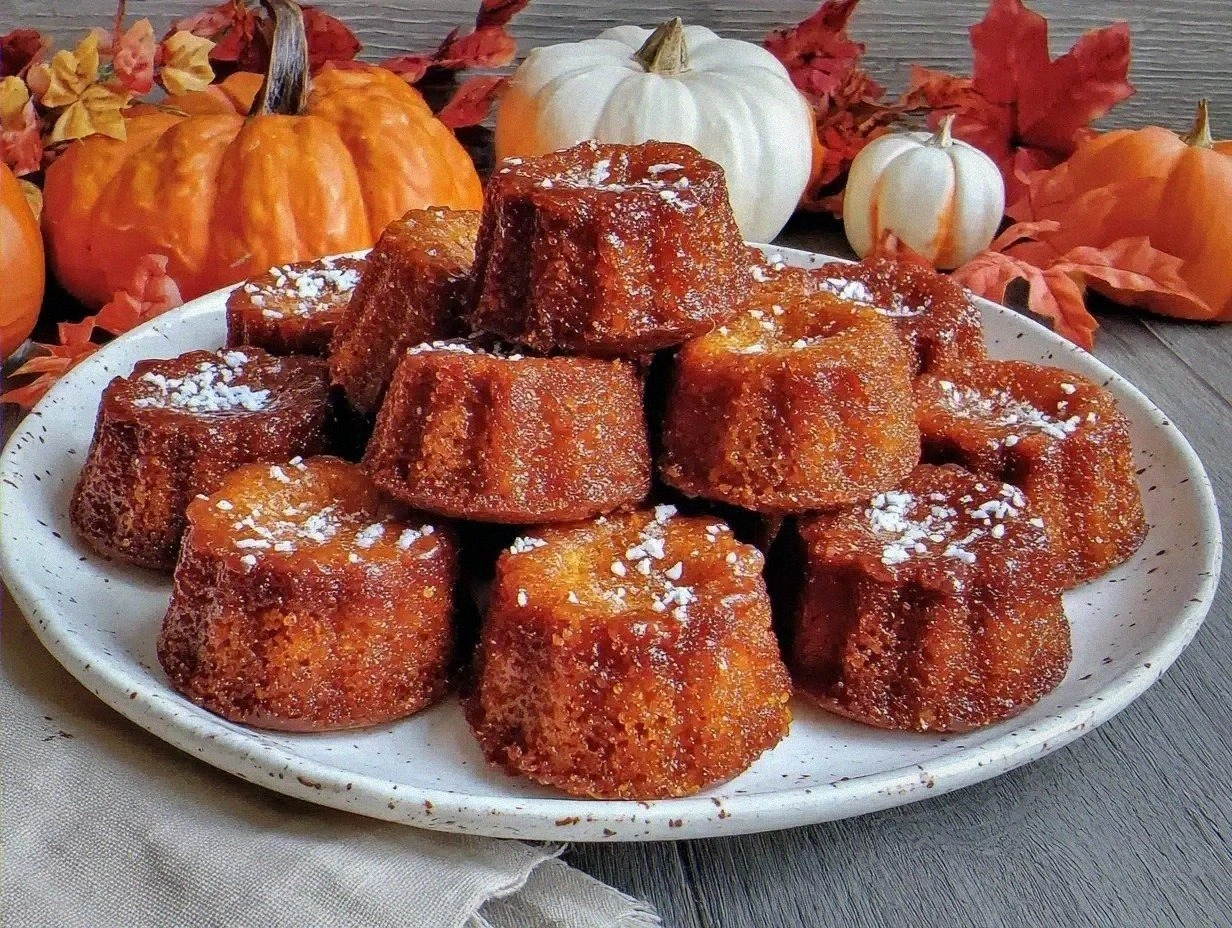
Irresistible Brown Butter Financiers with Pumpkin Recipe
Learn how to make delicious Irresistible Brown Butter Financiers with Pumpkin Recipe. Easy recipe with step-by-step…
 Desserts
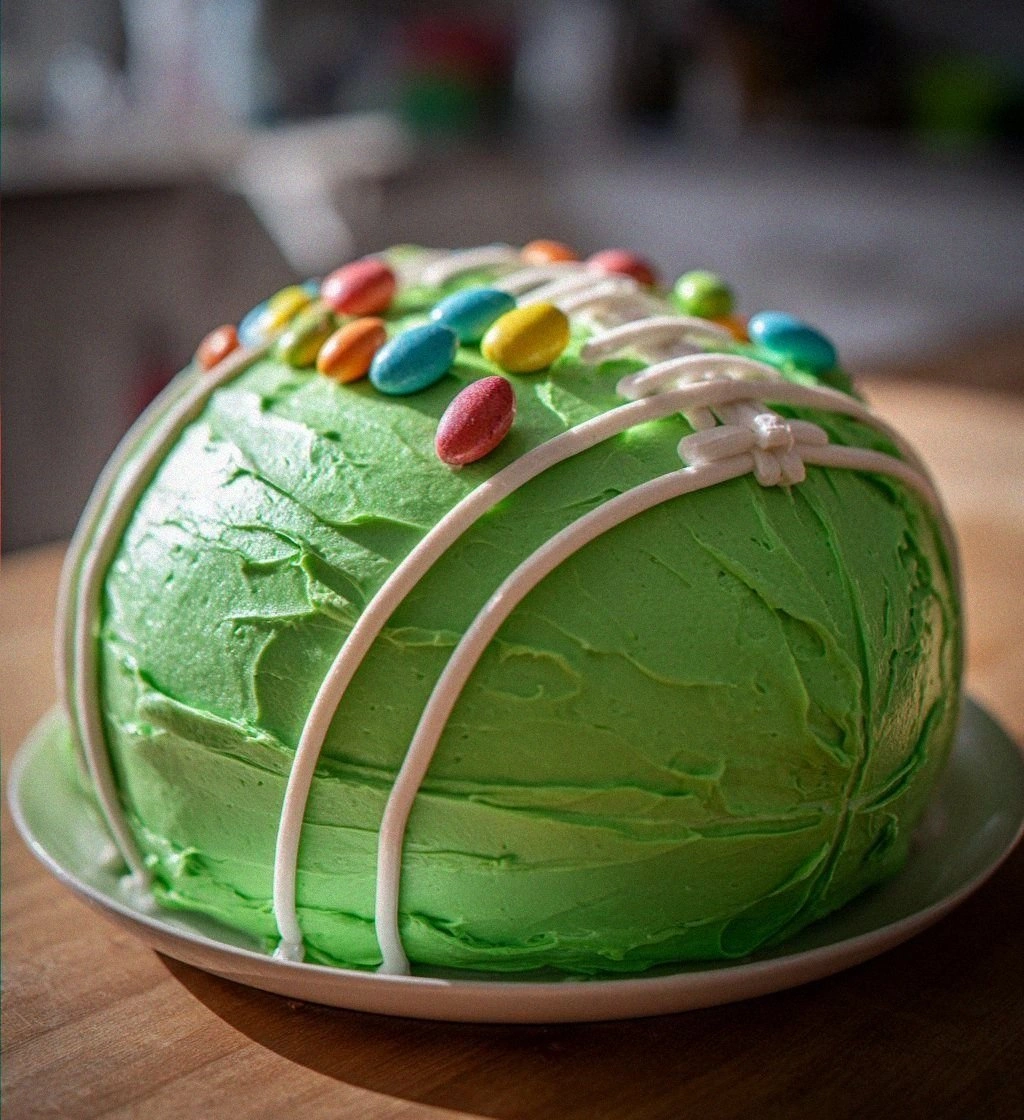
easy football cake: 5 Simple Steps to Score Big Delight
Learn how to make delicious easy football cake: 5 Simple Steps to Score Big Delight. Easy…
 Desserts
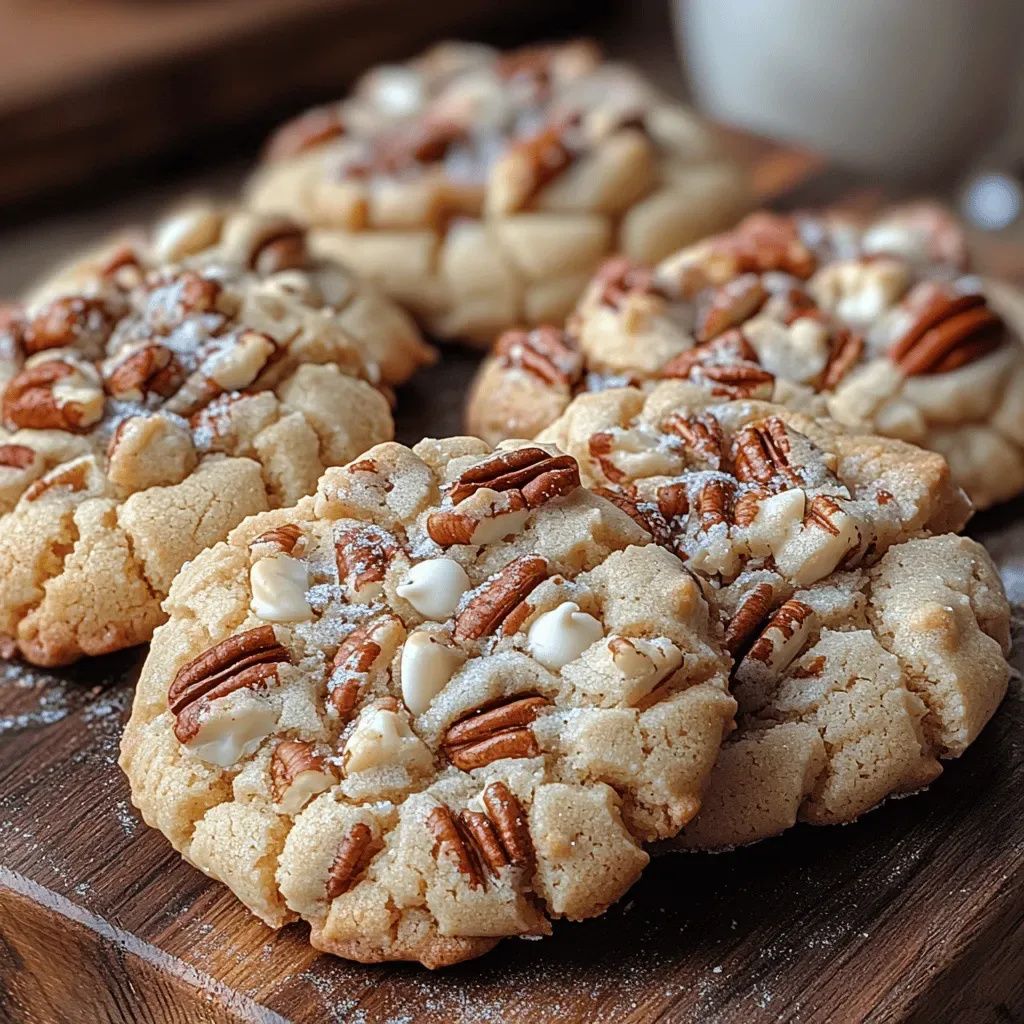
Heavenly Butter Pecan Cookies: A Delightful Indulgence
Delicious Heavenly Butter Pecan Cookies: A Delightful Indulgence

Clara
I cook these recipes at home before they ever land here — simple ingredients, clear steps.