Introduction
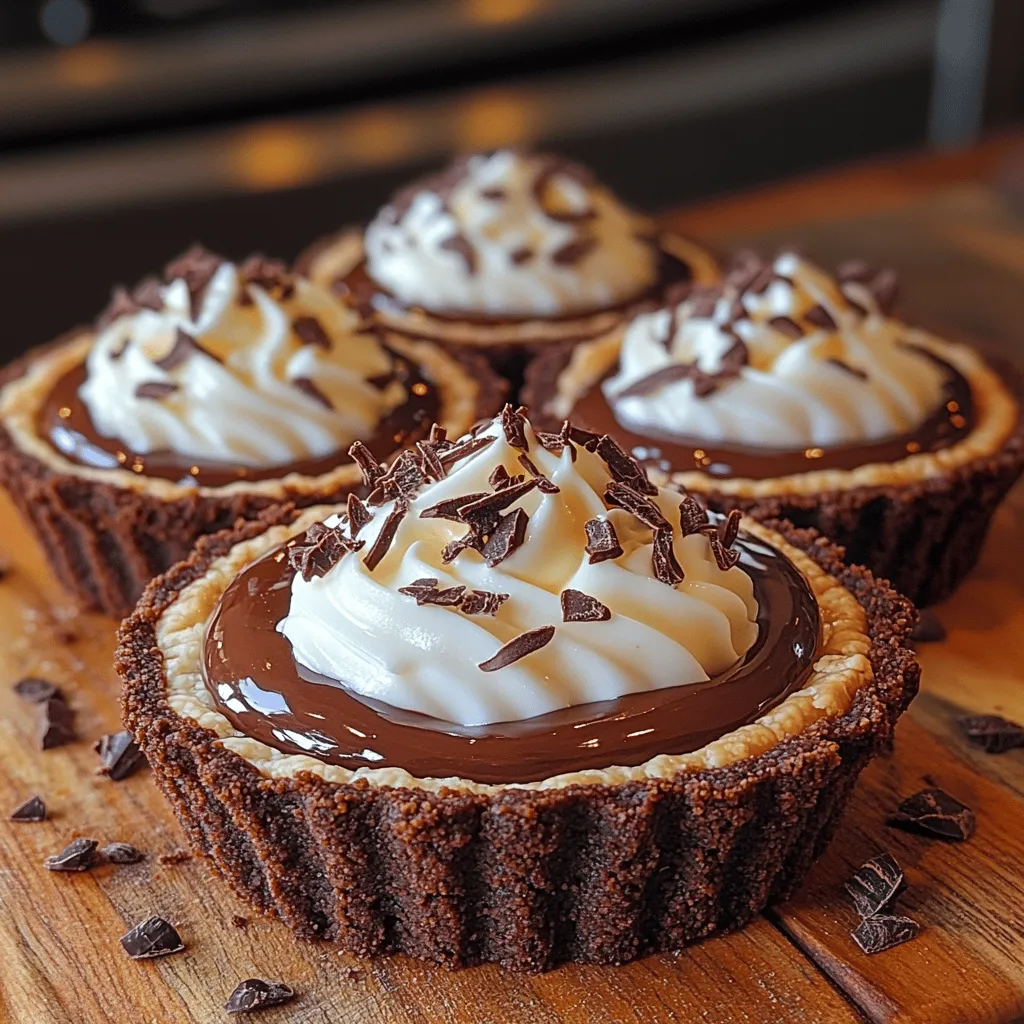
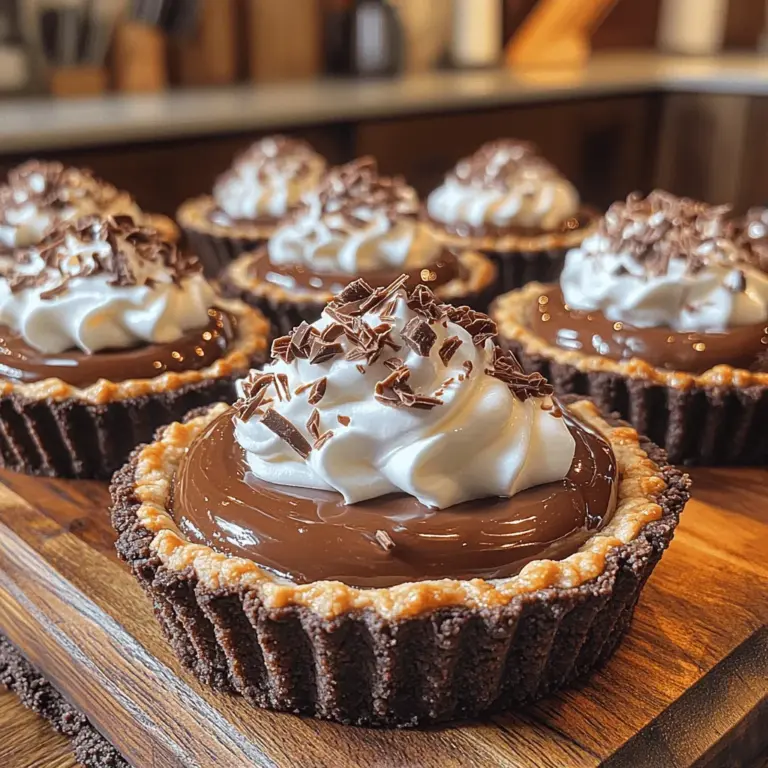
There’s something irresistibly charming about mini desserts. They deliver the perfect balance of indulgence without overwhelming your palate or your waistline. Among the myriad of sweet treats, Heavenly Mini Chocolate Cream Pies stand out as a decadent delight that captures the essence of chocolate in every bite. These delightful morsels combine a rich, creamy filling with a luscious chocolate crust and are topped with a light, fluffy whipped cream. Whether you’re hosting a dinner party, celebrating a special occasion, or simply craving something sweet, these mini chocolate cream pies are sure to impress and satisfy.
What makes these mini pies even more enticing is their versatility. They can be prepared ahead of time and served to guests as a delightful surprise at the end of the meal. Their petite size allows for easy serving, and they can be customized with various toppings or garnishes to match any theme or personal taste. Imagine a platter of these exquisite treats gracing your table, each one a miniature masterpiece, ready to be enjoyed at a moment’s notice.
This recipe not only brings the rich, indulgent flavor of chocolate into a perfectly-sized treat but also provides an opportunity to showcase your culinary skills. Let’s dive into the process of creating these Heavenly Mini Chocolate Cream Pies by first understanding the essential ingredients that come together to make this dessert a true showstopper.
Understanding the Ingredients
To craft the perfect mini chocolate cream pie, you need to grasp the purpose of each ingredient. Each component plays a crucial role in developing flavor and texture, ensuring that your pies turn out heavenly every time.
The Crust
The foundation of any great pie is its crust, and for our mini chocolate cream pies, we use a delightful chocolate cookie crust. This crust is crafted from chocolate cookie crumbs, which provide both flavor and a satisfying crunch. You can use store-bought chocolate cookies, such as Oreos or chocolate wafer cookies, to simplify the process. The cookies are crushed into fine crumbs, which should measure about 1 ½ cups for the perfect amount.
But the crumbs alone would not hold together, which is where melted butter comes into play. The butter acts as a binding agent, ensuring that the crumbs stick together to form a sturdy base for the filling. Typically, around 5 tablespoons of melted butter will be enough to achieve the right consistency.
Adding sugar to the crust enhances its flavor and sweetness, creating a delightful contrast with the rich chocolate filling that will soon follow. A tablespoon of granulated sugar is usually sufficient to achieve this balance.
Texture is key when it comes to the crust. You want it to be firm enough to hold the filling but not so hard that it becomes difficult to eat. If you prefer a unique twist, consider experimenting with different types of cookies, such as graham crackers or even nut-based crusts, to create variations that suit your taste.
The Chocolate Cream Filling
Now, let’s explore the star of the show: the chocolate cream filling. This luscious filling is what makes the mini pies so irresistible. The combination of whole milk, granulated sugar, and unsweetened cocoa powder creates a rich chocolate flavor that is both deep and satisfying. The use of whole milk is important here; it contributes to the creaminess while keeping the filling smooth and velvety.
The thickening agent in our filling is cornstarch, which helps transform the mixture into a luscious custard-like consistency. As you heat the mixture on the stove, the cornstarch activates and thickens the filling, ensuring that it sets beautifully in the crust. It’s important to whisk the cornstarch with the other dry ingredients before adding the milk to avoid clumps.
Egg yolks also play a key role in achieving that rich, custard-like texture. They not only add flavor but also contribute to the filling’s creaminess and stability. To get the best results, make sure to temper the egg yolks by gradually mixing in some of the hot chocolate mixture before adding them back to the pot. This technique prevents the yolks from scrambling and ensures a smooth filling.
Lastly, we can’t forget about vanilla extract and butter. Vanilla adds depth and enhances the chocolate flavor, while a touch of unsalted butter gives the filling a silky finish that makes it irresistible.
The Whipped Topping
No chocolate cream pie would be complete without a light and airy whipped topping. For this recipe, we use heavy cream, which is essential for achieving that luxurious texture we all crave. When whipped, heavy cream doubles in volume and transforms into soft peaks that are perfect for topping our mini pies.
Powdered sugar is added to the heavy cream, not just for sweetness but also for stability. It helps the whipped cream maintain its shape and prevents it from deflating too quickly. When making whipped cream, it’s crucial to start with chilled equipment—both your mixing bowl and beaters should be cold. This will help the cream whip up faster and achieve the right consistency.
The texture of the whipped cream should be light and fluffy, providing a delightful contrast to the rich chocolate filling beneath. When it comes to decorating, feel free to get creative! You can use a piping bag to create beautiful swirls or simply spoon the whipped cream on top. For an extra touch, consider garnishing with chocolate shavings, a sprinkle of cocoa powder, or fresh berries.
With a clear understanding of these key ingredients, you’re now ready to embark on the journey of creating Heavenly Mini Chocolate Cream Pies. In the next section, we will delve into the step-by-step instructions that will guide you through this delightful recipe, ensuring your mini pies are nothing short of perfection. Stay tuned as we explore the method for assembling these delightful treats, perfect for any occasion or simply for satisfying your sweet tooth!

Step-by-Step Instructions for Heavenly Mini Chocolate Cream Pies
Creating a delightful batch of Heavenly Mini Chocolate Cream Pies is a rewarding experience that combines rich flavors and a satisfying texture in a bite-sized treat. This section will guide you through the entire process, ensuring that you achieve perfect results every time. From preparing the crust to assembling and serving, each step is crucial for making these mini pies a success.
Preparing the Crust
To start, preheat your oven to 350°F (175°C). This ensures that the crust bakes evenly and reaches the right level of crispness.
Ingredients for the Crust:
– 1 cup of graham cracker crumbs
– 1/4 cup of sugar
– 1/2 cup of unsalted butter, melted
– A pinch of salt
In a medium-sized mixing bowl, combine the graham cracker crumbs, sugar, and salt. Mix them well to ensure the sugar is evenly distributed throughout the crumbs. Next, pour the melted butter into the dry mixture. Stir continuously until the crumbs are fully coated and the mixture resembles wet sand.
Now, it’s time to form the crust. Using a tablespoon, scoop the mixture into each cavity of a mini muffin tin. Press the mixture firmly into the bottom and up the sides of each cup to create a solid base. Ensuring that the crust is packed tightly will help it hold its shape during baking.
Once you have pressed the crust mixture into the pans, place the mini muffin tin in the preheated oven. Bake for 6 to 8 minutes or until the edges are lightly golden. Watch closely; you want to avoid overbaking, which can lead to a dry crust. Once done, remove the tin from the oven and allow it to cool completely before filling.
Creating the Chocolate Cream Filling
While the crust is cooling, you can turn your attention to the luscious chocolate cream filling. This filling is what truly elevates your mini pies.
Ingredients for the Filling:
– 2 cups of whole milk
– 1/2 cup of granulated sugar
– 1/3 cup of unsweetened cocoa powder
– 1/4 cup of cornstarch
– 1/4 teaspoon of salt
– 4 large egg yolks
– 2 tablespoons of unsalted butter
– 1 teaspoon of vanilla extract
In a medium saucepan, combine the milk, sugar, cocoa powder, cornstarch, and salt. Whisk together over medium heat until the mixture is smooth and starts to thicken. This process is crucial; whisk continuously to prevent any lumps from forming.
As the mixture heats up, you’ll notice it starting to bubble slightly. Once it reaches a gentle boil, remove it from the heat. In a separate bowl, whisk the egg yolks until smooth. To temper the eggs (which prevents them from scrambling), slowly pour a small amount of the hot chocolate mixture into the bowl with the egg yolks, whisking continuously. This gradually raises the temperature of the eggs.
After tempering, pour the egg mixture back into the saucepan with the remaining chocolate mixture. Return the saucepan to the stove and cook over low heat, whisking constantly until thickened and smooth, about 2 to 3 minutes. You’ll know the filling is done when it coats the back of a spoon.
Once thickened, remove the saucepan from heat and mix in the butter and vanilla extract until fully incorporated. Allow the filling to cool for about 10 minutes before pouring it into the cooled crusts.
Assembling the Dessert
Once your chocolate filling has cooled slightly, it’s time to assemble your mini pies. Carefully pour the filling into each cooled crust, filling them to the top. You can use a small measuring cup or a piping bag to make this process cleaner and more precise.
After filling all the crusts, place the mini pies in the refrigerator for at least 2 hours to set. This chilling time is vital as it allows the filling to firm up and achieve the perfect creamy texture.
When you’re ready to serve, take the mini pies out of the refrigerator and top each one with freshly whipped cream. To make whipped cream, simply beat 1 cup of heavy cream with 2 tablespoons of powdered sugar and a splash of vanilla extract until soft peaks form. Use a piping bag for an elegant presentation or simply spoon it on top.
For a finishing touch, consider garnishing with chocolate shavings, fresh berries, or a sprinkle of cocoa powder. These additions not only enhance the visual appeal but also add complementary flavors that enhance the overall experience.
Serving and Enjoying
To serve your Heavenly Mini Chocolate Cream Pies, consider presenting them on a beautiful platter. You can dust the tops with cocoa powder or powdered sugar for an elegant look. These mini pies are perfect for parties, gatherings, or as a delightful after-dinner treat.
For an extra touch, pair these chocolate cream pies with fresh fruits like strawberries or raspberries. The tartness of the berries balances the richness of the chocolate beautifully. Alternatively, serve them alongside a cup of coffee or espresso, as the bitterness of the coffee complements the sweetness of the pies.
You can also create a dessert bar by offering a variety of toppings, such as crushed nuts, sprinkles, or flavored whipped creams, allowing guests to customize their mini pies to their liking. This interactive element can make your dessert more enjoyable and memorable.
Conclusion
Making Heavenly Mini Chocolate Cream Pies is not just about satisfying your sweet tooth; it’s an experience that brings joy to both the baker and the eater. From the rich chocolate filling to the crispy, buttery crust, each bite is a step into dessert heaven. These mini pies are perfect for any occasion, whether it’s a family gathering, a birthday celebration, or just a treat for yourself after a long day.
Crafting these treats from scratch is immensely satisfying, and sharing them with loved ones brings an extra layer of joy. Encourage your friends and family to try this recipe, and share your own creations on social media or around the dinner table. With their stunning presentation and irresistible flavor, Heavenly Mini Chocolate Cream Pies are sure to become a favorite in your dessert repertoire. Get ready to impress and indulge!

