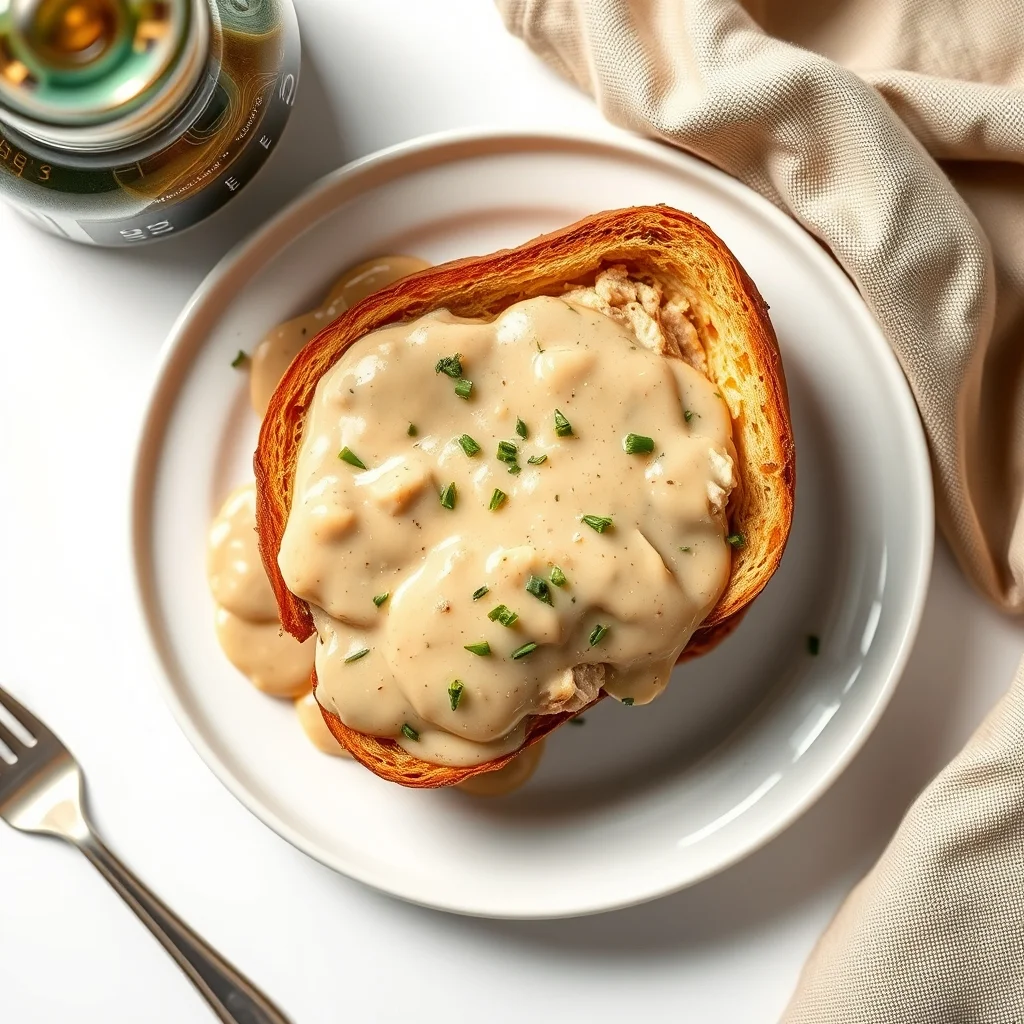
Herb Butter Turkey & Gravy Sandwich: A Delicious Comfort Food Delight
 Save
Save
There’s something irresistibly nostalgic about a warm sandwich that hugs a slice of tender turkey, smothered in herb‑infused butter and silky gravy. This Herb Butter Turkey & Gravy Sandwich captures that comfort‑food magic in a single bite, making it the perfect crowd‑pleaser for any brunch table.
What sets this sandwich apart is the marriage of a slow‑roasted turkey breast, a fragrant herb butter, and a rich, velvety gravy that seeps into every crumb of a toasted brioche roll. The result is a symphony of savory, buttery, and slightly sweet flavors that linger on the palate.
Family gatherings, lazy weekend brunches, or even a special holiday breakfast will love this dish. It’s hearty enough for adults yet gentle enough for younger palates, and it pairs beautifully with fresh fruit or a crisp salad.
The cooking process is straightforward: roast the turkey breast, whip up a herb butter, simmer a quick gravy, and assemble the sandwich on toasted bread. With a few simple steps, you’ll have a restaurant‑quality comfort meal ready to devour.
Why You'll Love This Recipe
Bold Herb Flavor: Fresh thyme, rosemary, and sage mingle with butter, creating an aromatic layer that lifts the turkey from ordinary to unforgettable.
One‑Pan Efficiency: The turkey roasts on the same sheet that later becomes the base for the gravy, cutting down on cleanup and concentrating flavor.
Brunch‑Ready Bread: Toasted brioche or ciabatta adds a buttery crunch that balances the juicy turkey and silky gravy perfectly.
Make‑Ahead Friendly: Roast the turkey ahead of time, store the herb butter, and reheat the gravy—assemble the sandwich minutes before serving.
Tips & Tricks
Perfecting the Recipe
Room‑Temp Turkey: Let the bird sit out for 15‑20 minutes before searing; this promotes even cooking and prevents a cold center.
Butter Under the Skin: Gently lift the skin and slip butter underneath. This technique bastes the meat from the inside, keeping it moist.
Deglaze with Broth: After caramelizing onions, deglaze the pan with a splash of broth before adding flour. It lifts caramelized bits, enriching the gravy.
Rest Before Slicing: A 10‑minute rest locks in juices, giving you tender, juicy slices for the sandwich.
Flavor Enhancements
Finish the gravy with a splash of sherry or white wine for depth, and stir in a teaspoon of Dijon mustard for subtle tang. A pinch of smoked paprika adds a gentle smoky note that pairs beautifully with the herb butter.
Common Mistakes to Avoid
Skipping the sear will result in a pale, less‑flavorful crust, and overcrowding the pan can steam the turkey instead of browning it. Also, avoid over‑whisking the gravy once it thickens, as this can break the emulsion and make it grainy.
Pro Tips
Use a Cast‑Iron Skillet: It retains heat exceptionally well, giving a uniform sear and an even gravy base.
Make Herb Butter Ahead: Blend the butter and herbs the night before; it will meld flavors and save time on the day of cooking.
Slice Thinly: Thin slices of turkey make each bite manageable and allow the gravy to coat each piece evenly.
Serve Immediately: The sandwich is at its peak texture when the bread is still warm and the gravy is hot.
Variations
Ingredient Swaps
Swap the turkey breast for smoked turkey thighs or even thinly sliced roast beef for a heartier bite. Replace brioche with sourdough or a toasted English muffin for a different texture. For a sweet twist, drizzle a thin layer of cranberry chutney over the turkey before adding gravy.
Dietary Adjustments
To keep it gluten‑free, use gluten‑free rolls and substitute the flour in the gravy with cornstarch (mix with cold water first). For a dairy‑free version, replace butter with a plant‑based spread and use olive oil for searing. Keto diners can omit the rolls and serve the turkey and gravy over cauliflower rice.
Serving Suggestions
Pair the sandwich with a light arugula salad dressed in lemon vinaigrette, or serve alongside roasted sweet potatoes for a sweet‑savory balance. A side of pickled radishes adds a bright crunch that cuts through the richness of the herb butter and gravy.
Storage Info
Leftover Storage
Allow the sandwich components to cool to room temperature, then separate the turkey, gravy, and rolls. Store turkey slices in an airtight container for up to 3 days in the refrigerator. Gravy keeps well in a sealed jar for 4‑5 days. If you plan to keep the rolls, wrap them tightly in foil or a zip‑top bag to maintain softness.
Reheating Instructions
Reheat turkey and gravy together in a saucepan over low heat, stirring until steam rises and the mixture is hot. Warm the rolls in a 350°F (175°C) oven for 5 minutes, or toast them lightly in a skillet. Assemble the sandwich just before serving to keep the bread from getting soggy.
Frequently Asked Questions
Can I make this sandwich ahead of time for a brunch crowd?
What if I only have leftover turkey or a whole turkey carcass?
How can I keep the sandwich from getting soggy if I need to hold it for a while?
Can I freeze the assembled sandwich for later?
This Herb Butter Turkey & Gravy Sandwich brings together the comforting flavors of a classic roast with the convenience of a handheld brunch treat. By following the detailed steps, using fresh herbs, and mastering the gravy, you’ll create a dish that feels both familiar and elevated. Feel free to swap ingredients, adjust seasonings, or add your own twist—cooking is an adventure. Serve it hot, share it with loved ones, and enjoy every buttery, juicy bite.
Herb Butter Turkey & Gravy Sandwich: A Delicious Comfort Food Delight
Delicious Herb Butter Turkey & Gravy Sandwich: A Delicious Comfort Food Delight
Ingredients
Main Ingredients
- 2‑lb bone‑in turkey breast
- 6 brioche sandwich rolls
- 1 large yellow onion, thinly sliced
Herb Butter
- ½ cup unsalted butter, softened
- 2 tbsp fresh thyme leaves, chopped
- 1 tbsp fresh rosemary, minced
- 1 tsp fresh sage, finely chopped
- ¼ tsp kosher salt
- ¼ tsp black pepper
Gravy
- 2 tbsp all‑purpose flour
- 2 cups low‑sodium chicken broth
- 1 tbsp Worcestershire sauce
- ½ tsp dried thyme
- Salt and pepper, to taste
Instructions
Roasting & Caramelizing Onions
- Preheat Oven. Set the oven to 375°F (190°C). A consistent temperature ensures the turkey cooks evenly while the butter browns slowly, creating a golden crust.
- Sear the Turkey. Heat a large oven‑safe skillet over medium‑high heat, add a drizzle of olive oil, and place the butter‑coated turkey skin‑side down. Sear for 4‑5 minutes until the skin turns deep amber and releases easily from the pan.
- Add Onions. Scatter the thinly sliced onions around the turkey, stirring them gently to coat in the rendered fat. Cook for 6‑8 minutes, stirring occasionally, until the onions soften and begin to caramelize, adding a sweet undertone to the gravy.
- Roast. Transfer the skillet to the preheated oven. Roast for 35‑40 minutes, or until a meat thermometer inserted into the thickest part reads 165°F (74°C). Baste the turkey with pan juices once halfway through for extra moisture.
- Rest. Remove the turkey from the oven and let it rest on a cutting board for 10 minutes. Resting allows the juices to redistribute, preventing a dry slice when you later carve the meat.
Similar Recipes
 Dinner
Citrus Herb Roasted Salmon with Crunchy Broccoli: A Delicious and Healthy Recipe
Delicious Citrus Herb Roasted Salmon with Crunchy Broccoli: A Delicious and Healthy Recipe
 Dinner
Creamy Zucchini Basil Soup
Learn how to make delicious Creamy Zucchini Basil Soup. Easy recipe with step-by-step instructions.
 Dinner
Sunset Salsa Stuffed Peppers: A Colorful and Flavorful Delight
Delicious Sunset Salsa Stuffed Peppers: A Colorful and Flavorful Delight
 Dinner
30-Minute Garlic Chicken Stir Fry with Rice Your Family Will Crave
Learn how to make delicious 30-Minute Garlic Chicken Stir Fry with Rice Your Family Will Crave.…
 Dinner
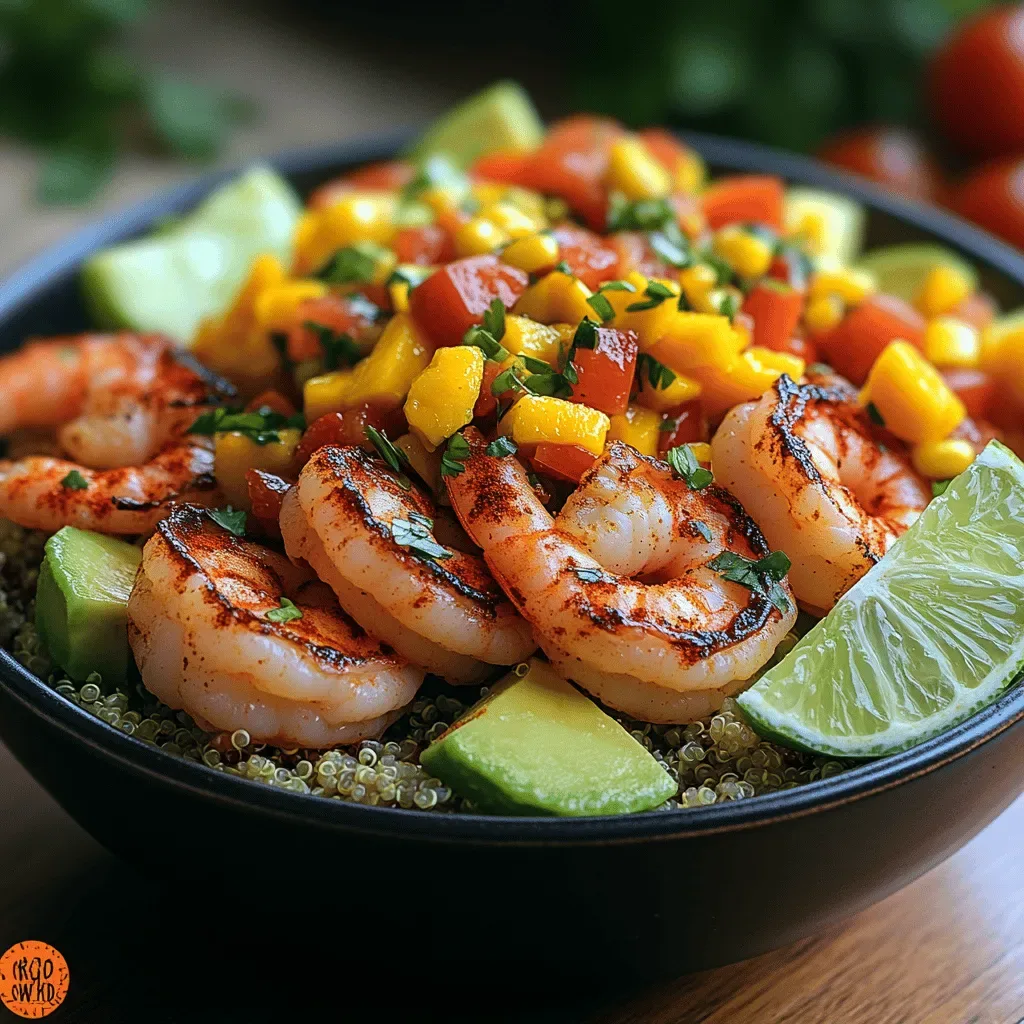
Tropical Shrimp and Avocado Bowls with Mango Salsa
Delicious Tropical Shrimp and Avocado Bowls with Mango Salsa
 Dinner
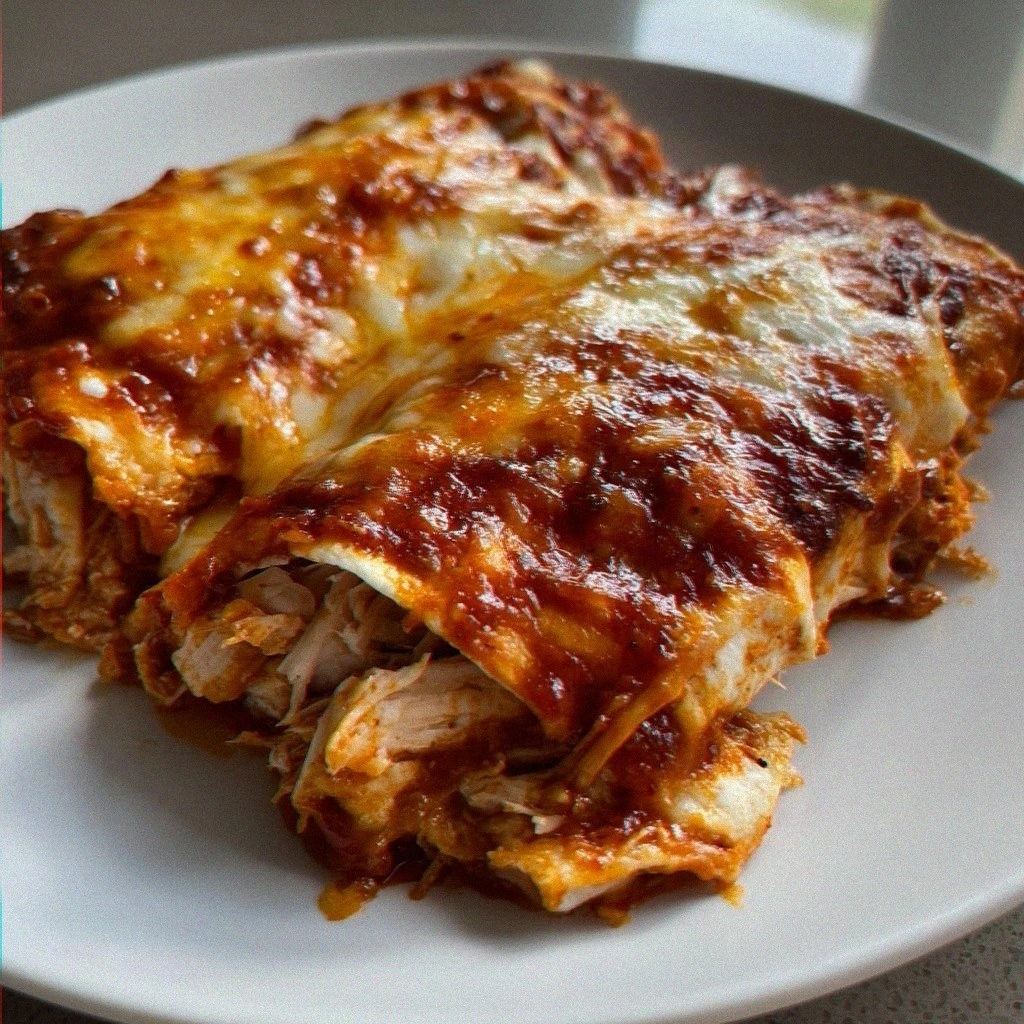
Slow Cooker Chicken Enchilada Casserole: A Comforting Dish for Busy Days
Delicious Slow Cooker Chicken Enchilada Casserole: A Comforting Dish for Busy Days
 Dinner
Pepperoni Pizza Grilled Cheese
Learn how to make delicious Pepperoni Pizza Grilled Cheese. Easy recipe with step-by-step instructions.
 Dinner
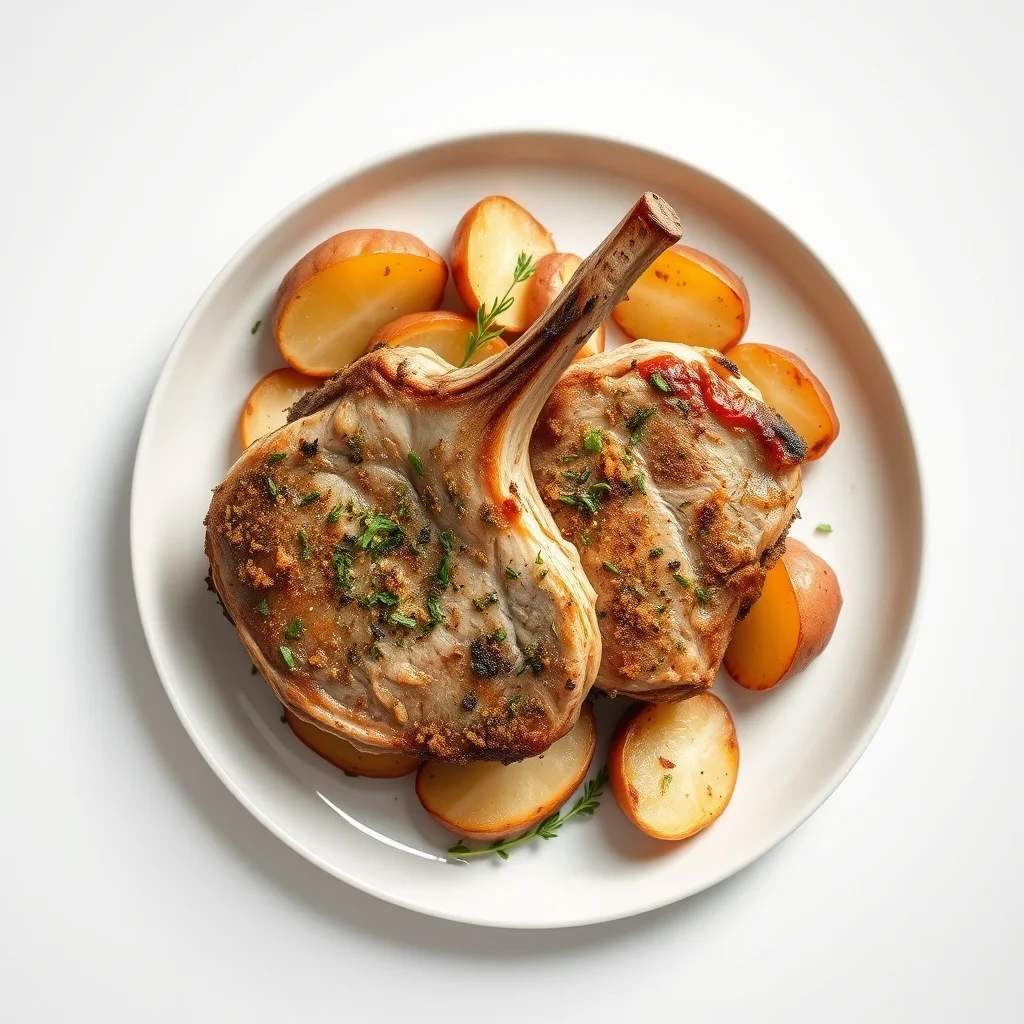
Savory Herb-Crusted Pork Chops with Roasted Potatoes
Delicious Savory Herb-Crusted Pork Chops with Roasted Potatoes

Clara
I cook these recipes at home before they ever land here — simple ingredients, clear steps.