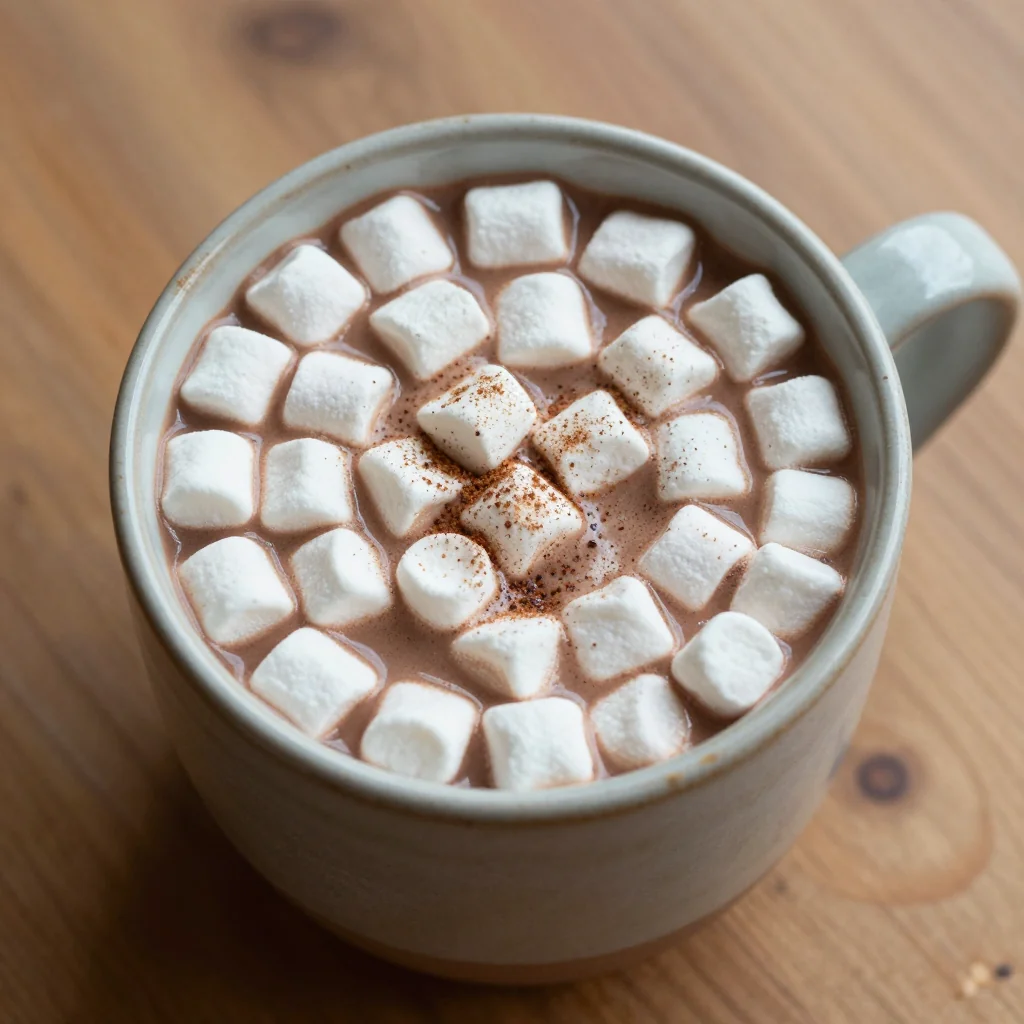
homemade hot cocoa mix with peppermint and whipped cream topping
 Save
Save
Love this recipe? Save it to Pinterest before you forget!
There’s a moment every December—usually the first real snowfall—when I abandon all adult responsibilities, pull on my fuzziest socks, and declare it officially hot-cocoa season in our house. My grandma started the tradition: she’d whisk together her own cocoa mix, tuck it into mason jars tied with red ribbon, and keep a batch in the pantry “for emergencies” (which, in her world, meant any day ending in y). When I moved cross-country for college, she slipped a jar into my suitcase without a word. One sniff of that chocolate-peppermint cloud and I was back in her yellow kitchen, snow tapping the windows, cousins arguing over marshmallows. That jar emptied fast; care packages took days. So I learned to make the mix myself—tweaking, testing, and eventually landing on this version: deeply chocolaty, kissed with peppermint, and crowned with a cloud of maple-kissed whipped cream that melts into the cocoa and leaves candy-cane stripes on your mug. It’s the taste of December, yes, but also the taste of home whenever you need it.
Why You'll Love This Homemade Hot Cocoa Mix with Peppermint and Whipped Cream Topping
- Pantry Powerhouse: One five-minute whisk session yields enough mix for 24 mugs—no more ripping open sad supermarket packets.
- Layered Flavor: Dutch-process cocoa, tiny shards of real white chocolate, and a whisper of espresso for depth; peppermint stays subtle, never toothpaste-y.
- Dietary Friendly: Naturally gluten-free; swap non-fat milk powder for coconut milk powder to go dairy-free.
- Gifting Magic: Looks gorgeous in vintage jars; add a mini whisk and a handwritten tag for instant Santa points.
- Whipped Cream That Lasts: My stabilized maple cream holds peaks for 48 hours in the fridge—perfect for parties.
- Kid-Approved, Adult-Adored: Spike yours with a shot of peppermint schnapps; leave theirs innocent.
- Zero Weird Additives: No hydrogenated oils or unpronounceable stabilizers—just real food.
Ingredient Breakdown
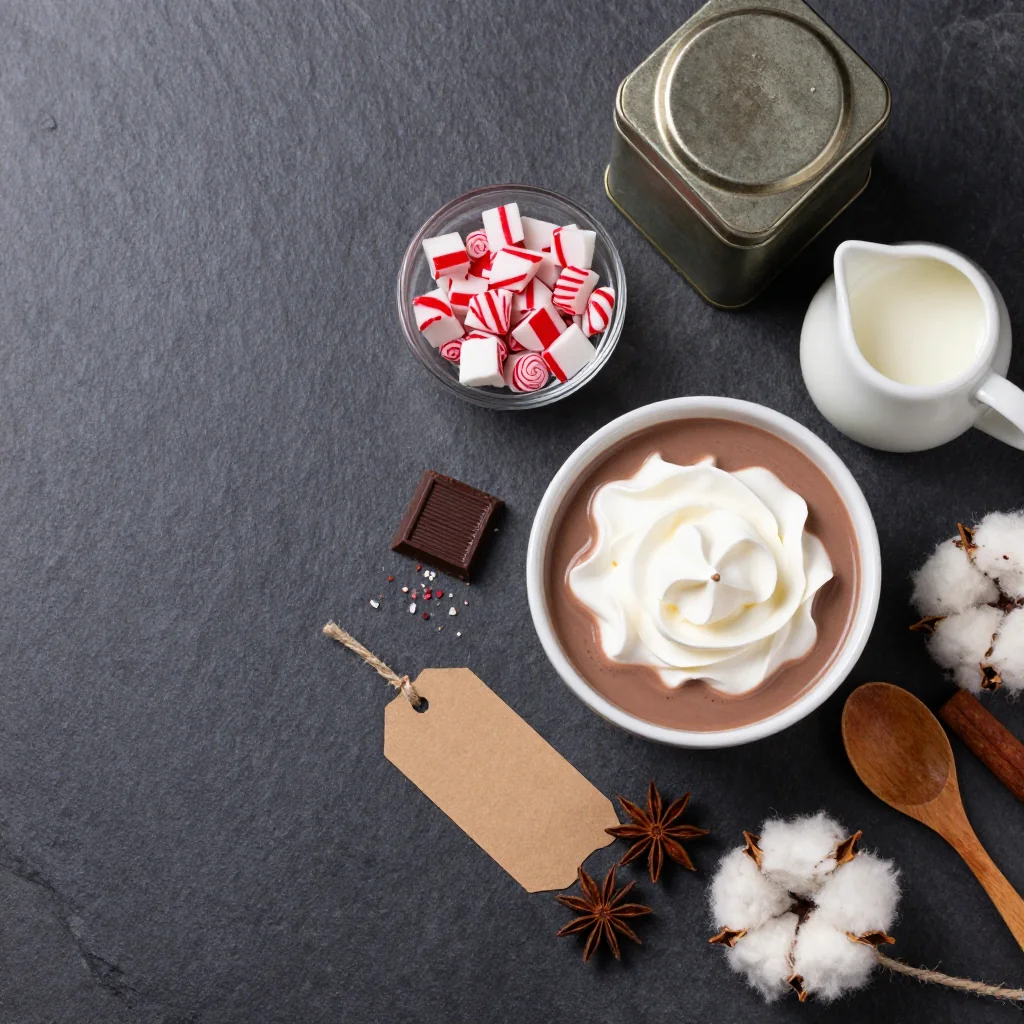
Every component pulls its weight. Dutch-process cocoa gives that Oreo-like duskiness; natural cocoa tastes thin here. Powdered whole milk creates body and foams slightly when hit with hot water, mimicking the steamed-milk effect you’d get from a café. Confectioners’ sugar dissolves silkily, whereas granulated can feel gritty on the tongue. A teaspoon of cornstarch may seem odd, but it’s the secret to that luxurious, almost ganache-like thickness once the cocoa blooms. White chocolate—frozen for ten minutes, then blitzed in a food processor—melts into micro-chips that drift through each sip like tiny glaciers. Peppermint extract is powerful; we keep it at ½ teaspoon per cup of mix, then let crushed candy canes do the visual (and extra aromatic) work. Finally, espresso powder is the flavor amplifier you’ll never taste outright; it simply makes the chocolate more chocolate.
Full Ingredient List
Step-by-Step Instructions
-
1
Combine Dry Mix
In the bowl of a stand mixer fitted with the paddle (or a huge plain bowl and a balloon whisk), combine cocoa, confectioners’ sugar, both milk powders, cornstarch, espresso powder, and salt. Mix on lowest speed for 30 seconds to break clumps. Add frozen white-chocolate bits; pulse 2–3 times just to distribute. Avoid over-mixing or the chocolate will melt from friction.
-
2
Infuse Peppermint
Transfer 1 cup of the mixture to a separate bowl. Sprinkle peppermint extract evenly over the surface; toss with a fork until the extract absorbs and you have no wet clumps. Return to the main bowl and whisk again. This two-step method prevents those stubborn peppermint pebbles that refuse to dissolve later.
-
3
Store
Funnel into clean 1-quart jars, leaving ½-inch headspace. Add an oxygen absorber if you’re gifting long-distance. Label with date; mix keeps 9 months in a cool dark pantry, 1 year in freezer.
-
4
Make One Mug
Heat 8 oz (240 ml) water or milk until steaming (not boiling). Measure 3 Tbsp (22 g) cocoa mix into a heat-proof mug. Pour in 2 oz liquid; whisk to a smooth paste. Top with remaining hot liquid, whisking vigorously to aerate. Microwave option: combine mix and 8 oz milk in the mug; microwave 70–80 seconds, whisking halfway.
-
5
Prepare Stabilized Whipped Cream
Chill mixer bowl and whisk 10 minutes in freezer. Add cream, maple syrup, vanilla, peppermint, and milk powder. Whip on medium-high until soft peaks form; finish on high to stiff peaks that curl like Santa’s beard. Over-whipping past this stage turns it buttery, so watch closely.
-
6
Serve & Garnish
Dollop a generous swirl of cream over cocoa. Shower with crushed candy canes for sparkle. Optional: drizzle ¼ tsp maple syrup in a spiral so it sinks and creates sweet ribbons.
Expert Tips & Tricks
Common Mistakes & Troubleshooting
| Problem | Cause | Quick Fix |
|---|---|---|
| Grainy texture | Sugar not fully dissolved | Make paste first (Step 4) and use water at least 180°F. |
| Weak chocolate flavor | Natural cocoa or old Dutch-process | Buy fresh Dutch-process; add ½ tsp more espresso. |
| Cream deflates | Under-whipped or warm bowl | Chill bowl, add milk powder stabilizer, stop at stiff peaks. |
| Mix clumps in jar | Moisture in storage | Add a few raw rice grains to absorb humidity; discard before using. |
Variations & Substitutions
- Mexican Hot Cocoa: Add 1 tsp cinnamon and ¼ tsp cayenne to the mix.
- Vegan: Replace milk powders with equal parts coconut milk powder; use aquafaba whipped cream.
- Sugar-Free: Swap confectioners’ sugar for powdered erythritol; texture is slightly cooler on the tongue but still rich.
- Salted Caramel: Stir ½ cup caramel chips into the mix and sprinkle flaky salt on the whipped cream.
- White Chocolate Raspberry: Omit peppermint; fold in freeze-dried raspberry powder and use white chocolate curls.
Storage & Freezing
Cocoa Mix: Store in airtight glass away from heat and light up to 9 months. Oxygen and moisture are the enemies, so if you live in a humid climate, toss in a food-grade desiccant packet. Freezing is fine; allow mix to come to room temp before scooping to avoid condensation clumps.
Whipped Cream: Keep refrigerated in a piping bag up to 48 hours. For longer storage, pipe individual rosettes onto parchment-lined sheet, freeze solid, then transfer to zip bag; they thaw atop hot cocoa in 30 seconds.
Frequently Asked Questions
Can I use regular cocoa instead of Dutch-process?
Is there a nut-free milk powder?
My cocoa separates—help!
Can I halve the recipe?
How do I turn this into a mocha?
Is the mix safe for toddlers?
Can I make this in a slow cooker for parties?
What’s the best mug?
Now go forth, whisk up a blizzard of chocolatey comfort, and make December—no, make every day—taste a little more like childhood. Don’t forget to save this recipe to Pinterest so the magic is only a click away next time the snow flies!

Homemade Hot Cocoa Mix with Peppermint & Whipped Cream
Ingredients
- 1 cup unsweetened cocoa powder
- 1 cup granulated sugar
- ½ cup powdered milk
- ½ tsp fine sea salt
- ½ cup mini chocolate chips
- 4 candy canes, crushed
- 1 tsp pure vanilla powder
- 4 cups whole milk (to serve)
- 1 cup heavy cream (for whipped topping)
- 2 tbsp powdered sugar (for whipped cream)
- ½ tsp peppermint extract
- Mini marshmallows for garnish
Instructions
Recipe Notes
- Use Dutch-process cocoa for deeper flavor.
- Replace milk with oat or almond for dairy-free version.
- Mix doubles easily for gifting in mason jars.