Mini Cheesecake Fruit Cups: A Delightful Dessert Experience
 Save
Save
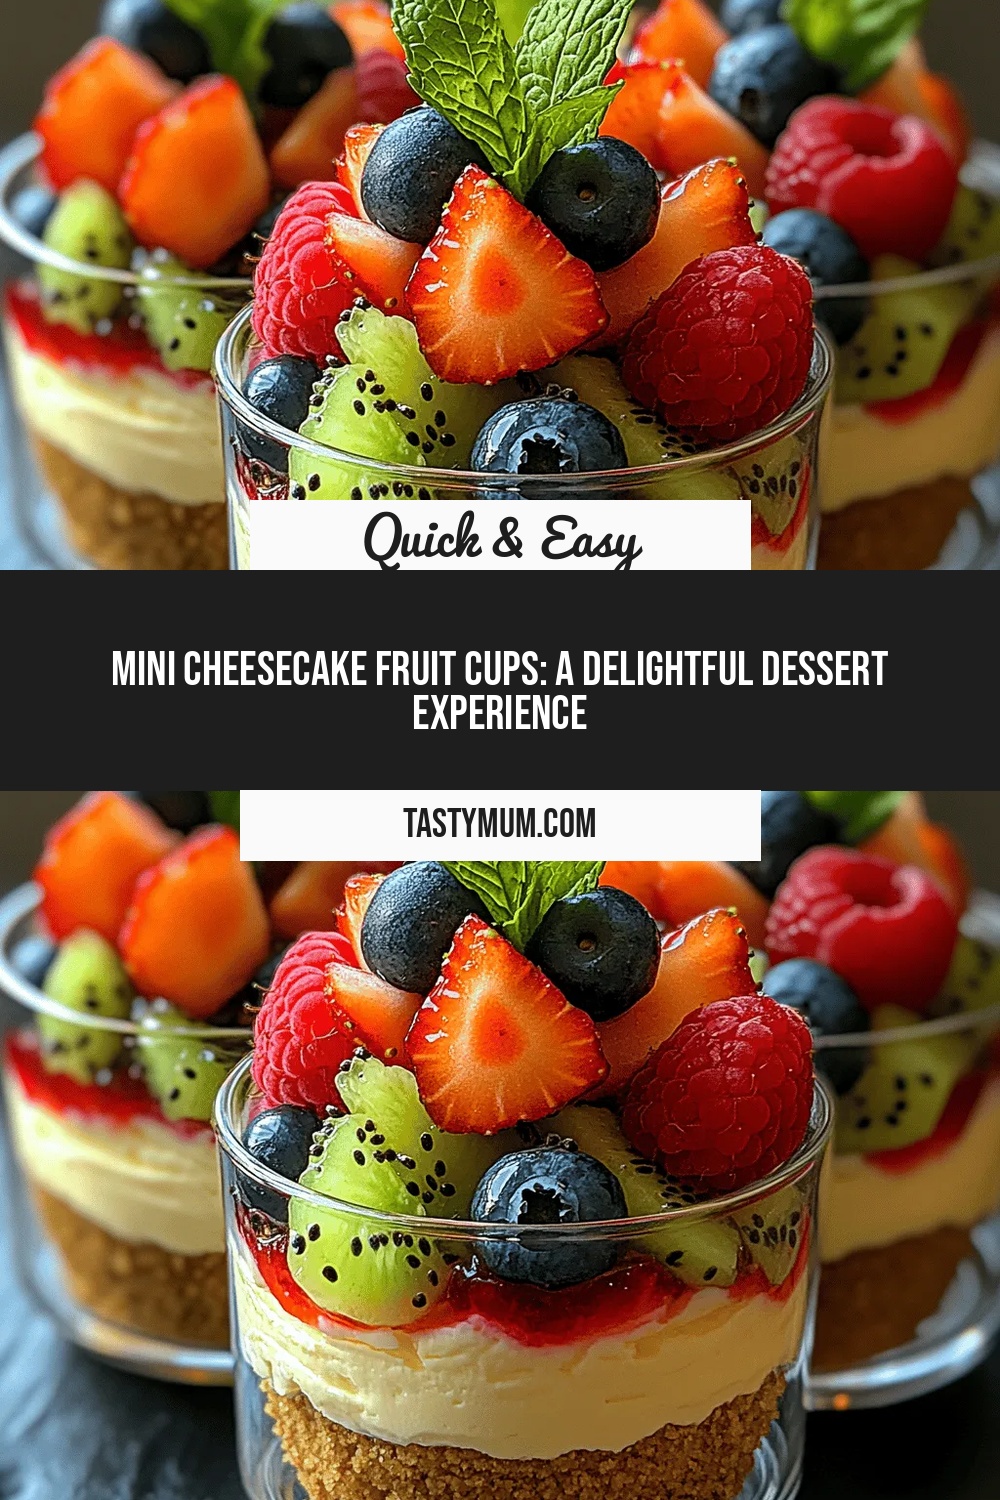
Imagine a bite‑sized dessert that looks as elegant as it tastes—mini cheesecake fruit cups that bring together creamy, tangy cheesecake, buttery crumb, and the bright sparkle of fresh fruit. Each cup is a perfect, handheld treat that feels indulgent without the fuss of slicing a full‑size cheesecake.
What makes these cups truly special is the harmony of textures: a crisp graham‑cracker base, a silky cheesecake filling, and a juicy burst of seasonal fruit that adds natural sweetness and a pop of color.
They’re ideal for brunch gatherings, cocktail parties, or a simple after‑dinner surprise for anyone who loves a little elegance on a small plate. Kids love the fun size, while adults appreciate the refined flavors.
The process is straightforward—prepare a quick crust, whisk together a light cheesecake batter, pour into individual molds, top with fruit, and chill. In under an hour of active work you’ll have a dessert that dazzles every time.
Why You’ll Love This Recipe
Mini‑Sized Elegance: The individual portions look sophisticated on a platter, making them perfect for entertaining without the need for a carving knife or serving platter.
Fresh Fruit Boost: Juicy berries, kiwi, or mango add natural sweetness and a burst of vitamin‑rich flavor that balances the richness of the cheesecake.
Make‑Ahead Friendly: Once chilled, the cups stay fresh for days, allowing you to prep them ahead of time and reduce last‑minute stress.
Customizable Base: Swap graham crackers for Oreo crumbs or almond flour for a gluten‑free twist, tailoring the texture to suit any palate.
Tips & Tricks
Perfecting the Recipe
Room‑Temperature Cream Cheese: Soften the cheese before mixing; it blends smoothly and prevents lumps in the filling.
Press Crust Evenly: Use the back of a spoon or a small glass to compact the crumb base; a uniform crust stops the filling from sliding.
Don’t Over‑Whisk the Egg: Mix just until combined; excess air can cause the cheesecake to puff and crack during chilling.
Chill Covered: Tightly wrap the cups to avoid absorbing fridge odors and to keep the surface smooth.
Flavor Enhancements
Add a splash of orange liqueur or a teaspoon of finely grated ginger to the filling for an unexpected twist. Toss the fruit with a pinch of sea salt just before serving to intensify its natural sweetness.
Common Mistakes to Avoid
Avoid using cold cream cheese straight from the fridge—it creates a gritty texture. Also, don’t skip the chilling step; the filling needs time to firm up, otherwise it will be too soft to hold the fruit topping.
Pro Tips
Use a Food Processor for Crust: Pulse the crumbs and butter together for a perfectly uniform mixture that packs tightly.
Season Fruit Lightly: A drizzle of honey mixed with a splash of lemon juice keeps berries glossy and prevents them from drying out.
Serve on a Cold Plate: Chill the serving plates for 10 minutes; this keeps the mini cups firm longer during a gathering.
Garnish with Mint: A tiny mint leaf on each cup adds a fresh aroma and a pop of green that looks picture‑perfect.
Variations
Ingredient Swaps
Replace graham‑cracker crumbs with crushed vanilla wafers for a sweeter crust, or use almond flour mixed with coconut oil for a gluten‑free base. Swap mixed berries for tropical fruits like mango, passion fruit, or pineapple to give the cups a summer vibe. For a richer filling, fold in a tablespoon of mascarpone.
Dietary Adjustments
Use a plant‑based cream cheese (e.g., almond or soy) and coconut cream in place of heavy cream for a vegan version. Substitute the egg with 2 tablespoons of plain Greek yogurt to keep the filling set without animal products. For a low‑sugar option, replace powdered sugar with a keto‑friendly erythritol blend.
Serving Suggestions
Serve these cups on a chilled marble slab for a luxe presentation, or nestle them in a decorative charcuterie board alongside bite‑size pastries. Pair with a sparkling rosé or a light prosecco to balance the creamy richness with effervescent acidity.
Storage Info
Leftover Storage
Allow any remaining cups to cool completely, then seal them with a snap‑on lid or cover tightly with plastic wrap. Store in the refrigerator for up to 4 days. For longer keeping, transfer the cheesecake portion (without fruit) to a freezer‑safe container and freeze for up to 2 months; thaw overnight in the fridge before adding fresh fruit.
Reheating Instructions
Mini cheesecake cups are best enjoyed cold, but if you prefer a slightly warmer texture, place them on a plate and microwave on medium power for 15‑20 seconds. Avoid overheating, as the filling can become grainy. Adding a drizzle of fresh fruit sauce after warming restores moisture.
Frequently Asked Questions
Can I make these mini cups ahead of time?
What if I don’t have fresh berries?
Can I use a different sweetener?
How do I keep the crust from getting soggy?
This Mini Cheesecake Fruit Cup recipe delivers a perfect blend of creamy cheesecake, buttery crust, and vibrant fruit in a portable, eye‑catching format. The step‑by‑step guide, storage tips, and variations ensure you can adapt it to any occasion or dietary need. Feel free to experiment with flavors, textures, and presentations—your creativity is the only limit. Enjoy each elegant bite and share the delight with friends and family!
Mini Cheesecake Fruit Cups: A Delightful Dessert Experience
Delicious Mini Cheesecake Fruit Cups: A Delightful Dessert Experience
Ingredients
Crust
- 1 cup graham‑cracker crumbs
- 2 tablespoons granulated sugar
- 3 tablespoons unsalted butter, melted
Cheesecake Filling
- 8 oz (225 g) cream cheese, softened
- 1/3 cup powdered sugar
- 1 large egg, lightly beaten
- 1 teaspoon vanilla extract
- 1 teaspoon fresh lemon zest
Fruit Topping
- 1 cup mixed fresh berries (strawberries, blueberries, raspberries)
- 1 kiwi, peeled and sliced thin
- 1 tablespoon honey (optional, for glaze)
Whipped Cream (Optional)
- 1/2 cup heavy cream
- 1 tablespoon powdered sugar
- 1/2 teaspoon vanilla extract
Instructions
Assembling the Cups
- Fill the Crust. Spoon the cheesecake batter over the pressed crusts, filling each cup to the rim. Smooth the tops with the back of a spoon or a small offset spatula for an even surface.
- Chill to Set. Cover the assembled cups with plastic wrap and place them in the refrigerator for at least 2 hours, or until the filling is firm to the touch. This gentle chilling method prevents cracking and gives the flavors time to meld.
- Add Fruit. Just before serving, arrange the fresh berries and kiwi slices on top of each cheesecake cup. Drizzle a thin stream of honey over the fruit if you like extra shine and a hint of additional sweetness.
- Optional Whipped Cream. Whip heavy cream with powdered sugar and vanilla until soft peaks form. Pipe a small dollop onto each cup for an elegant finishing touch.
Similar Recipes
 Desserts
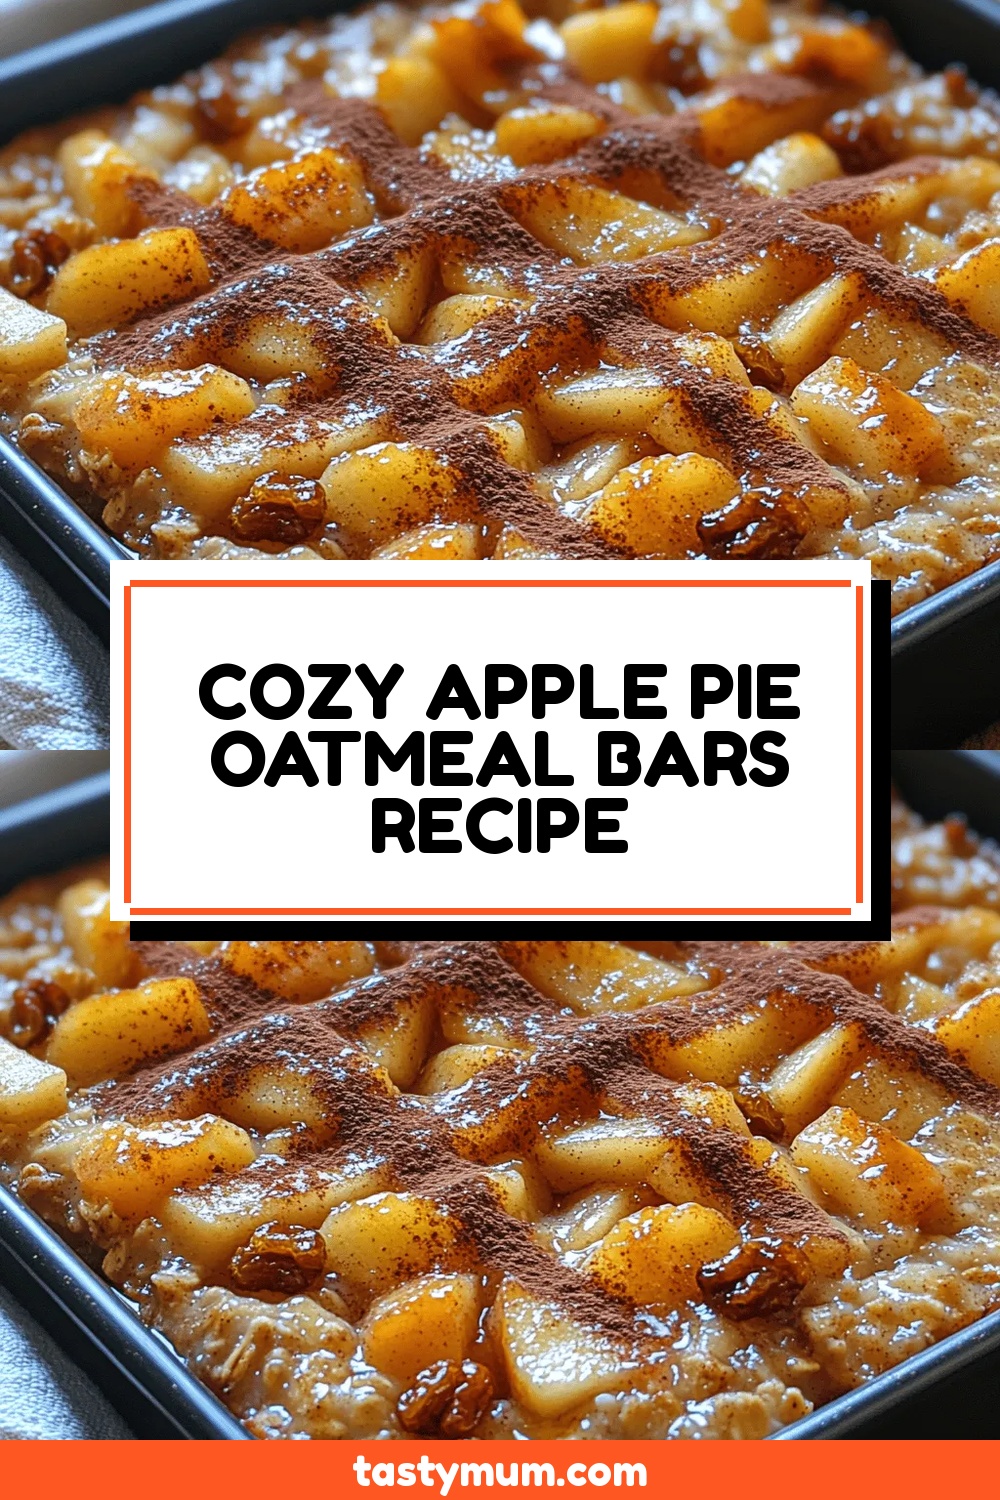
Cozy Apple Pie Oatmeal Bars Recipe
Delicious Cozy Apple Pie Oatmeal Bars Recipe
 Desserts
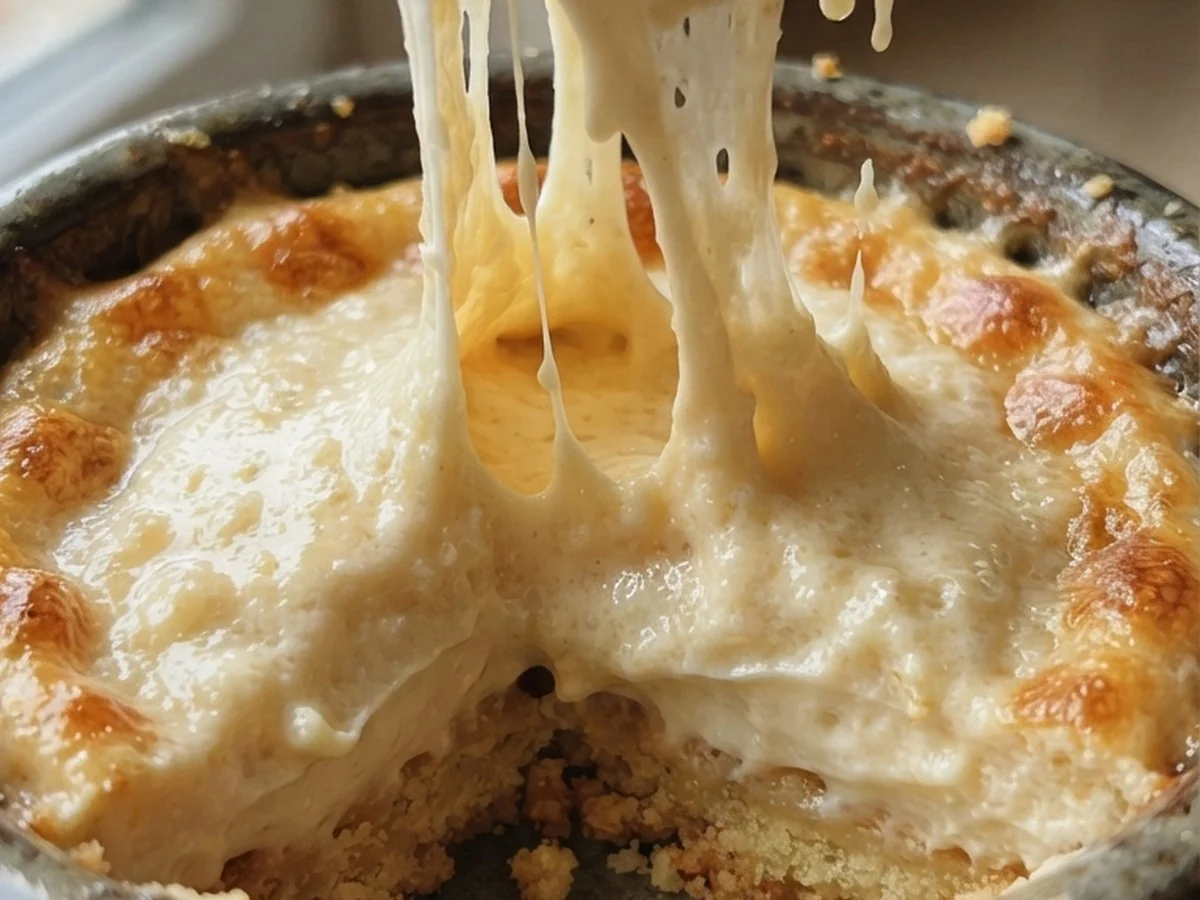
Cottage Cheese Protein Mousse
A light, high‑protein mousse that feels indulgent yet stays nutritious.
 Desserts
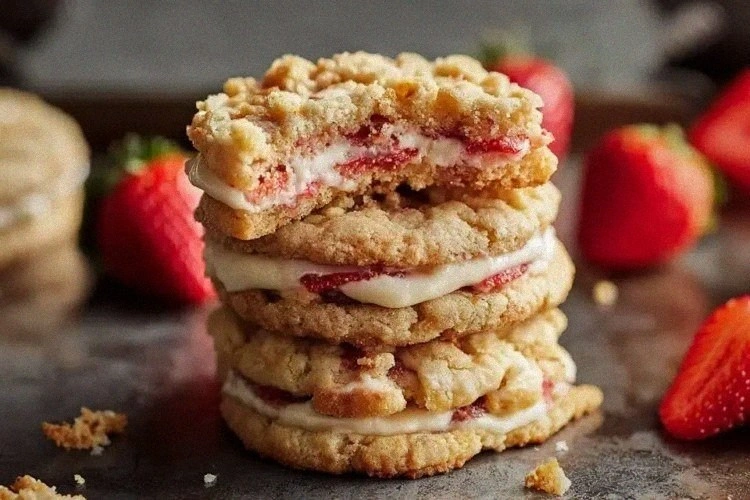
Strawberry Crunch Cheesecake Stuffed Cookies
Learn how to make delicious Strawberry Crunch Cheesecake Stuffed Cookies. Easy recipe with step-by-step instructions.
 Desserts
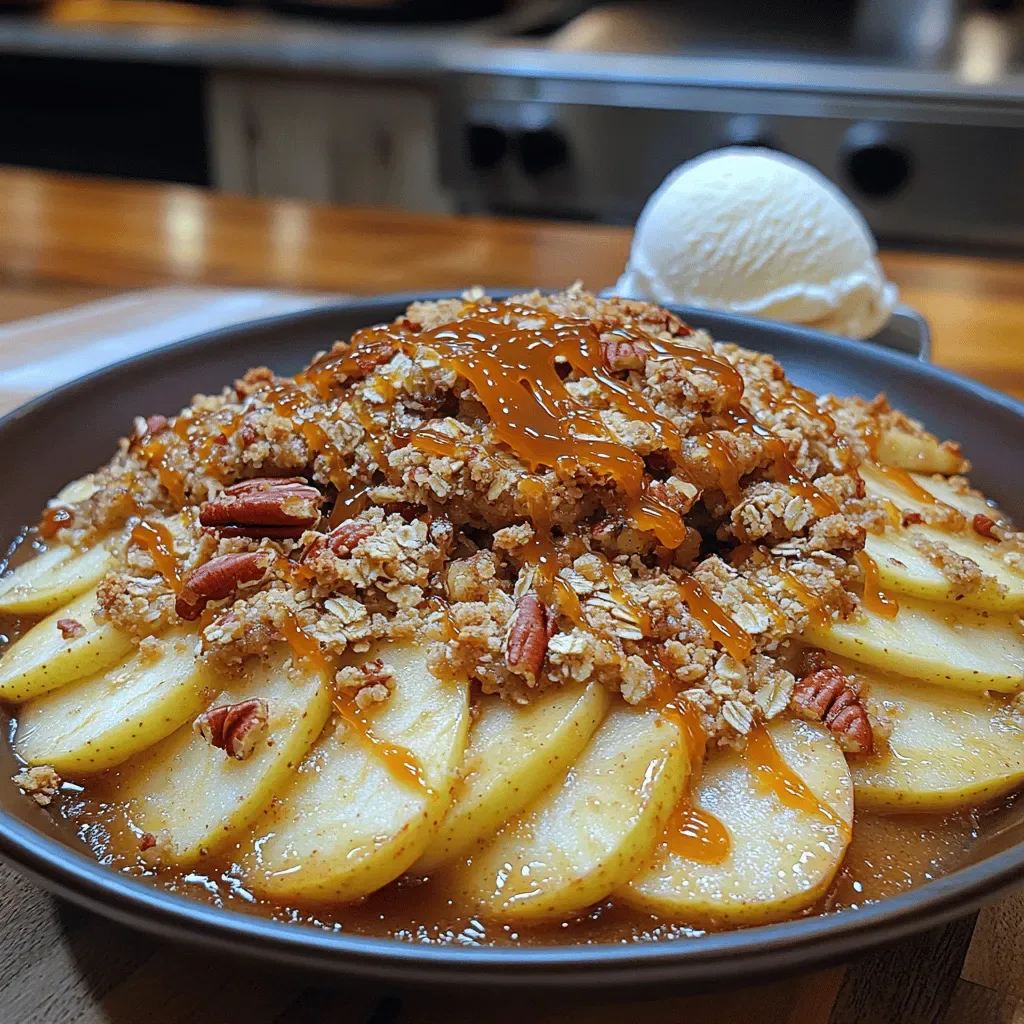
Indulge in the Sweetness of Salted Caramel Apple Crumble Delight
Delicious Indulge in the Sweetness of Salted Caramel Apple Crumble Delight
 Desserts
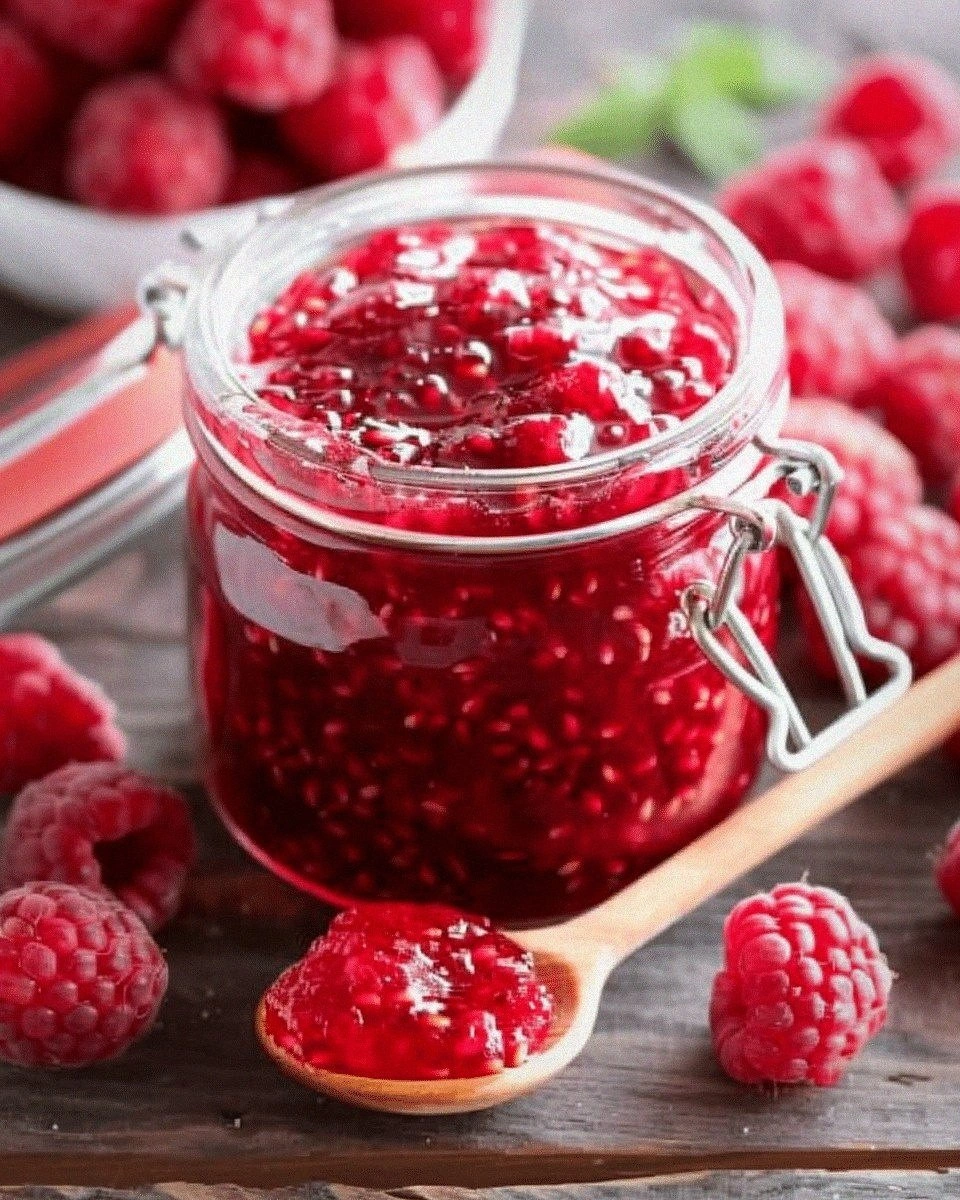
Raspberry Freezer Jam
Learn how to make delicious Raspberry Freezer Jam. Easy recipe with step-by-step instructions.
 Desserts
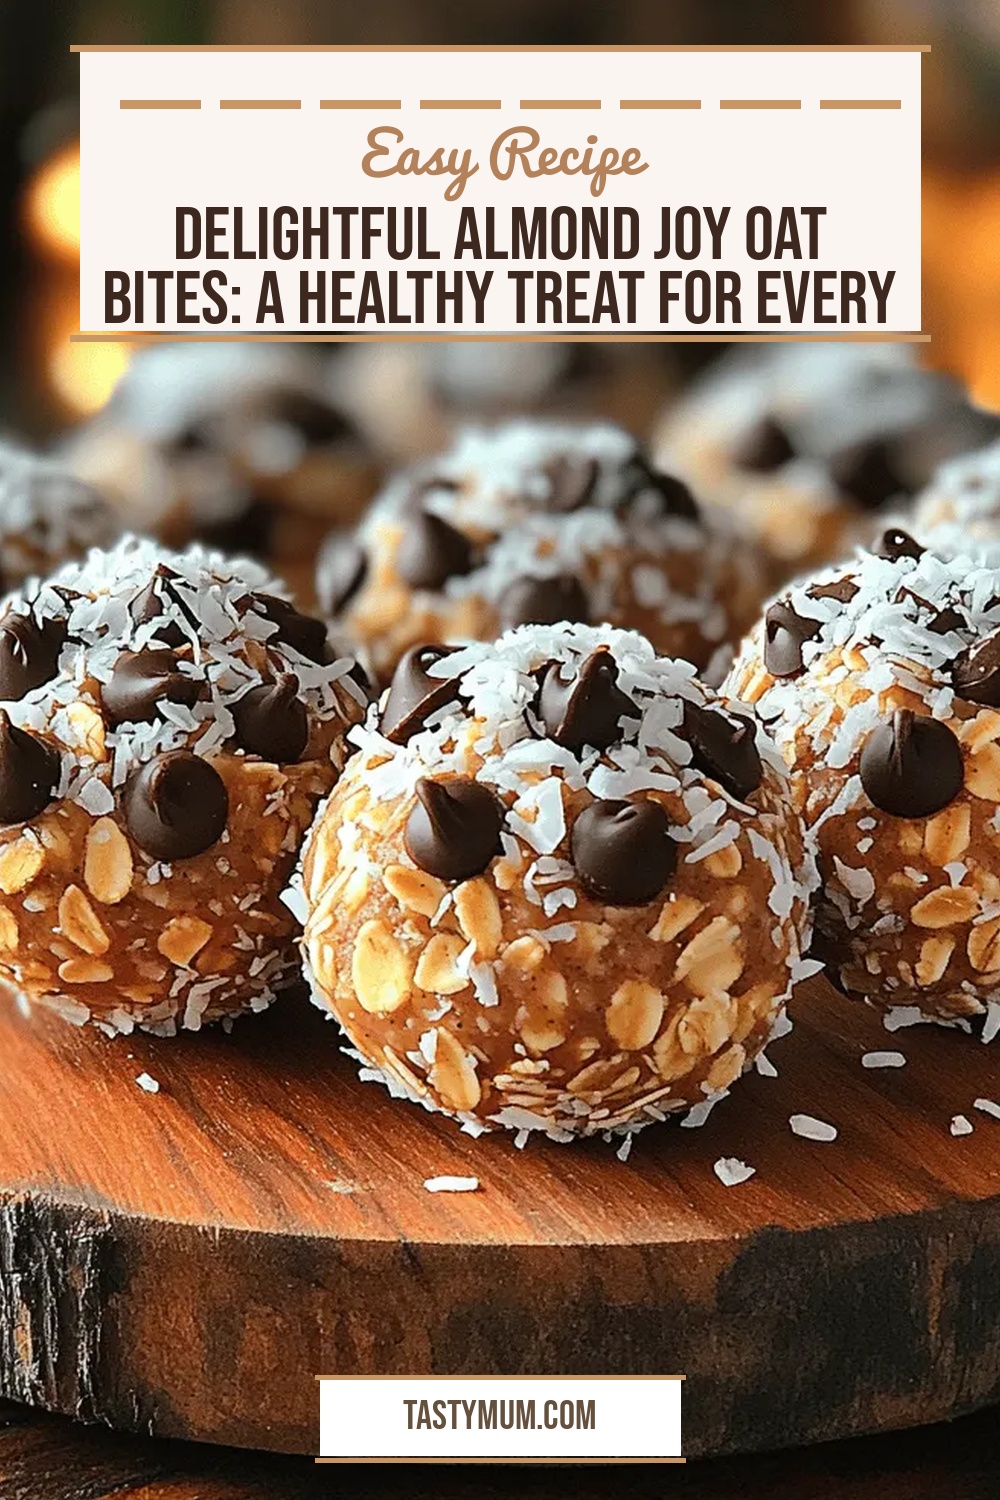
Delightful Almond Joy Oat Bites: A Healthy Treat for Every Occasion
Delicious Delightful Almond Joy Oat Bites: A Healthy Treat for Every Occasion
 Desserts
Tropical Bliss Dole Whip Recipe: A Refreshing Vegan Treat
Delicious Tropical Bliss Dole Whip Recipe: A Refreshing Vegan Treat
 Desserts
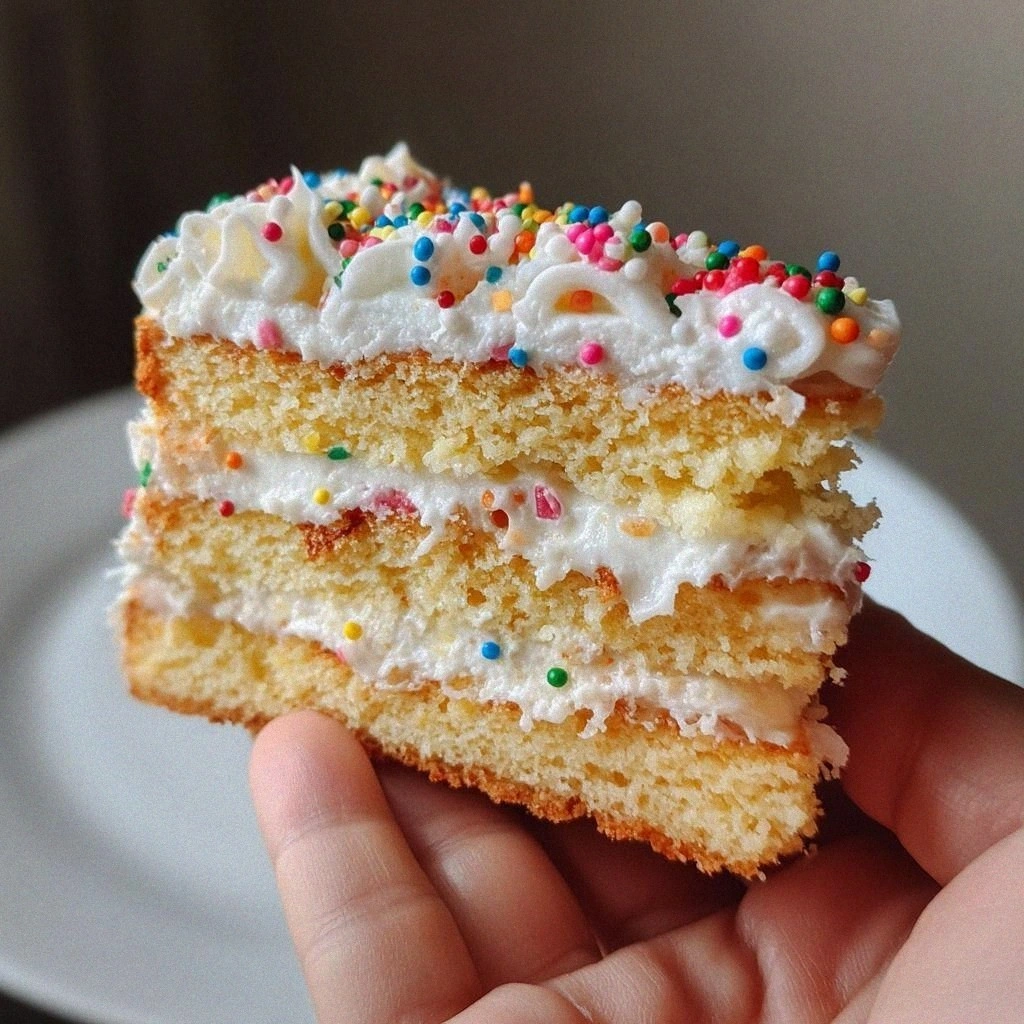
mini cake for valentines day: 7 sweet moments to share
Learn how to make delicious mini cake for valentines day: 7 sweet moments to share. Easy…

Clara
I cook these recipes at home before they ever land here — simple ingredients, clear steps.