Oreo Pops Valentine’s Day: 7 Sweet Ways to Show Love
 Save
Save
It was a chilly February afternoon, the kind where the wind whistles through the bare branches and the kitchen becomes the warmest place in the house. I remember pulling out a dusty box of Oreos from the pantry, the chocolate‑cream sandwich scent instantly reminding me of childhood birthday parties and late‑night movie marathons. As the butter melted in the pan and the faint aroma of white chocolate began to rise, I felt a spark of excitement—this was not just any snack, it was a love‑letter in edible form, waiting to be crafted for the one I adored. The moment you dip a freshly coated Oreo pop into a swirl of glossy white chocolate, you hear a soft, satisfying snap that promises sweetness, crunch, and a whisper of romance all at once.
What makes Oreo Pops the ultimate Valentine’s treat is their simplicity paired with endless opportunities for personalization. The crushed Oreo base gives you a familiar, buttery crunch, while the creamy cheese filling adds a velvety richness that balances the sweetness of the white chocolate coating. Imagine the glossy white glaze catching the candlelight, the sprinkle confetti shimmering like tiny fireworks, and the soft, melt‑in‑your‑mouth center that makes every bite feel like a hug. Have you ever wondered why a simple cookie can become the star of a romantic dinner table? The secret lies in layering textures and flavors that play off each other, creating a symphony of taste that feels both nostalgic and novel.
But wait—there’s a hidden twist that will take your Oreo Pops from ordinary to unforgettable, and I’ll reveal it in step four of the recipe. Trust me, you’ll want to keep reading because the technique is so easy you’ll wonder why you never thought of it before. And if you’re thinking about how to make these pops look as good as they taste, I’ve got a handful of decorating hacks that will turn your kitchen into a boutique confectionery. The best part? You don’t need any fancy equipment—just a few pantry staples, a little patience, and a whole lot of love.
Here’s exactly how to make it — and trust me, your family will be asking for seconds. Grab a bowl, a spatula, and an open heart, and let’s dive into the sweet world of Oreo Pops Valentine’s Day: 7 Sweet Ways to Show Love. Ready? Let’s get started.
🌟 Why This Recipe Works
- Flavor Depth: The combination of crushed Oreo cookies with a creamy cheese filling creates a layered taste experience that feels both indulgent and balanced. The slight bitterness of the chocolate cookie contrasts beautifully with the sweet, milky white chocolate glaze, ensuring each bite is a harmonious dance of flavors.
- Texture Contrast: You get a satisfying crunch from the cookie crumbs, a silky smooth interior from the cream cheese, and a glossy snap from the hardened chocolate coating. This trio of textures keeps the palate engaged from the first bite to the last.
- Ease of Preparation: All the steps can be completed with everyday kitchen tools—no need for a candy thermometer or a stand mixer. Even beginners can achieve professional‑looking results with a little patience.
- Time Efficiency: From start to finish, the recipe takes under an hour, making it perfect for a last‑minute Valentine’s surprise or a weekend treat. The most time‑consuming part is the chilling step, which can happen while you set the table.
- Versatility: You can swap out the white chocolate for dark or milk chocolate, add flavored extracts to the cream cheese, or experiment with different sprinkle colors to match any theme. The base recipe is a canvas for endless creativity.
- Ingredient Quality: Using high‑quality Oreos and real cream cheese elevates the dish from a simple candy to a gourmet confection. The richer the ingredients, the more luxurious the final product feels.
- Crowd‑Pleasing Factor: Both kids and adults adore the familiar Oreo flavor, while the elegant presentation makes it suitable for sophisticated gatherings. It’s a sweet that bridges generations, making it perfect for family celebrations.
🥗 Ingredients Breakdown
The Foundation
The first ingredient, a package of Oreo cookies, crushed, serves as the crunchy backbone of each pop. The cookie’s chocolate wafers bring a deep, slightly bitter cocoa note that cuts through the sweetness of the white chocolate, preventing the final product from feeling cloying. When crushing the Oreos, aim for a fine, sand‑like texture; this ensures they adhere well to the cheese filling and create a uniform coating. If you don’t have a food processor, a sturdy zip‑top bag and a rolling pin work just as well—just give it a good, firm roll until the crumbs are evenly sized.
The Creamy Core
Next up, 8 oz cream cheese, softened, is the secret heart of the pop. The tangy, buttery flavor of cream cheese adds a luxurious mouthfeel that pairs perfectly with the crunchy exterior. Soften the cheese at room temperature for about 20 minutes; this makes it easier to blend with the crushed Oreos without creating lumps. If you’re looking for a dairy‑free alternative, a well‑chilled coconut cream can mimic the texture, though the flavor profile will shift slightly toward tropical notes.
The Silky Shield
12 oz white chocolate, melted forms the glossy outer shell that makes these pops instantly eye‑catching. White chocolate’s buttery, vanilla‑forward taste complements the Oreo’s chocolate base while adding a creamy sheen that reflects candlelight beautifully. When melting, use a double‑boiler or a microwave in short bursts, stirring frequently to prevent scorching. A common mistake is overheating, which can cause the chocolate to seize and become grainy—keep the temperature under 115°F (46°C) for best results.
Finishing Flourish
Finally, sprinkles for decoration add that final pop of color and a playful crunch that makes each pop feel festive. Choose sprinkles that match your Valentine’s theme—red heart‑shaped, pink sugar crystals, or even edible gold dust for a touch of elegance. If you’re feeling adventurous, try crushed freeze‑dried berries or toasted coconut flakes for a flavor twist that adds depth without overwhelming the core flavors. The key is to apply the sprinkles while the chocolate is still tacky; this ensures they stick and don’t fall off later.
With your ingredients prepped and ready, let's get cooking. Here’s where the fun really begins...
🍳 Step-by-Step Instructions
🔐 Expert Tips for Perfect Results
The Taste Test Trick
Before you seal each pop with chocolate, take a tiny bite of the plain Oreo‑cream cheese ball. This quick taste test lets you adjust the sweetness or add a pinch of vanilla extract if needed. I once forgot to taste and ended up with a slightly bland center, which taught me the value of this tiny but mighty step. The result? A perfectly balanced pop that sings on the palate.
Why Resting Time Matters More Than You Think
Allowing the Oreo balls to chill before dipping is crucial; it firms the dough, preventing the chocolate from sliding off. I once tried to skip the chilling step when I was in a rush, and the chocolate melted into a messy pool. The lesson? Patience is a key ingredient, especially when love is the main theme. Trust the chill, and the coating will stay flawless.
The Seasoning Secret Pros Won’t Tell You
A tiny pinch of pink Himalayan salt sprinkled over the white chocolate before it sets can elevate the flavor, adding a subtle depth that makes the sweet taste less cloying. This is a secret I learned from a pastry chef friend who swears by the “salt‑sweet balance” trick. The best part? You won’t notice the salt, but your taste buds will thank you.
The Decorative Edge
When applying sprinkles, use a fine-mesh sieve to dust them evenly. This prevents clumps and creates a delicate, even coating that looks professional. I once used a spoon, and the sprinkles gathered in one spot, looking messy. Now I always sift, and the pops look like they belong in a boutique candy shop.
Storing for Later Love
If you need to make the pops ahead of time, store them in an airtight container in the fridge, layering parchment paper between layers to avoid sticking. When you’re ready to serve, let them sit at room temperature for 10 minutes to bring back the melt‑in‑your‑mouth texture. This tip saved me on Valentine’s Day when I prepared the pops the night before a busy dinner.
🌈 Delicious Variations to Try
One of my favorite things about this recipe is how versatile it is. Here are some twists I've tried and loved:
Chocolate‑Covered Strawberry Oreo Pops
Replace the white chocolate with dark chocolate and add a fresh strawberry half inside the Oreo ball before sealing. The tartness of the strawberry cuts through the richness, creating a sophisticated flavor combo perfect for a romantic dinner.
Matcha‑Infused Cream Cheese Pops
Stir a teaspoon of high‑quality matcha powder into the softened cream cheese before mixing with the crushed Oreos. The earthy green notes add an unexpected depth, and the vibrant color makes for a stunning visual contrast against the white chocolate.
Caramel Drizzle Delight
After the white chocolate sets, drizzle a thin line of salted caramel over each pop. The salty‑sweet caramel adds a luxurious finish that feels indulgent without being overpowering.
Nutty Crunch Oreo Pops
Mix finely chopped toasted almonds or pistachios into the Oreo crumb mixture for an added crunch. The nutty aroma complements the chocolate and adds a pleasant surprise in every bite.
Holiday Red Velvet Twist
Add a splash of red food coloring to the cream cheese mixture and use red velvet cake crumbs instead of Oreos for a festive twist. The subtle cocoa flavor pairs beautifully with the white chocolate, making it perfect for a Valentine’s or Christmas celebration.
📦 Storage & Reheating Tips
Refrigerator Storage
Place the finished Oreo Pops in an airtight container lined with parchment paper. They will keep fresh for up to 5 days, maintaining their texture and flavor. If you’re stacking them, separate each layer with a sheet of parchment to prevent the chocolate from sticking together.
Freezing Instructions
For longer storage, arrange the pops on a baking sheet and flash‑freeze for 30 minutes, then transfer them to a zip‑top freezer bag. They can be frozen for up to 2 months. When you’re ready to enjoy them, move the bag to the refrigerator for an hour to thaw gently, then let them sit at room temperature for 10 minutes before serving.
Reheating Methods
If the chocolate coating feels a bit too firm, place the pops on a microwave‑safe plate and warm them for 5‑10 seconds on low power. Alternatively, you can set them in a warm oven (250°F/120°C) for 5 minutes. The trick to reheating without drying it out? A splash of milk or a drizzle of melted white chocolate added just before serving restores that luscious melt‑in‑your‑mouth feel.
❓ Frequently Asked Questions
Can I use a different cookie instead of Oreos?
Do I need to melt the white chocolate in a double boiler?
Can I make these pops dairy‑free?
How can I prevent the chocolate from cracking?
Can I add a flavored extract to the cream cheese?
What’s the best way to transport these pops for a party?
Can I use milk chocolate instead of white chocolate?
How long can I keep the pops at room temperature?
Recipe Card





Other Reader Favorites
 Drinks
Tropical Sunshine Pineapple Lemonade Punch Recipe
Delicious Tropical Sunshine Pineapple Lemonade Punch Recipe
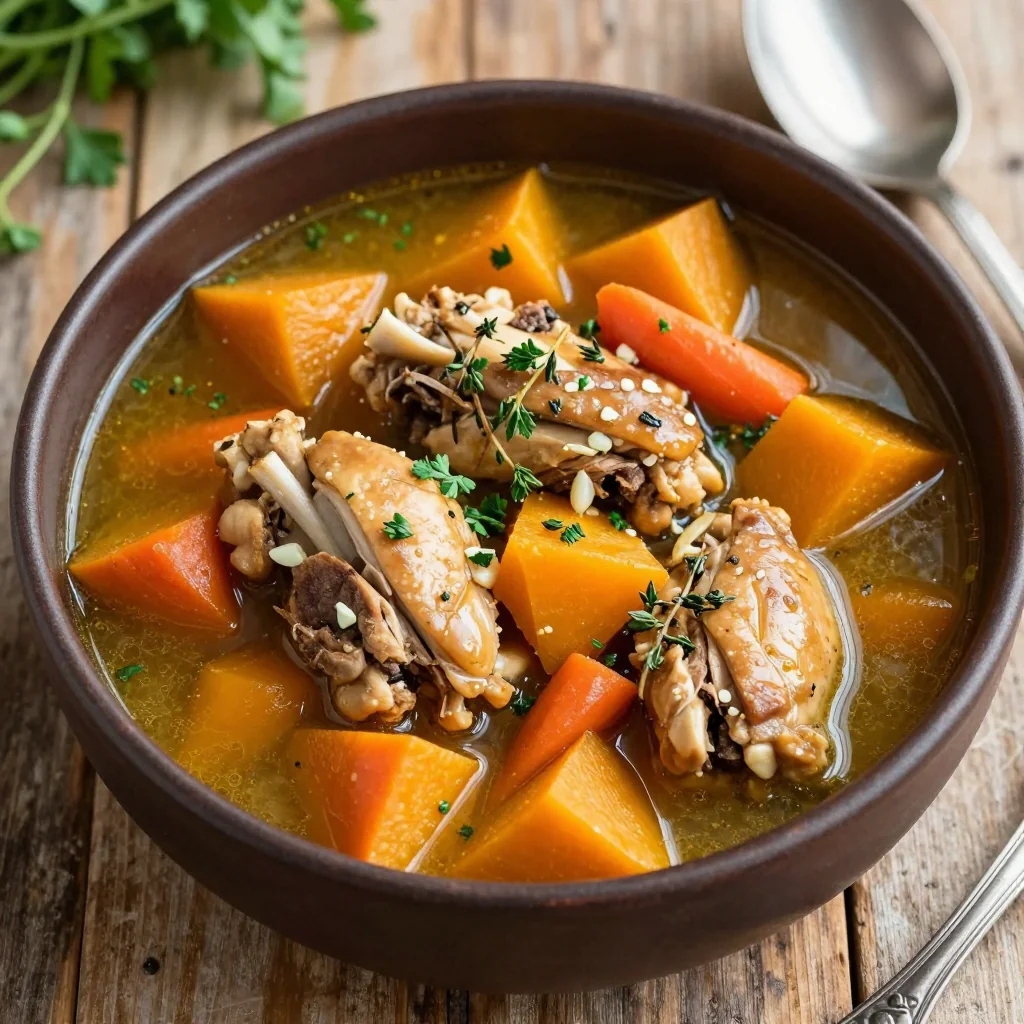 Dinner
slow cooker chicken stew with garlic and winter squash for easy dinners
Learn how to make delicious slow cooker chicken stew with garlic and winter squash for easy…
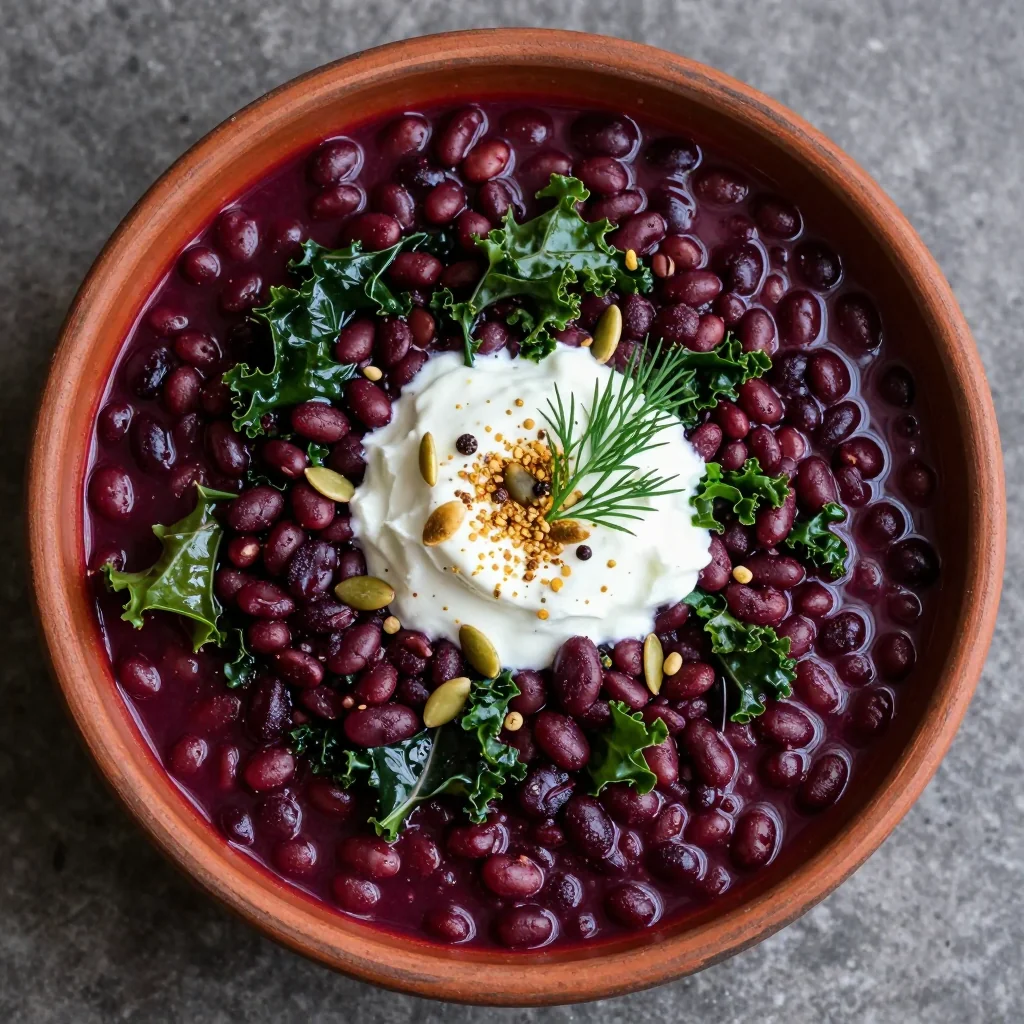 Dinner
high protein lentil and kale stew with beets for nourishing winter meals
Learn how to make delicious high protein lentil and kale stew with beets for nourishing winter…
 Dinner
lowcalorie lemon and cabbage stirfry for budget friendly dinners
Learn how to make delicious lowcalorie lemon and cabbage stirfry for budget friendly dinners. Easy recipe…