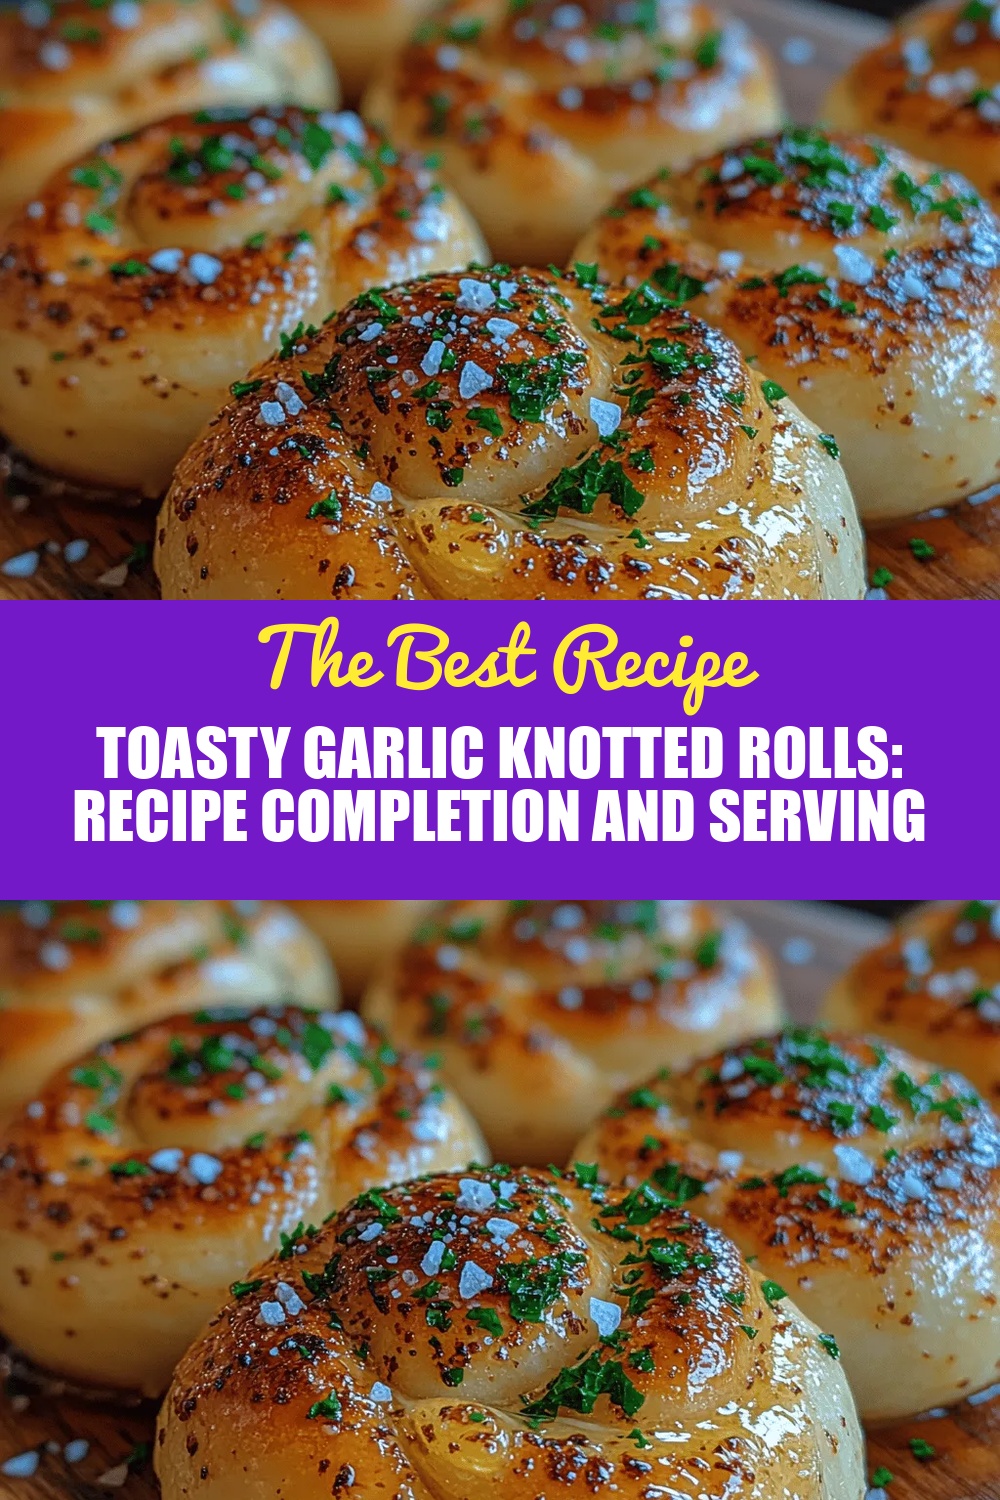
Toasty Garlic Knotted Rolls: Recipe Completion and Serving Suggestions
 Save
Save
Imagine biting into a warm, buttery knot that cracks open to reveal a fragrant garlic interior—this is the magic of Toasty Garlic Knotted Rolls. Each roll is a bite‑size bundle of soft, pillowy dough wrapped around a golden, garlicky glaze that sings with every chew.
What makes these rolls truly special is the marriage of a classic yeasted dough with a bold garlic‑butter infusion, creating a contrast of tender crumb and crisp, aromatic crust that’s impossible to resist.
These rolls are perfect for anyone who loves comfort food with a punch of flavor—kids, busy professionals, or party hosts looking for a crowd‑pleasing snack. Serve them at brunch, as a side for soups, or as the star of a game‑day spread.
The process is straightforward: mix a simple dough, let it rise, shape it into knots, brush with garlic butter, and bake until the edges turn a beautiful, toasty amber. The result is a snack that feels both homemade and gourmet.
Why You'll Love This Recipe
Irresistible Garlic Flavor: Fresh minced garlic melds with melted butter, creating a fragrant glaze that seeps into every crevice of the knot, delivering a bold, aromatic bite each time.
Easy Hand‑Shaping: The dough is soft enough to pull into knots without tearing, making it a fun, tactile activity that yields impressive results without any fancy equipment.
Versatile Serving Options: Whether you pair them with a hearty soup, a fresh salad, or simply enjoy them solo, these rolls adapt to any meal or occasion.
Make‑Ahead Friendly: The dough can be prepared a day ahead, and the baked rolls reheat beautifully, giving you flexibility for busy schedules.
Tips & Tricks
Perfecting the Recipe
Temperature‑Controlled Milk. Warm the milk to 110°F (43°C); hotter milk can kill the yeast, while cooler milk slows activation, affecting rise.
Gentle Handling During Shaping. Keep the dough surface lightly floured and avoid over‑working the knots, which can tighten the crumb and make the rolls dense.
Even Thickness. Aim for uniform ¼‑inch thickness when rolling ropes; consistent size ensures even baking and a uniform crust.
Flavor Enhancements
Add a splash of white wine to the dough for subtle depth, or incorporate roasted garlic instead of raw for a sweeter, mellower flavor. Finish with a light drizzle of truffle oil after baking for an upscale twist.
Common Mistakes to Avoid
Skipping the second rise results in tight knots that don’t expand fully, yielding a dense texture. Also, avoid brushing the butter before the rolls have fully risen; doing so can weigh them down and prevent proper puff.
Pro Tips
Use a Stand Mixer. If you own a dough hook, let the machine knead for 6‑7 minutes; this guarantees consistent gluten development.
Steam the Oven. Place a shallow pan of hot water on the lower rack during the first 10 minutes of baking to create a moist environment that yields a tender crumb.
Brush in Two Stages. Apply half the garlic butter before baking for crust formation, and the remaining half right after for a glossy, flavor‑intense finish.
Variations
Ingredient Swaps
Swap the all‑purpose flour for a blend of bread flour and whole‑wheat for extra chew and nuttiness. Replace butter with olive oil for a lighter mouthfeel, or use herb‑infused butter for a different aromatic profile. For a cheesy twist, fold in ½ cup grated Parmesan into the dough before the first rise.
Dietary Adjustments
For gluten‑free versions, use a 1‑to‑1 gluten‑free flour blend and add a tablespoon of xanthan gum to mimic elasticity. Vegan diners can substitute the egg with a “flax egg” (1 tbsp ground flaxseed + 3 tbsp water) and use plant‑based butter in the glaze. Low‑carb fans can replace flour with almond flour and sweeten the glaze with a pinch of erythritol.
Serving Suggestions
Pair the rolls with a creamy tomato bisque, a crisp Caesar salad, or a platter of assorted cheeses for an appetizer spread. For a brunch twist, serve them alongside scrambled eggs and smoked salmon. A drizzle of balsamic reduction adds a tangy contrast that brightens the garlic richness.
Storage Info
Leftover Storage
Allow the rolls to cool completely, then place them in an airtight container or resealable bag. Store in the refrigerator for up to 4 days. For longer keeping, freeze the rolls on a baking sheet, then transfer to a freezer‑safe bag; they’ll hold their flavor for up to 3 months.
Reheating Instructions
Reheat refrigerated rolls in a pre‑heated 350°F (175°C) oven for 8‑10 minutes, covered with foil to prevent drying. For frozen rolls, bake at 375°F (190°C) for 12‑15 minutes, uncovered, until the crust regains its golden crispness. A quick brush of melted butter before serving revives the garlic aroma.
Frequently Asked Questions
Can I prepare the dough a day ahead?
What if I don’t have fresh garlic?
How can I make these rolls extra crispy?
This Toasty Garlic Knotted Rolls recipe delivers a satisfying blend of soft interior, crisp garlic‑butter crust, and aromatic herbs—all with straightforward steps that any home baker can master. By following the detailed instructions, using the tips provided, and experimenting with suggested variations, you’ll create a versatile snack that fits any occasion. Feel free to add your own twists, and enjoy the warm, garlicky goodness straight from the oven.
Toasty Garlic Knotted Rolls: Recipe Completion and Serving Suggestions
Delicious Toasty Garlic Knotted Rolls: Recipe Completion and Serving Suggestions
Ingredients
Dough
- 3 cups all‑purpose flour
- 1 cup whole milk, warmed (110°F/43°C)
- 2 ½ teaspoons active dry yeast
- 2 tablespoons granulated sugar
- ¼ cup unsalted butter, melted
- 1 large egg, lightly beaten
- ½ teaspoon salt
Garlic Butter Glaze
- ½ cup unsalted butter, melted
- 4 cloves garlic, finely minced
- 1 tablespoon olive oil
- ¼ teaspoon flaky sea salt
Seasonings & Optional Toppings
- 1 teaspoon dried parsley (or fresh, chopped)
- ¼ teaspoon freshly ground black pepper
Instructions
Baking & Final Glaze
- Preheat the Oven. Set your oven to 375°F (190°C) and allow it to fully preheat. A consistent temperature ensures even browning and a fluffy interior.
- Brush with Garlic Butter. Generously brush each knot with half of the garlic‑butter mixture, making sure the crevices are coated. This step creates a flavorful crust as the rolls bake.
- Bake the Rolls. Place the sheet in the middle rack and bake for 15‑18 minutes, or until the tops turn a golden‑brown hue and sound hollow when tapped. Rotate the pan halfway through for uniform color.
- Apply the Final Glaze. Immediately after removing from the oven, brush the hot rolls with the remaining garlic butter. Sprinkle with dried parsley and a pinch of black pepper for added aroma.
- Cool Slightly & Serve. Transfer the rolls to a wire rack and let them rest for 5 minutes. This short cooling period lets the interior set while keeping the exterior delightfully crisp.
Similar Recipes
 Appetizers
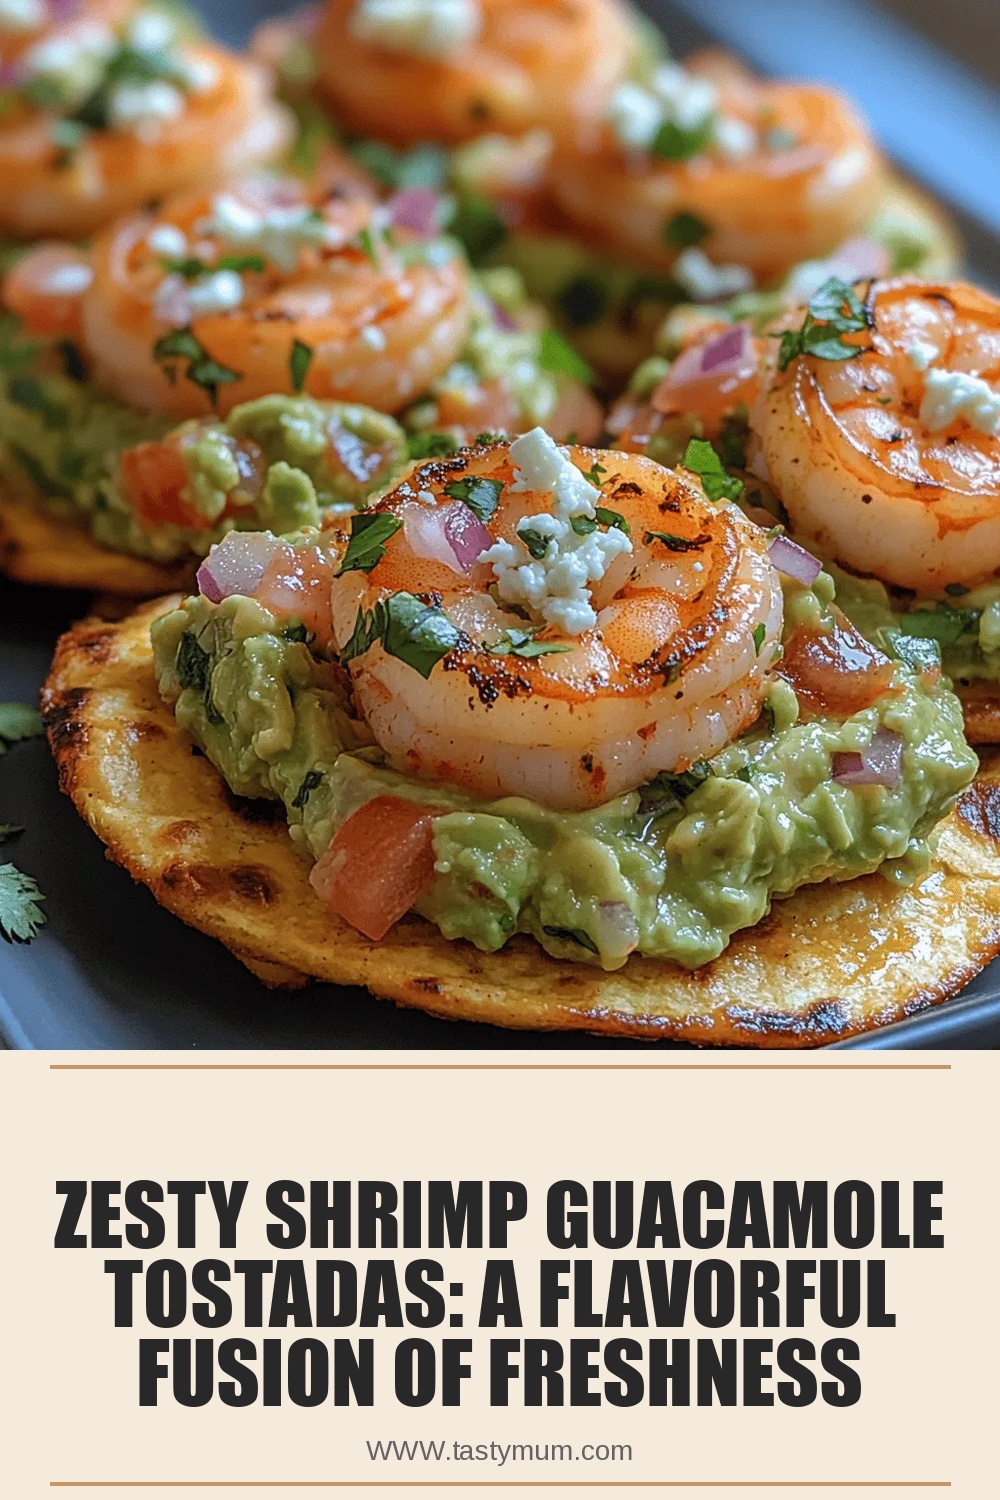
Zesty Shrimp Guacamole Tostadas: A Flavorful Fusion of Freshness
Delicious Zesty Shrimp Guacamole Tostadas: A Flavorful Fusion of Freshness
 Appetizers
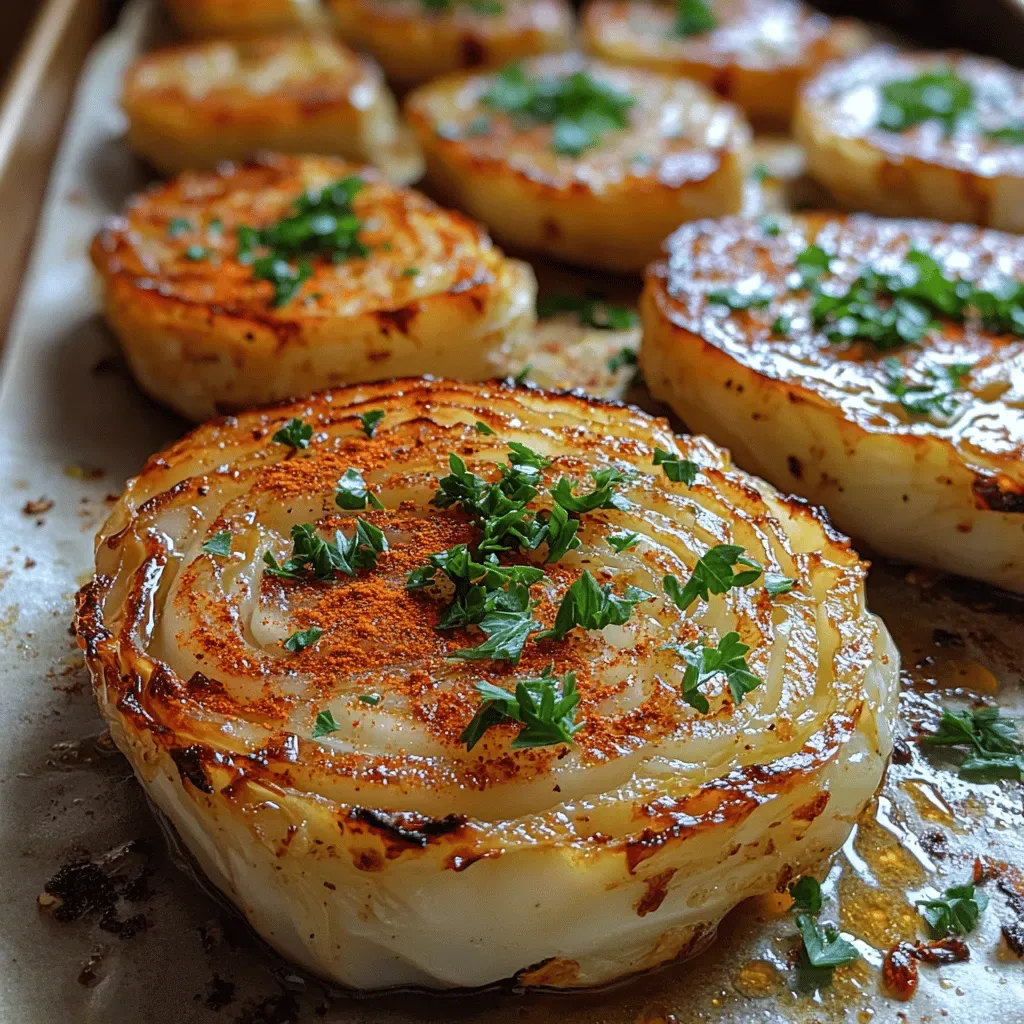
Savory Roasted Garlic Cabbage Steaks: A Flavorful Vegetable Delight
Delicious Savory Roasted Garlic Cabbage Steaks: A Flavorful Vegetable Delight
 Appetizers
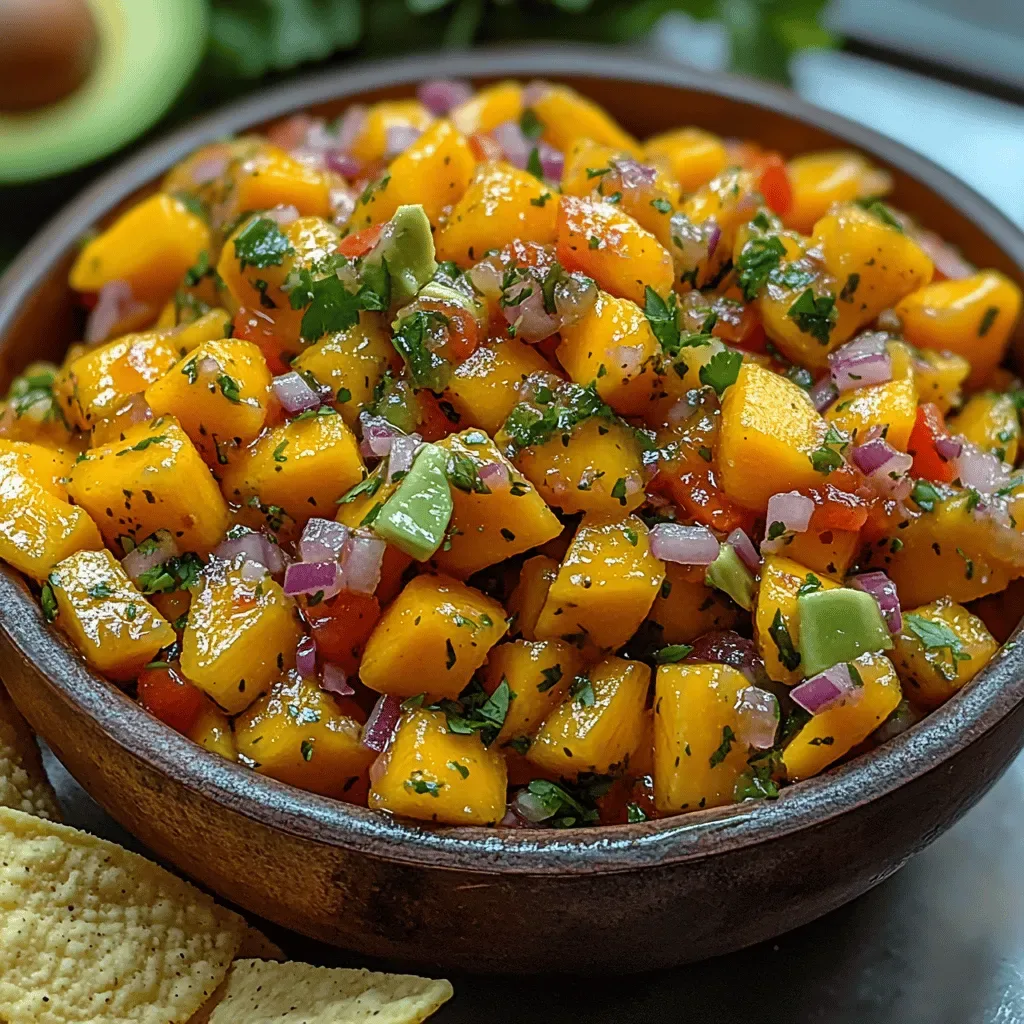
Tropical Paradise Mango Salsa Recipe
Delicious Tropical Paradise Mango Salsa Recipe
 Appetizers
Sunny Citrus Veggie Rolls: A Vibrant and Nutritious Option
Delicious Sunny Citrus Veggie Rolls: A Vibrant and Nutritious Option
 Appetizers
Perfect French Salted Butter Cookies Recipe Made Easy
Learn how to make delicious Perfect French Salted Butter Cookies Recipe Made Easy. Easy recipe with…
 Appetizers
Southern-Style Honey Butter Cornbread Poppers: An Incredible Ultimate Recipe
Learn how to make delicious Southern-Style Honey Butter Cornbread Poppers: An Incredible Ultimate Recipe. Easy recipe…
 Appetizers
Savor the Flavor: Herb Butter Turkey Sliders with Garlic Aioli Recipe
Delicious Savor the Flavor: Herb Butter Turkey Sliders with Garlic Aioli Recipe
 Appetizers
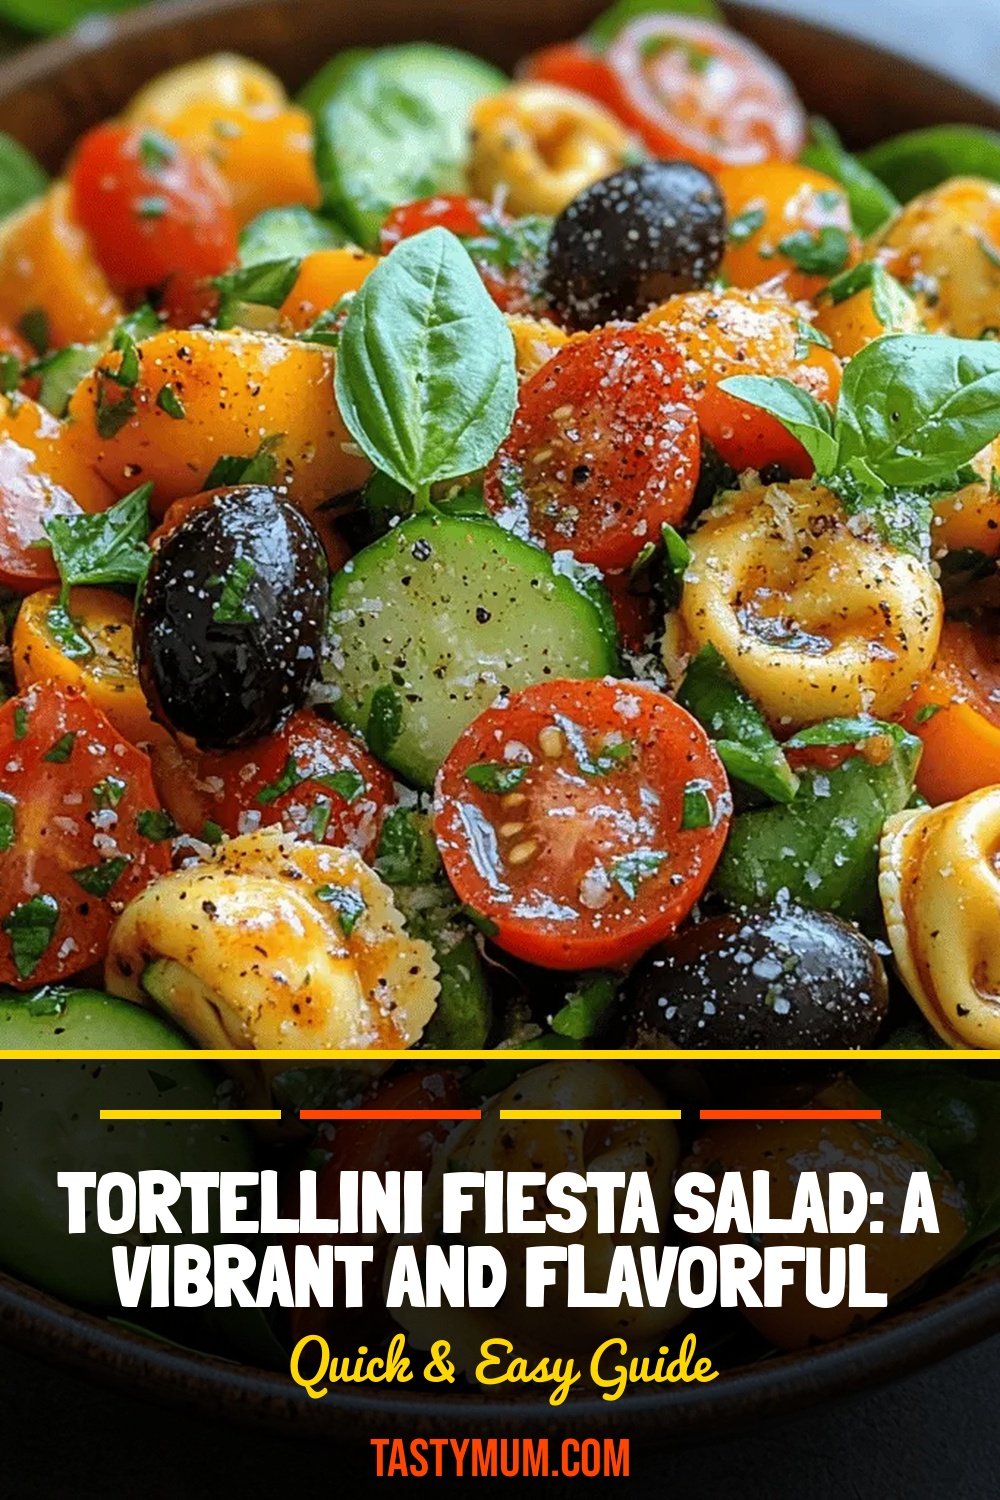
Tortellini Fiesta Salad: A Vibrant and Flavorful Delight
Delicious Tortellini Fiesta Salad: A Vibrant and Flavorful Delight

Clara
I cook these recipes at home before they ever land here — simple ingredients, clear steps.