Imagine a bright, citrus‑kissed dessert that sets the summer mood without ever touching an oven. Zesty No‑Bake Lemon Raspberry Bliss Bars deliver that instant burst of sunshine, marrying the tart snap of lemon with the sweet‑tart depth of fresh raspberries, all layered on a buttery oat‑crust.
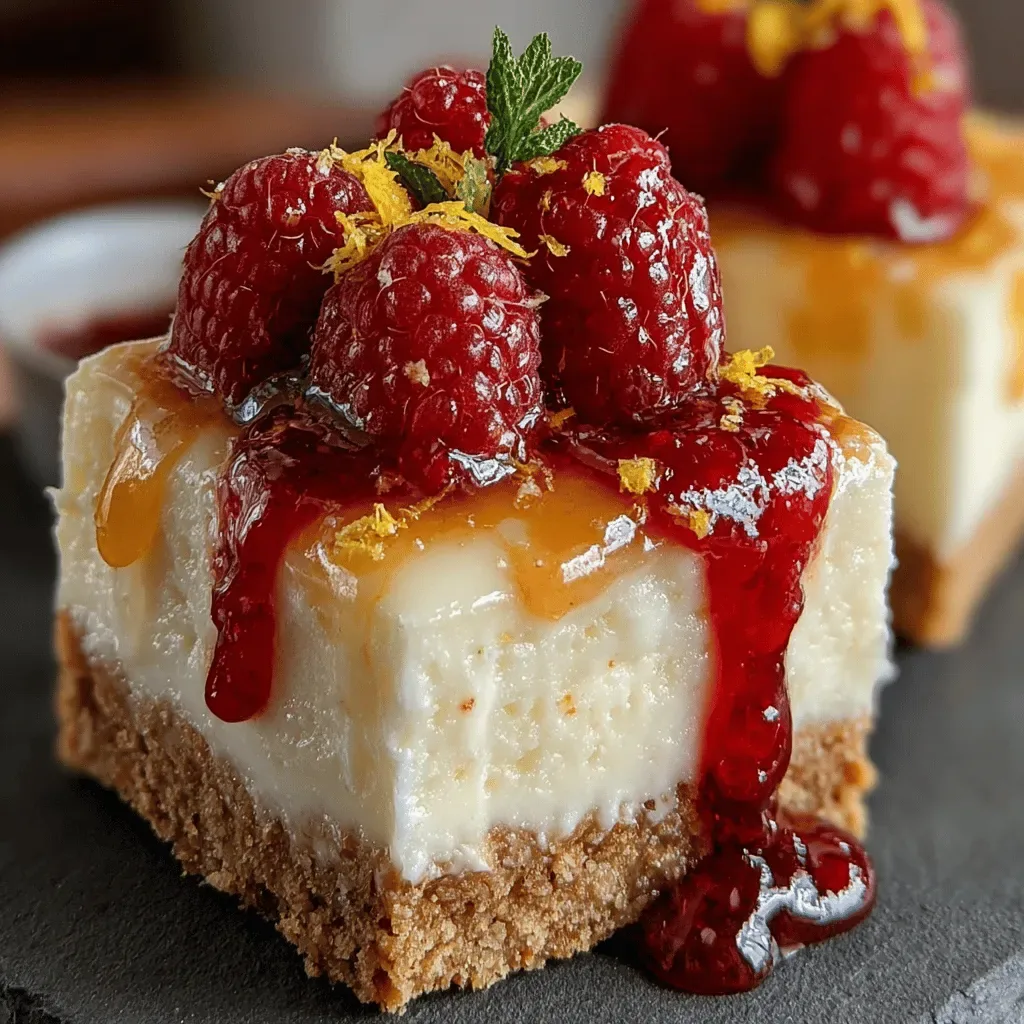
What makes these bars truly special is the balance of textures: a crisp, nutty base gives way to a silky lemon‑raspberry curd, finished with a light dusting of powdered sugar that adds a whisper of sweetness.
Anyone with a sweet tooth will adore them—busy parents looking for a quick treat, brunch hosts craving a fresh palate cleanser, or anyone who loves a dessert that feels both elegant and effortless.
The process is straightforward: blend the crust, press it into a pan, whisk together a no‑cook curd, fold in raspberries, spread, and chill until set. In under an hour you’ll have a stunning, slice‑ready dessert that’s ready to wow.
Why You'll Love This Recipe
Bright, Zesty Flavor: The lemon‑raspberry combination creates a lively, refreshing taste that feels light yet indulgent, perfect for warm weather gatherings.
No Oven Required: All steps are done on the stovetop or by hand, making it ideal for hot days when you’d rather not heat up the kitchen.
Texture Play: A crunchy oat crust contrasts beautifully with a silky curd and juicy raspberry pockets, delivering a satisfying bite every time.
Customizable Canvas: Swap fruits, adjust sweetness, or add a drizzle of chocolate—these bars invite endless creative twists.
Ingredients
The foundation of these bars is a simple oat‑and‑nut crust that brings a subtle buttery crunch. The heart of the dessert is a velvety lemon curd made with real lemon zest and juice, which provides a bright, tangy backbone. Fresh raspberries are folded in at the end for bursts of juicy sweetness, while a light dusting of powdered sugar adds a finishing touch that makes the bars look as good as they taste.
Crust
- 1 ½ cups rolled oats
- ½ cup almond flour
- ¼ cup shredded coconut, unsweetened
- ⅓ cup melted butter (or coconut oil for dairy‑free)
- 2 Tbsp honey or maple syrup
- Pinch of sea salt
Lemon Raspberry Curd
- ½ cup fresh lemon juice (about 3 lemons)
- Zest of 2 lemons
- ¼ cup granulated sugar
- 2 large egg yolks
- ¼ cup unsalted butter, softened
- 1 cup fresh raspberries
Finishing Touch
- Powdered sugar, for dusting
Each component plays a purpose: the oats and almond flour give the crust structure while the butter binds it into a firm, melt‑in‑your‑mouth base. The lemon curd’s acidity cuts through the natural sweetness of the raspberries, creating a harmonious flavor loop. Finally, the powdered sugar adds a delicate visual sparkle without overwhelming the palate.
Step-by-Step Instructions
Preparing the Crust
Start by pulsing the rolled oats, almond flour, and shredded coconut in a food processor until they form a fine, slightly coarse flour. Transfer to a mixing bowl, then whisk in the melted butter, honey, and a pinch of sea salt until the mixture clings together when pressed between your fingers. This cohesion is essential for a sturdy base that won’t crumble when sliced.
Forming and Chilling the Base
- Press the crust. Line an 8‑inch square pan with parchment paper. Evenly press the crust mixture into the pan using the back of a spoon or a flat glass, creating a compact layer about ¼‑inch thick. A tight press prevents gaps that could make the bars soggy.
- Chill the base. Place the pan in the refrigerator for at least 20 minutes. Chilling firms the butter, giving the crust a firm, snap‑ready texture before the wet filling is added.
Making the Lemon Raspberry Curd
While the crust chills, whisk together lemon juice, zest, sugar, and egg yolks in a medium saucepan. Cook over low‑medium heat, stirring constantly, until the mixture thickens enough to coat the back of a spoon—about 5‑7 minutes. Remove from heat, then immediately whisk in the softened butter until fully incorporated; this creates a glossy, velvety finish.
Incorporating Raspberries and Assembling
- Fold in berries. Gently stir the fresh raspberries into the warm curd, being careful not to crush them. The berries will soften slightly, creating pockets of juicy flavor throughout the bars.
- Spread the filling. Pour the lemon‑raspberry mixture over the chilled crust, smoothing the top with a spatula. The filling should be an even layer, about ½‑inch thick.
- Final chill. Return the pan to the refrigerator and let the bars set for at least 40 minutes, or until the curd feels firm to the touch. This step allows the flavors to meld and the texture to firm up for clean slicing.
Serving
Remove the set bars from the pan using the parchment overhang, then cut into 12 even squares. Dust each serving lightly with powdered sugar for a polished look. Serve chilled or at room temperature, and watch them disappear within minutes.
Tips & Tricks
Perfecting the Recipe
Use a food processor for the crust. It creates an even texture that presses together more uniformly, preventing a crumbly base.
Don’t over‑heat the curd. Cooking the curd too fast can cause curdling; low, steady heat ensures a silky finish.
Press the crust firmly. A compact crust holds the moist filling without sinking, giving each bite a satisfying crunch.
Flavor Enhancements
Add a teaspoon of vanilla extract to the curd for extra depth, or sprinkle a pinch of pink Himalayan salt on top before dusting with powdered sugar to highlight the lemon’s brightness.
Common Mistakes to Avoid
Skipping the chilling step for the crust often results in a soggy base. Also, stirring the curd too aggressively can break the delicate structure, leaving a grainy texture.
Pro Tips
Room‑temperature berries. Use raspberries that are not too cold; they integrate more smoothly into the curd.
Paper liner hack. Line the pan with parchment that extends over the edges; it makes removal and cutting effortless.
Adjust sweetness. Taste the curd before adding the berries; if the lemon is very sharp, increase the sugar by a tablespoon.
Variations
Ingredient Swaps
Swap the raspberries for sliced strawberries, blueberries, or blackberries for a different color palette. Replace almond flour with hazelnut meal for a richer nutty flavor, or use gluten‑free oat flour if you need a grain‑free crust.
Dietary Adjustments
For a vegan version, substitute the butter with coconut oil and use a plant‑based thickener such as agar‑agar instead of egg yolks. To keep it low‑carb, replace honey with a sugar‑free syrup and use erythritol in place of granulated sugar.
Serving Suggestions
Pair the bars with a dollop of whipped coconut cream or a scoop of vanilla bean ice cream for added decadence. A glass of chilled sparkling rosé or a citrus‑infused iced tea makes a refreshing accompaniment.
Storage Info
Leftover Storage
Allow any remaining bars to come to room temperature, then transfer them (still on the parchment) to an airtight container. Store in the refrigerator for up to 4 days. For longer keeping, wrap each bar individually in plastic wrap and freeze for up to 2 months.
Reheating Instructions
These bars are best enjoyed chilled, but if you prefer a softer texture, let them sit at room temperature for 15‑20 minutes before serving. To warm the crust slightly, place a single bar on a microwave‑safe plate and heat on medium power for 10‑15 seconds; avoid overheating the curd.
Frequently Asked Questions
This no‑bake dessert proves that impressive flavor doesn’t require a hot oven. With a crisp oat crust, silky lemon‑raspberry curd, and simple steps, you can create a crowd‑pleasing treat in under an hour. Feel free to experiment with fruit swaps, sweeteners, or a drizzle of chocolate—making it truly your own. Enjoy every bright, buttery bite of your Zesty No‑Bake Lemon Raspberry Bliss Bars!