Frosty Strawberry Cheesecake Pops: The Ultimate Guide to Making Delicious Frozen Treats
 Save
Save
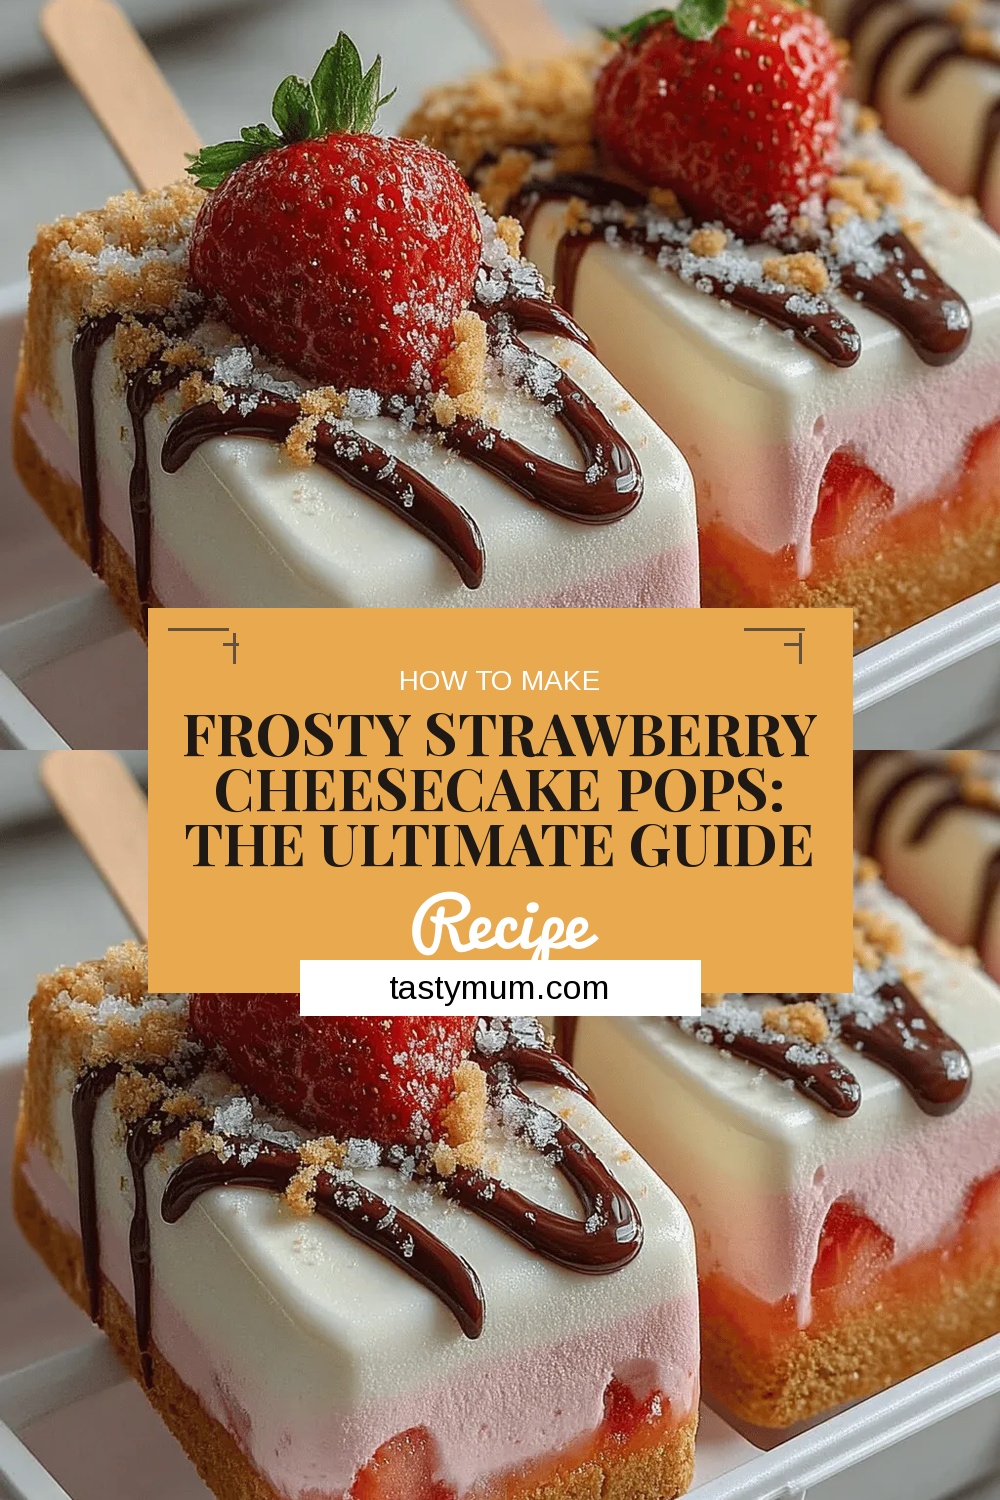
Imagine a bite‑size dessert that feels like a summer vacation in every lick. Frosty Strawberry Cheesecake Pops bring together the tang of fresh strawberries, the creamy richness of cheesecake, and a crisp, frozen texture that melts delicately on your tongue.
What sets this treat apart is the balance of flavors and textures: a smooth cheesecake core, a burst of strawberry puree, and a thin, glossy white‑chocolate coating that adds just the right amount of crunch.
Kids, dessert lovers, and even the most health‑conscious diners will adore these pops, especially when served at birthday parties, summer barbecues, or as a refreshing after‑dinner indulgence.
The process is straightforward—blend, pipe, dip, and freeze. With a few pantry staples and a handful of simple steps, you’ll create a professional‑grade frozen dessert that looks as impressive as it tastes.
Why You'll Love This Recipe
Fresh‑Fruit Brightness: The strawberry puree delivers natural sweetness and a vibrant pink hue that makes each pop look as good as it tastes, while providing a dose of vitamin C.
Cheesecake Luxury: Cream cheese blended with a touch of vanilla creates a silky interior that mimics classic cheesecake without the heaviness of a full‑size slice.
Hands‑Free Fun: Pops are perfectly portable, making them ideal for picnics, kids’ parties, or a mess‑free dessert that can be enjoyed while on the move.
Customizable Coating: The white‑chocolate shell can be swapped for dark chocolate, toasted nuts, or sprinkles, allowing you to tailor the crunch and flavor to any occasion.
Tips & Tricks
Perfecting the Recipe
Chill the bowl. Keep your mixing bowl and beaters in the fridge for 10 minutes before beating the cream cheese. A cold environment helps maintain a firm texture that holds up during freezing.
Freeze the sticks. Place the wooden sticks in the freezer for 15 minutes before inserting them. This prevents the stick from warming the pop and creating cracks in the coating.
Use a silicone mat. A silicone baking mat offers a non‑stick surface that makes removing frozen pops easier than parchment paper.
Flavor Enhancements
Add a splash of lemon zest to the strawberry puree for a bright citrus lift, or swirl in a teaspoon of cream of tartar to stabilize the cheesecake filling. For a richer coating, stir a pinch of sea salt into the melted white chocolate.
Common Mistakes to Avoid
Do not skip the initial freeze of the cheesecake cores; a soft interior will cause the chocolate to crack. Also, avoid overheating the white chocolate—once it reaches a light sheen, remove it from heat to keep the coating glossy.
Pro Tips
Layered dipping. Dip each pop twice, allowing the first layer to set for 5 minutes. The second dip creates a thicker shell that resists melting when served.
Temperature control. Keep the freezer door closed as much as possible during assembly to maintain a consistent -0°F environment, which speeds up setting.
Batch prep. Prepare the cheesecake filling and crust a day ahead; store each in airtight containers. This reduces active time on the day you plan to serve.
Variations
Ingredient Swaps
Replace strawberries with raspberry or mango puree for a new flavor profile. Swap the graham‑cracker crust for crushed vanilla wafer crumbs, or use almond flour for a gluten‑free base. For a dairy‑free version, substitute cream cheese with a vegan cream cheese alternative and melt dairy‑free white chocolate.
Dietary Adjustments
To keep the pops keto‑friendly, use a sugar substitute like erythritol and choose a low‑carb chocolate coating. For a lower‑calorie option, reduce the sugar by one‑third and incorporate a dash of Greek yogurt into the filling for extra protein without sacrificing creaminess.
Serving Suggestions
Serve the pops on a chilled platter with fresh berries and a drizzle of raspberry coulis for extra elegance. Pair with a glass of chilled sparkling rosé for adult gatherings, or offer mini vanilla bean milkshakes for kids’ parties.
Storage Info
Leftover Storage
Transfer any remaining pops to an airtight container lined with parchment paper. Store in the freezer for up to 3 months. For best texture, avoid stacking heavy items on top of the container, as this can cause the chocolate coating to crack.
Reheating Instructions
These pops are meant to be enjoyed frozen, but if you prefer a softer bite, let them sit at room temperature for 3‑5 minutes before serving. Do not microwave, as rapid heating will melt the coating unevenly and compromise the creamy interior.
Frequently Asked Questions
Can I make these pops ahead of time?
What if I don’t have white chocolate?
How can I keep the pops from getting freezer burn?
Can I use frozen strawberries for the puree?
This ultimate guide has walked you through every step—from selecting the freshest strawberries to achieving a flawless white‑chocolate shell. By following the detailed instructions, using the tips, and experimenting with the suggested variations, you’ll master Frosty Strawberry Cheesecake Pops in no time. Feel free to add your own twists, because the best desserts are the ones that reflect your personal flair. Dive in, enjoy the chill, and share the joy of these frozen delights with friends and family!
Frosty Strawberry Cheesecake Pops: The Ultimate Guide to Making Delicious Frozen Treats
Delicious Frosty Strawberry Cheesecake Pops: The Ultimate Guide to Making Delicious Frozen Treats
Ingredients
Main Ingredients
- 12 oz (340 g) cream cheese, softened
- 1 ½ cups fresh strawberries, hulled and pureed
- ½ cup granulated sugar
- 1 teaspoon vanilla extract
Crust & Coating
- 1 cup graham‑cracker crumbs
- 3 tablespoons unsalted butter, melted
- 8 oz (225 g) white chocolate, finely chopped
Seasonings & Extras
- ¼ teaspoon fine sea salt
- Optional: crushed pink candy sprinkles for garnish
Instructions
Make the Cheesecake Filling
- Blend the base. In a stand mixer or large bowl, beat cream cheese on medium speed until smooth, about 2 minutes. Scrape down the sides to ensure an even texture.
- Incorporate sweeteners. Add sugar, vanilla, and sea salt. Continue beating until the mixture is light and airy, roughly 1 minute.
- Swirl in strawberry puree. Gently fold the strawberry puree into the cream cheese mixture, creating a marbled effect. Avoid over‑mixing; you want visible ribbons of pink throughout the white base.
Assemble the Pops
- Pipe the mixture. Transfer the cheesecake‑strawberry blend to a piping bag fitted with a ½‑inch round tip. Pipe ¾‑inch tall cylinders onto a parchment‑lined tray, spacing them ½ inch apart.
- Freeze the cores. Place the tray in the freezer for at least 45 minutes, or until the centers are firm enough to handle without collapsing.
- Insert sticks. Once solid, remove the tray and gently press a wooden lollipop stick into each pop, twisting to secure. Return to the freezer while you prepare the coating.
Coat and Finish
- Melt the chocolate. In a heat‑proof bowl over a simmering pot of water (double‑boiler) or in short bursts in the microwave, melt the white chocolate until smooth. Keep the temperature below 115°F to avoid scorching.
- Dip the pops. Holding each stick, dip the frozen pop into the melted chocolate, allowing excess to drip back into the bowl. For an even coat, rotate slowly.
- Add garnish. While the chocolate is still glossy, sprinkle a few pink candy sprinkles (if using) for a festive touch.
- Final freeze. Lay the coated pops back on the parchment sheet and freeze for another 2‑3 hours, or until the chocolate has fully set.
Similar Recipes
 Desserts
Nutella Lava Cookies
Learn how to make delicious Nutella Lava Cookies. Easy recipe with step-by-step instructions.
 Desserts
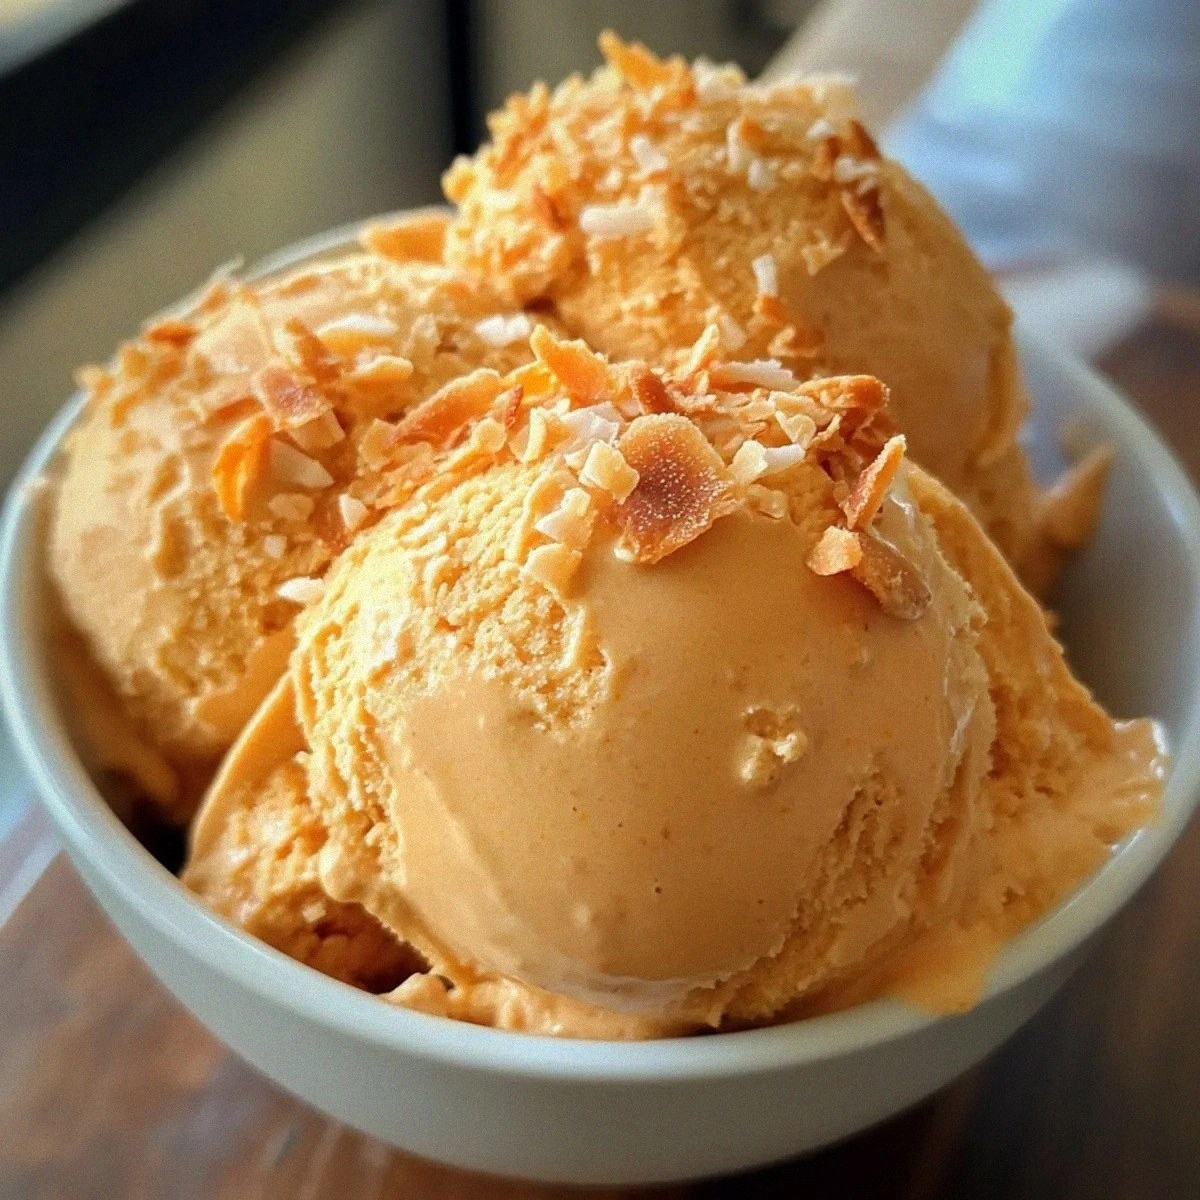
Creamy Thai Tea Ice Cream Recipe – No Churn Delight
Learn how to make delicious Creamy Thai Tea Ice Cream Recipe – No Churn Delight. Easy…
 Desserts
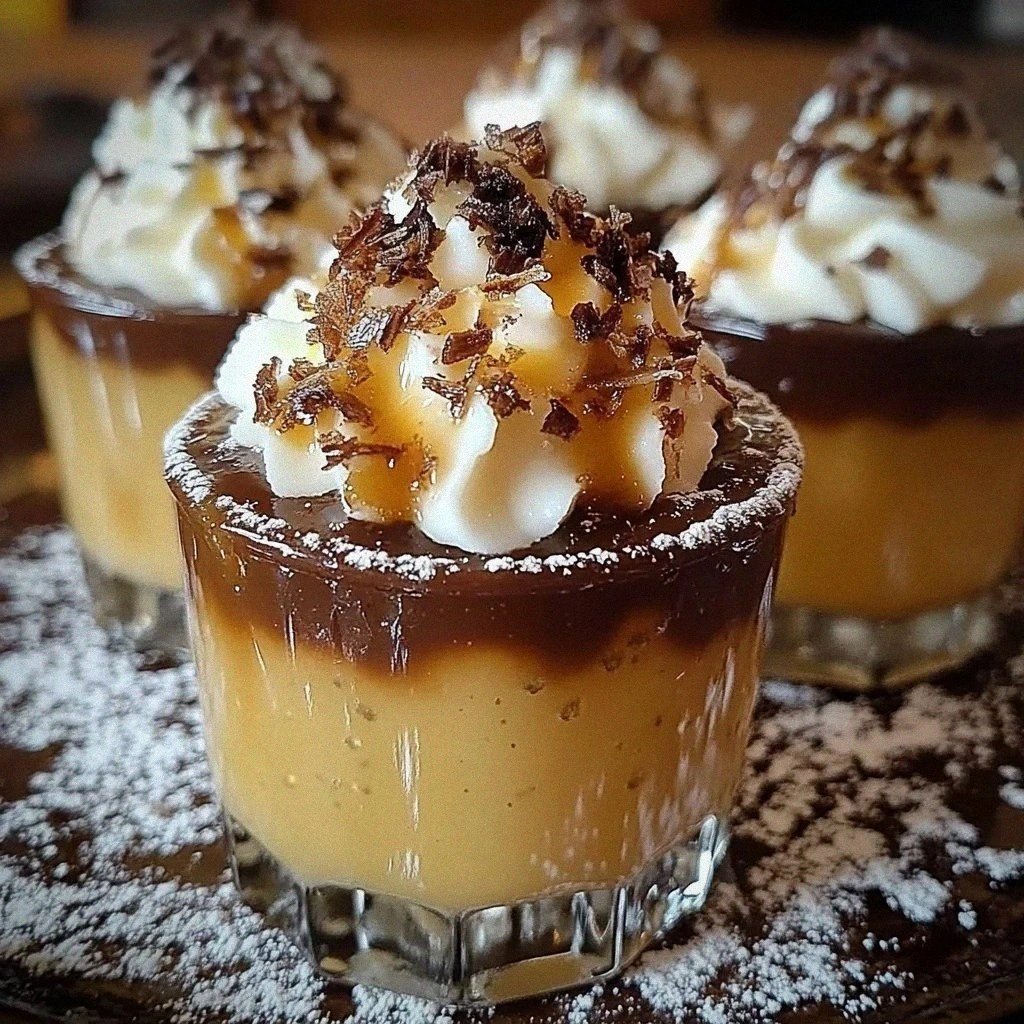
The Ultimate Christmas Pudding Shots
Learn how to make delicious The Ultimate Christmas Pudding Shots. Easy recipe with step-by-step instructions.
 Desserts
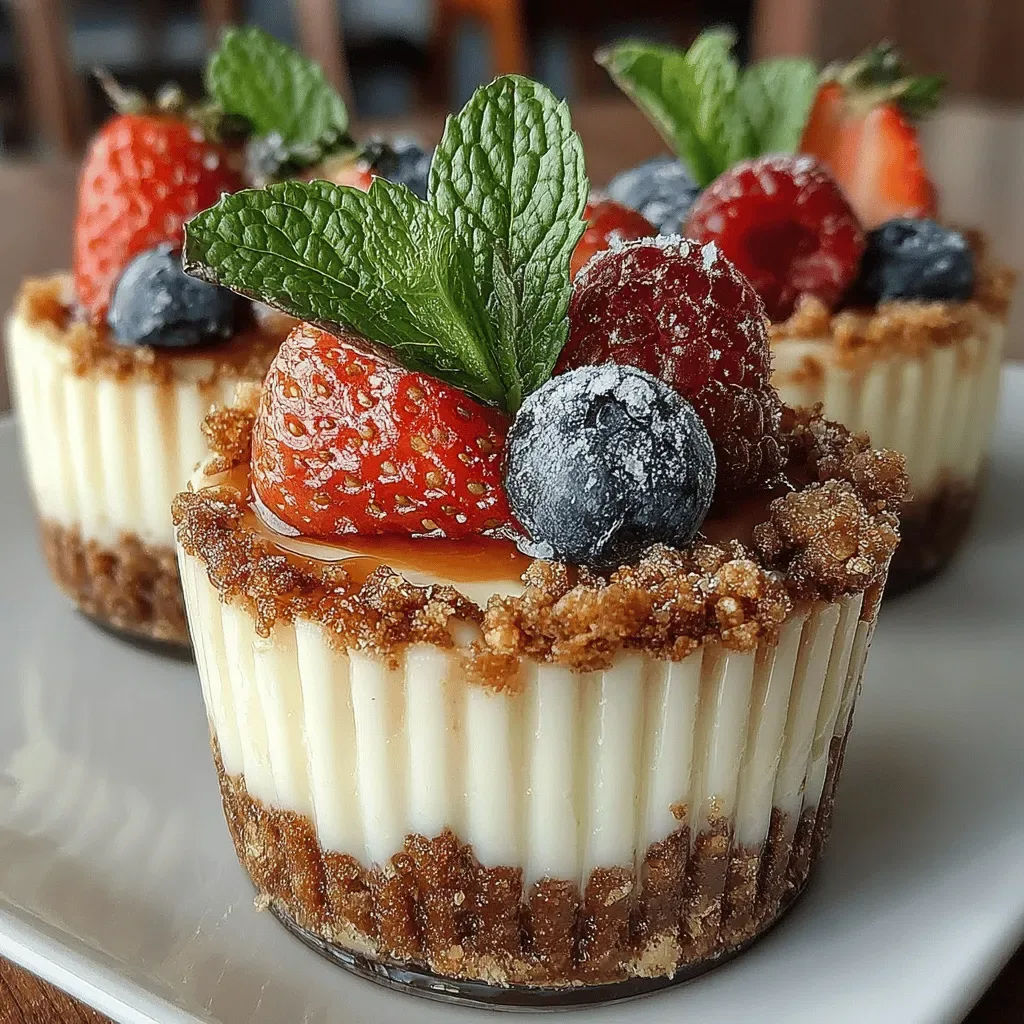
Dreamy No-Bake Cheesecake Cups
Delicious Dreamy No-Bake Cheesecake Cups
 Desserts
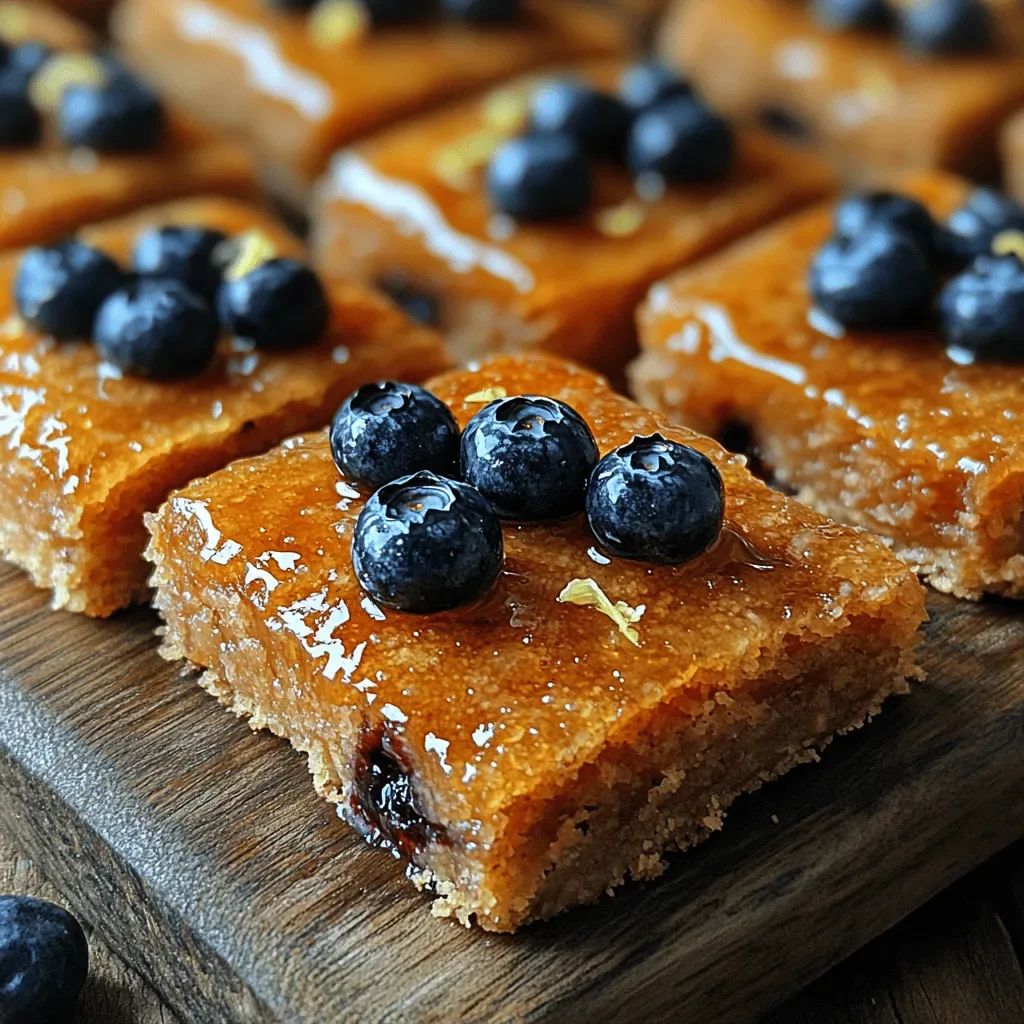
Zesty Blueberry Bliss Bars
Delicious Zesty Blueberry Bliss Bars
 Desserts
Air Fryer Cinnamon Apple Crisps
Delicious Air Fryer Cinnamon Apple Crisps
 Desserts
Grinch Cake Pops
Learn how to make delicious Grinch Cake Pops. Easy recipe with step-by-step instructions.
 Desserts
PEACH BARS: HEAVENLY & EASY
Learn how to make delicious PEACH BARS: HEAVENLY & EASY. Easy recipe with step-by-step instructions.

Clara
I cook these recipes at home before they ever land here — simple ingredients, clear steps.