Introduction
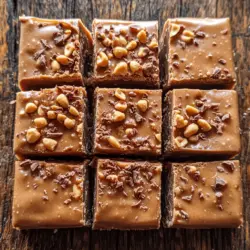
Peanut butter fudge is a timeless classic that evokes a sense of nostalgia and comfort in many. This delightful treat combines the rich, nutty flavor of creamy peanut butter with a silky texture that melts in your mouth. Whether you are a long-time fan of this sweet confection or a newcomer eager to explore its deliciousness, this Creamy Dreamy Peanut Butter Fudge recipe is sure to please.
What sets this recipe apart is its simplicity and the luxurious taste it delivers. With just a few basic ingredients, you can whip up a batch of fudge that is perfect for sharing with friends and family, gifting during the holidays, or simply indulging in yourself. The creamy texture, combined with the rich flavor of peanut butter, creates an irresistible treat that is hard to resist.
As we delve into this recipe, you will discover not only how to create this delectable fudge but also the key components that make it a standout. Let’s begin by understanding the ingredients that come together to create this creamy delight.
Understanding the Ingredients
The beauty of peanut butter fudge lies in its simplicity, relying on a handful of core ingredients to achieve its signature taste and texture. Each component plays a crucial role in crafting the perfect fudge.
Creamy Peanut Butter: The Star Ingredient
At the heart of this recipe is creamy peanut butter, which brings a rich, nutty flavor that is both comforting and indulgent. When choosing peanut butter, opt for a high-quality brand that is smooth and free from unnecessary additives. The creaminess of the peanut butter is essential, as it contributes to the fudge’s texture and mouthfeel. If you prefer a more intense peanut flavor, you can experiment with natural or chunky peanut butter, though this may affect the overall smoothness of the fudge.
Unsalted Butter: Importance in Achieving the Right Texture
Unsalted butter is another key ingredient that adds richness to the fudge. It not only enhances the flavor but also helps achieve that desired creamy consistency. By using unsalted butter, you have better control over the saltiness of your fudge, allowing the sweet and nutty flavors to shine through. Make sure to melt the butter gently to prevent burning, which can alter the fudge’s flavor profile.
Powdered Sugar: Sweetness and Consistency
Powdered sugar, also known as confectioners’ sugar, is essential in creating the desired sweetness and smooth texture of the fudge. Unlike granulated sugar, powdered sugar dissolves easily, which helps to prevent any gritty texture in the final product. It also helps to stabilize the fudge, allowing it to set properly once cooled. The amount of powdered sugar used can be adjusted based on your personal preference for sweetness.
Vanilla Extract: Enhancing the Fudge Flavor
A splash of vanilla extract enhances the overall flavor of the fudge, adding a warm, aromatic note that complements the peanut butter beautifully. Use pure vanilla extract for the best flavor, as imitation vanilla can sometimes have a synthetic taste. This subtle addition elevates the fudge from simple to truly decadent.
Chopped Peanuts: Optional Texture and Flavor Boost
For those who enjoy a bit of crunch, adding chopped peanuts is a fantastic option. Not only do they contribute an extra layer of flavor, but they also provide a delightful texture contrast to the creamy fudge. You can adjust the quantity to your liking or leave them out entirely for a smoother experience.
Salt: Balancing Sweetness
A pinch of salt is a small but mighty ingredient that enhances the overall flavor profile of the fudge. It helps to balance the sweetness from the powdered sugar and brings out the richness of the peanut butter. Don’t skip this step; the right amount of salt can make a significant difference in the final taste.
Chocolate Chips: Optional Topping for Added Indulgence
For chocolate lovers, drizzling or sprinkling some chocolate chips on top of the fudge adds an extra layer of indulgence. The combination of peanut butter and chocolate is a classic pairing that never disappoints. You can use semi-sweet, dark, or even white chocolate chips, depending on your taste preference.
Discussing Variations and Substitutions for Dietary Needs
This peanut butter fudge recipe is versatile and can be easily adapted to meet various dietary needs. For those following a vegan diet, you can substitute the unsalted butter with coconut oil or a dairy-free margarine. Additionally, using maple syrup or agave nectar in place of powdered sugar can create a more natural sweetness, although adjustments may be needed in the quantities to achieve the right consistency.
For nut allergies, consider using sunflower seed butter or tahini as a substitute for peanut butter. These alternatives provide a similar creamy texture while accommodating different dietary restrictions.
Step-by-Step Instructions for Making Peanut Butter Fudge
Now that we’ve covered the essential ingredients, it’s time to dive into the step-by-step process for making your own Creamy Dreamy Peanut Butter Fudge. Follow these instructions carefully for a successful outcome.
Preparing the Baking Dish: Tips for Lining and Greasing
To start, you’ll need to prepare your baking dish. A 9×9-inch square pan is ideal for this recipe. First, line the bottom and sides of the pan with parchment paper, leaving some overhang on the edges. This will make it easier to lift the fudge out once it has set. Be sure to grease the parchment paper lightly with cooking spray or a small amount of butter to prevent sticking.
Melting the Butter: Techniques for Preventing Burning and Achieving Smoothness
Next, it’s time to melt the unsalted butter. Place it in a medium-sized saucepan over low heat. Stir continuously to ensure it melts evenly and doesn’t burn. If you prefer, you can also melt the butter in the microwave in short bursts, stirring in between, until fully melted.
Once the butter is melted, remove it from the heat and let it cool slightly before adding the creamy peanut butter. This step is crucial as adding the peanut butter to very hot butter can cause it to separate.
With the butter melted and ready, you’re well on your way to creating a batch of creamy, dreamy peanut butter fudge that will surely delight you and those you share it with. Stay tuned for the next steps where we will combine all these delicious ingredients into a smooth and luscious fudge mixture.
Mixing in Peanut Butter: Achieving the Perfect Consistency
The heart of any great peanut butter fudge lies in the seamless integration of peanut butter into the mixture. When mixing in the peanut butter, ensure that it is at room temperature to facilitate easier blending. The warmth of the peanut butter helps it meld beautifully with the other ingredients, creating a smooth and creamy consistency.
To achieve the desired texture, use a sturdy spatula or a hand mixer on low speed. Begin by folding the peanut butter into the mixture gently, taking care to scrape the sides of the bowl to incorporate all of the ingredients thoroughly. The goal is to create a homogenous mixture without any streaks of peanut butter remaining. This step is crucial, as uneven mixing can lead to a lumpy fudge that detracts from the overall experience.
Incorporating Dry Ingredients: Techniques for Smooth Texture
When it comes to adding dry ingredients, such as powdered sugar or cocoa powder, the key is to prevent lumps for a silky-smooth fudge. Start by sifting the dry ingredients before adding them to the wet mixture. This will break up any clumps and ensure a more uniform blend.
Add the dry ingredients gradually, a cup at a time, while continuously stirring. This technique allows you to gauge the mixture’s consistency and make adjustments if necessary. If you notice any lumps forming, use the back of your spatula to press them against the bowl to break them apart. The final result should be a thick yet creamy batter that easily holds its shape.
Adding Optional Ingredients: When and How to Include Chopped Peanuts
For those who enjoy a bit of crunch in their fudge, incorporating chopped peanuts is an excellent option. To add chopped peanuts, wait until the base mixture is well combined but not yet set. This ensures that the peanuts are evenly distributed throughout the fudge, providing texture and enhancing the peanut flavor.
Use roasted, lightly salted peanuts for the best balance of flavor. Chop them into small pieces, aiming for a size that complements the creamy fudge without overpowering it. Gently fold the chopped peanuts into the fudge mixture, distributing them evenly. Be careful not to overmix, as you want to maintain the integrity of the peanuts and avoid breaking them down too much.
Transferring to the Pan: Tips for an Even Spread
Once your fudge mixture is ready, it’s time to transfer it to the prepared pan. To achieve a beautiful presentation, pour the mixture into the center of the pan and use a spatula to spread it out evenly. Start from the middle and work your way to the edges, ensuring that the fudge reaches all corners of the pan.
To create a smooth top, lightly press the surface down with the spatula. If you’re aiming for a polished finish, you can also use the back of a spoon or a piece of parchment paper to level the surface. This small detail makes a significant difference when it comes to presentation, especially if you plan to serve the fudge on a decorative platter.
Creating a Chocolate Topping: Melting and Swirling Chocolate
A chocolate topping adds not only flavor but also visual appeal to your peanut butter fudge. To create the topping, start by melting your choice of chocolate—milk, dark, or white—in a microwave-safe bowl. Heat the chocolate in 30-second intervals, stirring in between to prevent overheating.
Once the chocolate is fully melted and smooth, drizzle it over the top of the fudge. For an artistic touch, use a toothpick or skewer to swirl the chocolate into the fudge gently. This adds a marbled effect and ensures that every bite has a hint of chocolate richness.
Chilling the Fudge: Setting Time and Indicators
Now that your fudge is prepared and topped, place it in the refrigerator to chill. Allow at least 2 to 3 hours for the fudge to set completely. To determine if it’s ready, gently press the center with your finger. If it holds its shape and feels firm to the touch, it’s good to go.
Proper chilling is crucial not just for texture but also for flavor. The cool temperature allows the fudge to firm up while enhancing the taste as the ingredients meld together. Once set, the fudge will be easier to cut and serve.
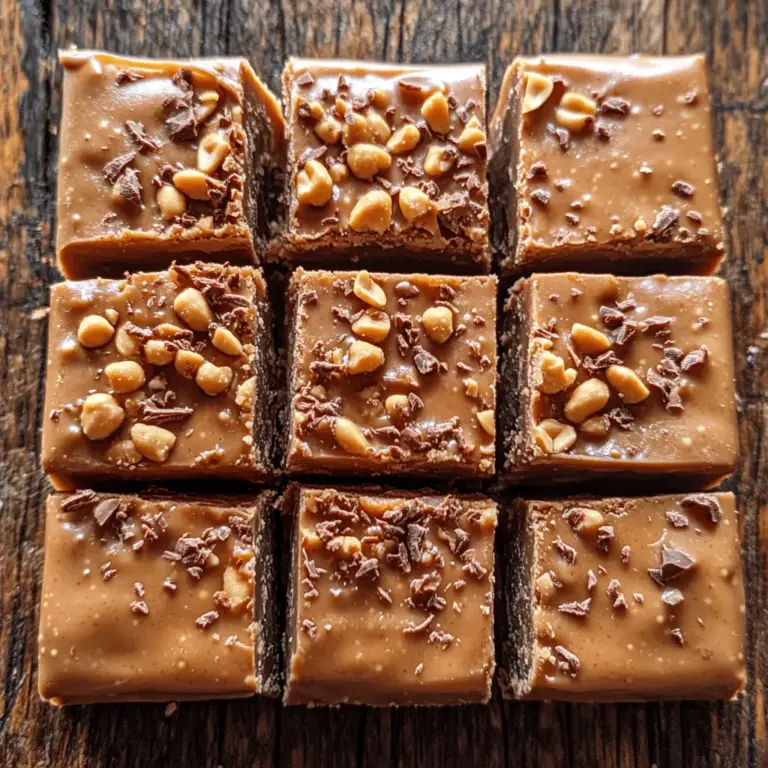
Cutting the Fudge: Best Practices for Neat Squares
Cutting the fudge into neat squares is best tackled with a sharp knife. To avoid sticking, consider warming the knife under hot water before making cuts. After drying the blade, slice through the fudge carefully, applying even pressure to create clean edges.
For uniform squares, first, cut the fudge into strips and then into smaller squares. If you prefer different shapes, feel free to experiment with cookie cutters! This not only adds a fun element but can also make the fudge more appealing for special occasions.
The Joy of Serving and Enjoying Peanut Butter Fudge
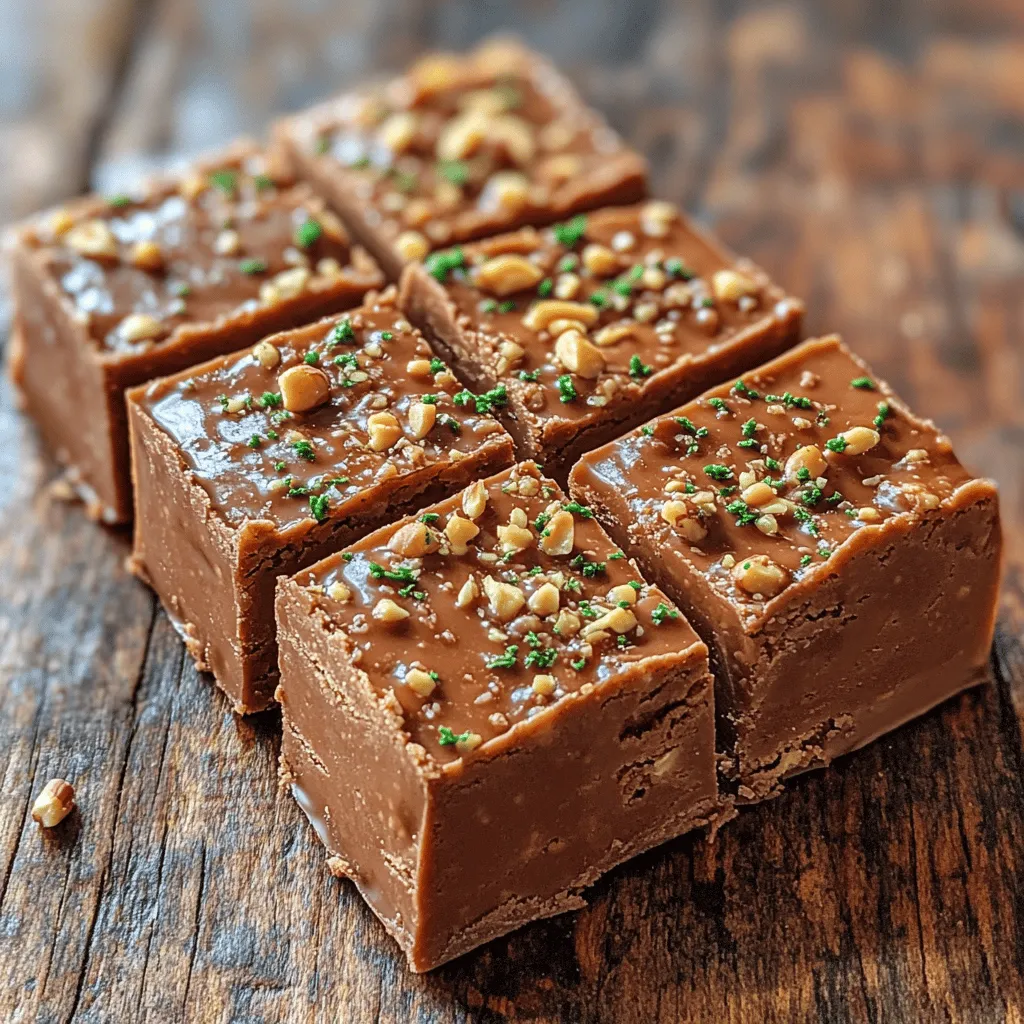
Presentation Ideas for Serving Fudge
When it comes time to serve your creamy dreamy peanut butter fudge, consider how you can elevate its presentation. Placing the fudge on a decorative platter can transform a simple treat into a showstopper. You might also consider packaging the fudge in small gift boxes tied with a ribbon for a thoughtful homemade gift.
Adding garnishes, such as a sprinkle of sea salt or a drizzle of extra melted chocolate, can enhance both the flavor and visual appeal. Serve the fudge alongside fresh fruit or a scoop of ice cream to create a delightful dessert platter.
Suggested Pairings
Peanut butter fudge pairs beautifully with a variety of beverages and desserts. A rich cup of coffee or a glass of cold milk makes for a classic accompaniment. If you’re looking for something a bit more adventurous, consider pairing it with a dark stout or a sweet dessert wine to enhance the flavors of the fudge.
For dessert pairings, consider serving the fudge alongside a warm brownie or a slice of pie. The combination of textures and flavors will delight your guests and create a memorable dessert experience.
Storing Tips
To keep your fudge fresh and delicious, store it in an airtight container at room temperature. If your kitchen is particularly warm, you may want to refrigerate the fudge to extend its shelf life. Just be sure to let it return to room temperature before serving for the best texture.
Homemade peanut butter fudge can last for up to two weeks when stored correctly, making it an ideal treat for meal prep and entertaining.
The Allure of Homemade Treats
Benefits of Making Fudge at Home
Making peanut butter fudge at home offers numerous benefits compared to store-bought options. Firstly, it allows you to control the quality of ingredients, ensuring that you use the best peanut butter, chocolate, and sweeteners available. This can lead to a superior flavor and texture, elevating your fudge from average to extraordinary.
Additionally, homemade fudge can be personalized to suit your preferences. Whether you prefer a more intense peanut flavor, added crunch from nuts, or a variety of chocolate toppings, the possibilities are endless. This level of customization is often hard to find in store-bought varieties.
The Joy of Sharing Homemade Treats
There’s something inherently special about sharing homemade treats with family and friends. The effort and love that go into creating something from scratch often resonate with those who receive it. Whether it’s for a birthday, holiday, or just because, giving homemade fudge can foster connections and create lasting memories.
Conclusion
In summary, making creamy dreamy peanut butter fudge is not only easy but incredibly rewarding. From the initial mixing of ingredients to the final presentation, each step is filled with opportunities for creativity and personalization. This versatile treat is perfect for various occasions, whether you’re celebrating a special event or simply indulging in a sweet moment at home.
We encourage you to try this recipe and enjoy the process of creating something truly delicious. Not only will you be rewarded with a delightful treat, but you’ll also experience the joy that comes from making it with your own hands. So gather your ingredients, don your apron, and get ready to whip up a batch of peanut butter fudge that will surely become a cherished favorite!