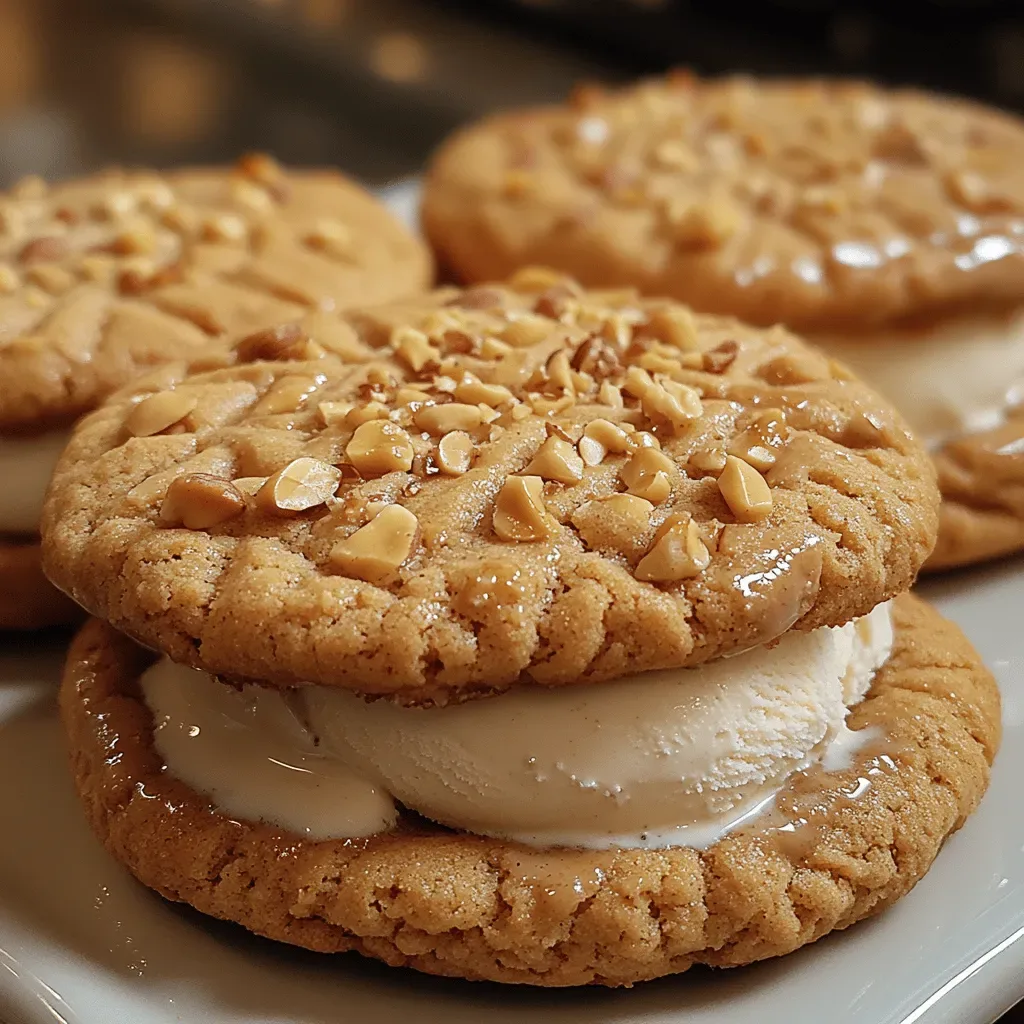
Crunchy Peanut Butter Cookie Ice Cream Sandwiches
 Save
Save
Imagine biting into a cookie that’s crisp on the outside, soft in the middle, and filled with velvety peanut‑butter ice cream that melts slowly on your tongue. That’s exactly what Crunchy Peanut Butter Cookie Ice Cream Sandwiches deliver – a playful twist on a classic summer treat.
What makes this recipe special is the perfect balance of textures: a buttery, crunchy cookie paired with a rich, creamy ice cream that’s infused with roasted peanuts and a hint of sea salt. The contrast keeps every bite exciting.
This dessert will win over peanut‑butter lovers, ice‑cream enthusiasts, and anyone who enjoys a little crunch with their sweet. Serve it at backyard barbecues, holiday parties, or as an indulgent after‑dinner surprise.
The process is straightforward: bake the cookies, churn a simple no‑churn ice‑cream base, freeze both components, then assemble the sandwiches and give them a quick freeze to set. In just half an hour you’ll have a crowd‑pleasing dessert ready to enjoy.
Why You'll Love This Recipe
Ultimate Texture Play: The cookie’s crunch meets the ice‑cream’s silkiness, creating a satisfying mouthfeel that keeps you reaching for more.
No‑Churn Simplicity: The ice‑cream base requires only a whisk, a bowl, and a freezer, making it perfect for kitchens without an ice‑cream maker.
Customizable Sweet‑Salt Balance: A pinch of sea salt lifts the peanut butter flavor, while optional add‑ins let you tailor the sweetness to your taste.
Make‑Ahead Friendly: Both cookies and ice‑cream can be prepared days ahead, allowing you to assemble the sandwiches just before serving.
Tips & Tricks
Perfecting the Recipe
Chill the cookie dough. Refrigerate the dough for 15 minutes before scooping. This prevents spreading and yields a thinner, crunchier cookie.
Use a silicone spatula. It helps spread the ice cream evenly without tearing the delicate cookies.
Flavor Enhancements
Add a drizzle of melted chocolate over each sandwich before the final freeze for a decadent ribbon. A pinch of flaky sea salt on top of the chocolate adds a sophisticated contrast. For a tropical twist, fold in shredded coconut with the peanuts.
Common Mistakes to Avoid
Don’t over‑bake the cookies; they should stay light and thin, otherwise they become too hard to bite through frozen ice cream. Also, avoid using overly soft ice cream—let it firm enough to hold shape, or the sandwiches will collapse.
Pro Tips
Freeze the assembly tray. A chilled tray helps the sandwiches set faster and prevents sticking.
Use natural peanut butter. It provides a richer, more authentic flavor than highly processed varieties.
Store in an airtight container. This prevents freezer burn and keeps the cookies from absorbing other odors.
Variations
Ingredient Swaps
Swap the classic peanut butter for almond butter or cashew butter for a milder nutty profile. Replace brown sugar in the cookies with coconut sugar for a subtle caramel note. For a chocolate lover’s version, add 2 tablespoons cocoa powder to the cookie dough.
Dietary Adjustments
Use a plant‑based butter and coconut cream to make the recipe dairy‑free. Substitute regular flour with a gluten‑free blend and ensure your peanut butter is certified gluten‑free for a safe gluten‑free version. For a lower‑sugar option, reduce the granulated sugar by one‑third and add a splash of maple syrup.
Serving Suggestions
Plate the sandwiches on a wooden board with fresh berries and a dusting of powdered sugar for an elegant dessert platter. Pair them with a cold glass of milk, a shot of espresso, or a scoop of vanilla gelato for an indulgent contrast.
Storage Info
Leftover Storage
Place any uneaten sandwiches in a single layer inside an airtight container. Cover the top with a sheet of parchment to prevent sticking, then seal. They keep perfectly in the freezer for up to 3 weeks without losing texture.
Reheating Instructions
If you prefer a softer bite, let the sandwiches sit at room temperature for 5‑7 minutes before serving. This allows the ice cream to soften just enough for easy biting while preserving the cookie’s crunch.
Frequently Asked Questions
Can I make these sandwiches ahead of time?
What if I don’t have an ice‑cream maker?
Can I use store‑bought peanut butter ice cream instead?
What drinks pair best with these sandwiches?
These Crunchy Peanut Butter Cookie Ice Cream Sandwiches bring together crisp cookies, silky peanut‑butter ice cream, and a touch of salty crunch for an unforgettable dessert. By following the step‑by‑step guide, you’ll achieve professional‑grade results without an ice‑cream maker. Feel free to experiment with swaps, toppings, or seasonal flavors—dessert creativity knows no bounds. Enjoy every bite and share the joy with friends and family!
Crunchy Peanut Butter Cookie Ice Cream Sandwiches
Delicious Crunchy Peanut Butter Cookie Ice Cream Sandwiches
Ingredients
Cookie Dough
- 1 cup unsalted butter, softened
- 1 cup packed dark brown sugar
- 2 large eggs
- 2 teaspoons vanilla extract
- 2 cups all‑purpose flour
- 1 teaspoon baking soda
- ½ teaspoon sea salt
Peanut Butter Ice Cream Base
- 1 ½ cups heavy whipping cream
- ½ cup whole milk
- ¾ cup granulated sugar
- ¾ cup creamy peanut butter
- ¼ teaspoon sea salt
- 1 teaspoon vanilla extract
- ¼ cup chopped roasted peanuts (optional)
Instructions
Baking the Cookies
- Preheat the oven. Set your oven to 350°F (175°C) and line two baking sheets with parchment paper. A consistent temperature ensures even browning and a crisp edge.
- Portion the dough. Scoop rounded tablespoons of dough onto the prepared sheets, spacing them about 2 inches apart. Press each mound gently with the back of a spoon to flatten slightly; this helps the cookies stay thin enough to bite through after freezing.
- Bake. Slide the sheets into the oven and bake for 10‑12 minutes, or until the edges turn a light golden brown. The centers will still look soft—this is ideal for a tender bite.
- Cool completely. Transfer the cookies to a wire rack and let them cool for at least 15 minutes. Cooling prevents steam from making the cookies soggy when later paired with ice cream.
Freezing the Ice Cream Base
- Initial chill. Cover the bowl with plastic wrap and place it in the freezer for 30 minutes. This jump‑starts the thickening process.
- Whisk intermittently. After 30 minutes, remove the bowl and whisk vigorously for 1‑2 minutes to break up any ice crystals. Return to the freezer.
- Repeat. Continue the 30‑minute freeze/whisk cycle three more times. By the final cycle the mixture should be thick, creamy, and ready to scoop.
Similar Recipes
 Desserts
Delightful Mini Vanilla Cupcakes: A Sweet Celebration in Every Bite
Delicious Delightful Mini Vanilla Cupcakes: A Sweet Celebration in Every Bite
 Desserts
Pear Bliss Tart
Delicious Pear Bliss Tart
 Desserts
Dreamy No-Bake Cheesecake Cups
Delicious Dreamy No-Bake Cheesecake Cups
 Desserts
Mini Cherry Almond Tarts Recipe: A Delightful Dessert for Any Occasion
Delicious Mini Cherry Almond Tarts Recipe: A Delightful Dessert for Any Occasion
 Desserts
Autumn Delight Apple Cider Cupcakes Recipe
Delicious Autumn Delight Apple Cider Cupcakes Recipe
 Desserts
Raspberry Freezer Jam
Learn how to make delicious Raspberry Freezer Jam. Easy recipe with step-by-step instructions.
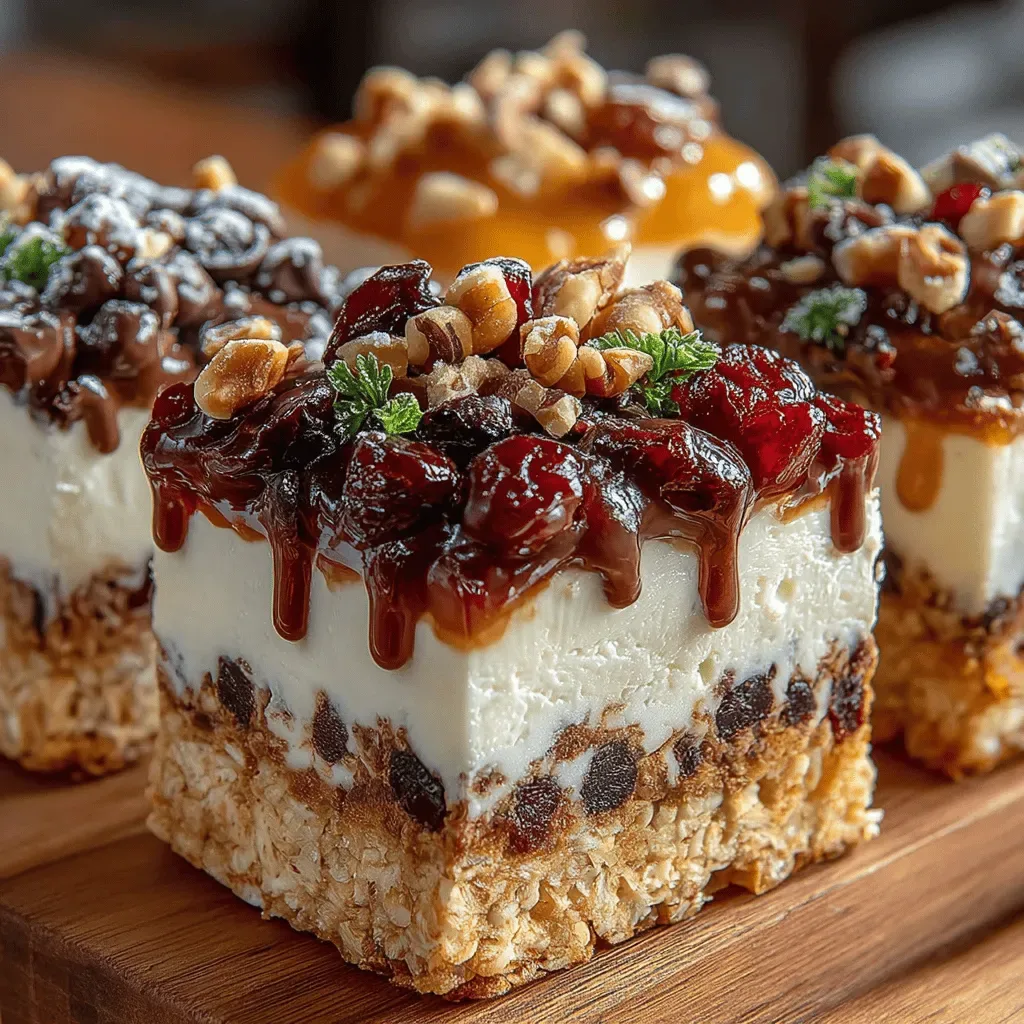 Desserts
Choco-Coffee Delight Frozen Yogurt Granola Bars
Delicious Choco-Coffee Delight Frozen Yogurt Granola Bars
 Desserts
Heavenly Coconut Bibingka: A Taste of the Philippines
Delicious Heavenly Coconut Bibingka: A Taste of the Philippines

Clara
I cook these recipes at home before they ever land here — simple ingredients, clear steps.