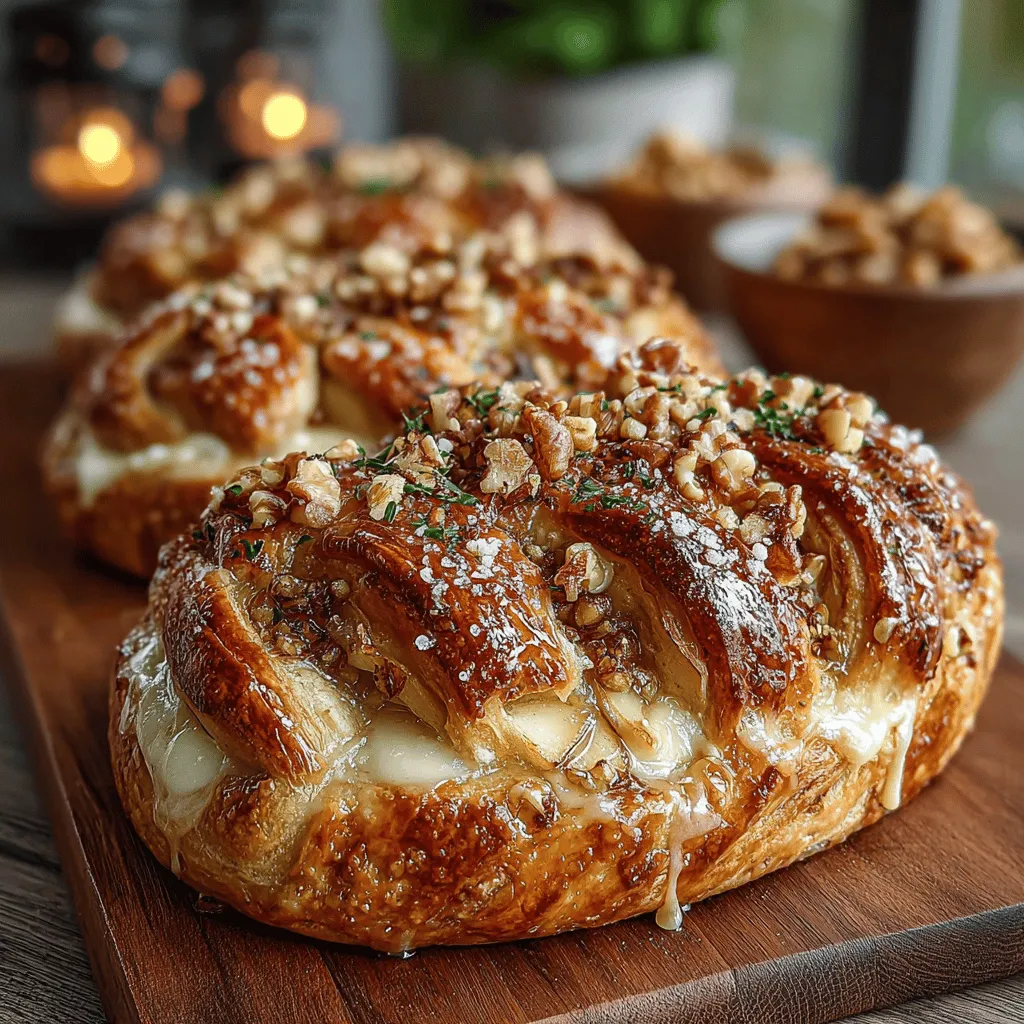
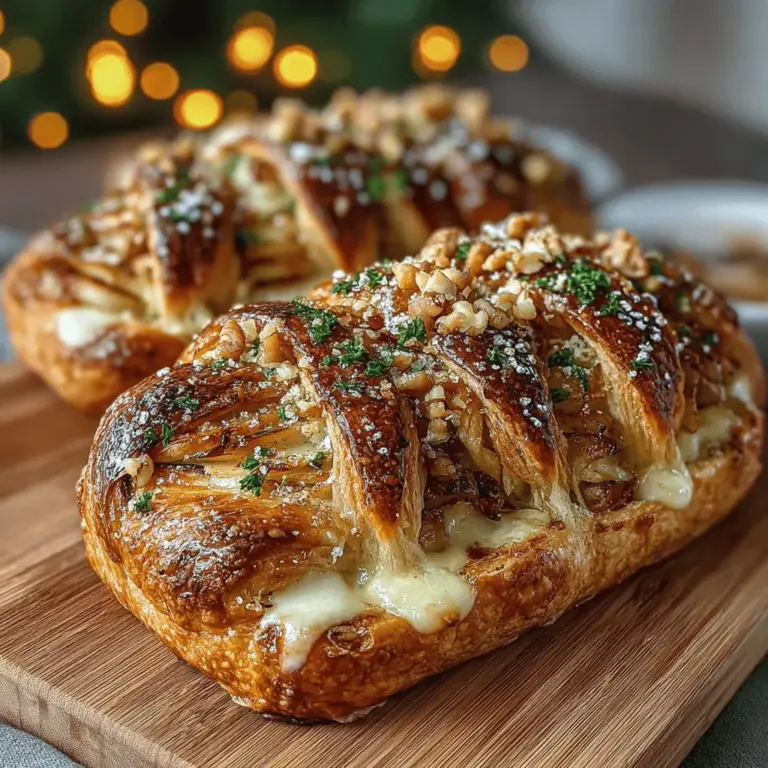
Puff pastry is a culinary marvel, and when paired with the sweet and savory combination of apples and Brie cheese, it transforms into a delightful dish that is perfect for any gathering. The Apple Brie Puff Pastry Braids are not just visually stunning but also offer a symphony of flavors that will tantalize your taste buds. Whether you’re looking for an impressive appetizer for a dinner party, a standout dish for brunch, or even a unique dessert, this recipe fits the bill beautifully.
The Allure of Sweet and Savory
The appeal of Apple Brie Puff Pastry Braids lies in their harmonious blend of flavors. The tartness of apples balances the creamy richness of Brie cheese, while the flaky, buttery puff pastry adds a delightful crunch. This dish allows for versatility in serving; it can be enjoyed warm as an elegant starter, served at a brunch table alongside other pastries, or even as a sweet treat drizzled with honey for dessert. With its impressive presentation and mouthwatering taste, this recipe is sure to become a favorite among family and friends.
Understanding Puff Pastry
Before diving into the recipe, it’s essential to understand what puff pastry is and how it works. Puff pastry is a light, flaky pastry made from layers of dough and butter that create a delicate, airy texture when baked. The magic of puff pastry lies in its ability to rise, creating those beautiful, flaky layers that are so desirable in any pastry.
For this recipe, it’s crucial to use thawed puff pastry. Most puff pastry sold in stores comes frozen, so remember to plan ahead and allow it to thaw in the refrigerator for several hours or overnight before you start. Working with chilled pastry helps maintain its structure while you shape it, ensuring a perfect bake.
Handling puff pastry requires a bit of finesse. Here are some tips to achieve the best results:
– Keep your workspace and the pastry cool. If the dough becomes too warm, it can lose its structure and become difficult to work with.
– Use a light touch when rolling out the pastry to avoid flattening the layers.
– After cutting, refrigerate the shapes briefly if they start to soften; this will help them maintain their form in the oven.
The Star Ingredients
Now, let’s take a closer look at the main ingredients that make this dish shine: apples, Brie cheese, and puff pastry.
Apples
The choice of apple variety can elevate the flavor profile of your braids. Granny Smith apples are a popular choice due to their tartness and firm texture, which holds up well during cooking. On the other hand, Honeycrisp apples offer a delightful sweetness and crunch. You can even mix different apple varieties to create a more complex flavor experience. Regardless of the type you choose, make sure the apples are fresh for the best taste and texture.
Brie Cheese
Brie cheese is undoubtedly the star of this dish. Its creamy texture and mild flavor create a luxurious contrast to the tartness of the apples. When baked, Brie becomes wonderfully gooey, making it the perfect complement to the flaky pastry. The cheese’s subtle earthiness also enhances the overall flavor of the dish, adding depth to each bite.
Optional Ingredients
For those looking to add an extra layer of flavor and texture, consider incorporating nuts such as walnuts or pecans for a delightful crunch. A drizzle of honey can also enhance the sweetness, making the dish even more irresistible. These optional ingredients can be mixed into the apple filling or used as a topping, allowing you to customize the dish to your liking.
Preparing the Apple Filling
Now that we have our ingredients ready, let’s focus on preparing the apple filling, which is crucial for maximizing flavor in the braids.
Step 1: Core and Slice the Apples
Start by coring the apples and slicing them into thin, even pieces. Aim for slices that are about a quarter-inch thick to ensure they cook evenly and don’t become mushy.
Step 2: Flavoring the Apples
Next, transfer the sliced apples to a mixing bowl and add brown sugar, cinnamon, and a touch of lemon juice. The brown sugar will caramelize during baking, providing a rich sweetness, while the cinnamon adds warmth and depth to the flavor. The lemon juice plays a vital role in balancing the sweetness of the apples and preventing them from browning. It brightens the flavor profile, ensuring that each bite remains fresh and vibrant.
Step 3: Mixing It All Together
Gently toss the apple slices in the mixture until they are well coated. This process will infuse the apples with flavor, preparing them for their starring role in the puff pastry braids. Allow the apple mixture to sit for a few minutes to let the flavors meld together.
By carefully preparing the apple filling, you set the stage for a deliciously balanced dish that will impress anyone lucky enough to try it. The next steps will involve crafting the puff pastry and layering in the filling, but first, it’s essential to ensure that your apples are perfectly prepped, setting the foundation for a show-stopping Apple Brie Puff Pastry Braid.
Stay tuned for the next part of this article, where we will guide you through crafting the puff pastry design and layering the delectable filling for an impressive finish.

Importance of Even Distribution of Filling for Balanced Bites
When preparing your Apple Brie Puff Pastry Braids, achieving an even distribution of the filling is crucial for creating balanced bites. This ensures that each slice contains a delightful mix of sweet apples, creamy Brie, and the aromatic spices you’ve chosen. To start, after you’ve prepared your filling by sautéing the apples with cinnamon and brown sugar, allow it to cool slightly. This prevents the pastry from becoming soggy.
As you assemble the pastry, use a spoon to dollop the filling evenly across the center of each pastry strip. Make sure to leave enough space at the edges for braiding. Aim for a generous but not overwhelming amount—approximately 1 tablespoon of filling per braid should suffice. This will help maintain the pastry’s integrity while providing that delicious sweet and savory flavor in every bite.
The Braiding Technique
Detailed Explanation of the Braiding Process
Braiding puff pastry may sound daunting, but with a few simple steps, you can achieve an impressive and visually appealing result. Start by placing the filling down the center of the pastry strip, ensuring it’s evenly spread. Next, make diagonal cuts along each side of the pastry. Each cut should be about 1 inch apart, extending from the edge of the pastry to the filling area.
Visual Cues to Help Readers Understand How to Fold the Pastry
Once the cuts are made, it’s time to braid! Begin by folding the top edge of the pastry over the filling, then alternate folding the strips over each other diagonally, starting from one side and moving to the other. Think of it as a crisscross pattern. If you’re visualizing this, consider each strip as a ribbon that you’re weaving together to create a beautiful braid.
Importance of Sealing the Braid for a Neat Appearance
After braiding, it’s essential to pinch the ends of the braid tightly to seal in the filling. This not only prevents leakage while baking but also helps maintain a clean, professional look. For added flair, you can twist the ends before pinching them, which enhances the overall presentation of your dish.
Egg Wash for a Beautiful Finish
Explanation of the Egg Wash and Its Purpose in Baking
An egg wash is a simple mixture of beaten egg and water or milk that you brush over the surface of baked goods before they go into the oven. The purpose of the egg wash is twofold: it gives your pastry a beautiful, golden-brown color and adds a slight sheen that elevates the visual appeal of your dish.
Step-by-Step Guide on Making and Applying the Egg Wash
To prepare your egg wash, crack one large egg into a small bowl and whisk it until the yolk and white are fully combined. For a richer color, you can add a tablespoon of water or milk. Using a pastry brush, apply a thin, even layer of the egg wash over the tops of your braided pastries. Be careful not to let the egg wash drip down the sides, as this can cause uneven baking.
The Impact of Egg Wash on the Final Color and Presentation of the Pastry
When baked, the egg wash will create a stunning golden crust that is both appetizing and professional-looking. This simple step is crucial for transforming your Apple Brie Puff Pastry Braids from homemade to gourmet.
Baking to Perfection
Recommended Baking Temperature and Time
For the best results, preheat your oven to 400°F (200°C). This high temperature ensures that the pastry puffs up beautifully and develops that desirable flaky texture. Bake the braids for approximately 20-25 minutes, or until they are golden brown and puffed.
Signs to Look for to Ensure the Pastry is Baked Properly
Keep an eye on your pastries as they bake. You’ll know they are done when they are puffed up, have a rich golden-brown color, and emit a delightful aroma of baked pastry and sweet apples. Another useful tip is to gently tap the underside of the braid; if it sounds hollow, it’s a sign that your pastry is perfectly baked.
Importance of Using Parchment Paper for Easy Cleanup
To make cleanup a breeze, line your baking sheet with parchment paper before placing the braids on it. Not only does this prevent sticking, but it also helps catch any drips from the filling, keeping your oven clean.
Serving Suggestions
Ideas for Serving: Hot from the Oven, Drizzled with Honey
Your Apple Brie Puff Pastry Braids are best served hot from the oven. The gooey Brie and warm, spiced apples create a comforting dish that is perfect for any gathering. For an added touch of sweetness, consider drizzling a bit of honey over the top just before serving. This not only enhances the flavor but also adds a lovely glossy finish.
Pairing Suggestions: Beverages or Additional Sides that Complement the Dish
These braids pair wonderfully with a variety of beverages. A crisp white wine like Sauvignon Blanc or even a sparkling cider can elevate the experience. If you’re serving them as part of a brunch spread, consider offering a fresh fruit salad or a light green salad dressed with vinaigrette as a refreshing side.
Presentation Tips for a Visually Appealing Dish
For a stunning presentation, slice the braids into individual pieces and arrange them on a platter. Garnish with fresh herbs like thyme or rosemary for a pop of color and aroma. You might also sprinkle some extra chopped apples or nuts around the dish for added visual interest.
Nutritional Insights
Overview of the Nutritional Benefits of Apples and Brie Cheese
Not only is this dish delicious, but it also has some nutritional benefits. Apples are an excellent source of dietary fiber and vitamin C, while Brie cheese provides protein and calcium. When combined, they create a satisfying dish that can be enjoyed as an appetizer or a light meal.
Discussion of Portion Size and Serving Suggestions
When serving your Apple Brie Puff Pastry Braids, consider portion sizes. A good rule of thumb is to serve 2-3 slices per person as an appetizer, or 1-2 braids if it’s the main dish. This allows everyone to enjoy the flavors without feeling overly full.
Considerations for Dietary Modifications (e.g., Nut Allergies)
If you’re catering to guests with specific dietary needs, consider making some adjustments. For those with nut allergies, be sure to check that any added ingredients, such as nuts or nut-based toppings, are omitted. You can also explore using a dairy-free cheese alternative for a vegan version of this dish.
Conclusion
The Apple Brie Puff Pastry Braids are not just a treat for the taste buds; they embody the joy of cooking and sharing delicious food with loved ones. With their flaky texture, sweet and savory filling, and stunning presentation, these braids are versatile enough for any occasion, from cozy family dinners to festive gatherings.
As you embark on making this delightful dish, remember that the process is just as enjoyable as the final product. Don’t hesitate to experiment with the filling or presentation to make it your own. We encourage you to try this recipe and discover the joy it brings to your table. Happy baking!

