Introduction
Chocolate chip cookies have long been a beloved treat, cherished by bakers and sweet-toothed individuals alike. The warm, gooey goodness of melted chocolate nestled within a soft, buttery cookie evokes feelings of nostalgia and comfort, making them a staple in many households. However, as much as we adore the classic cookie, there’s a delightful twist that takes this timeless favorite to new heights: cookie bars.
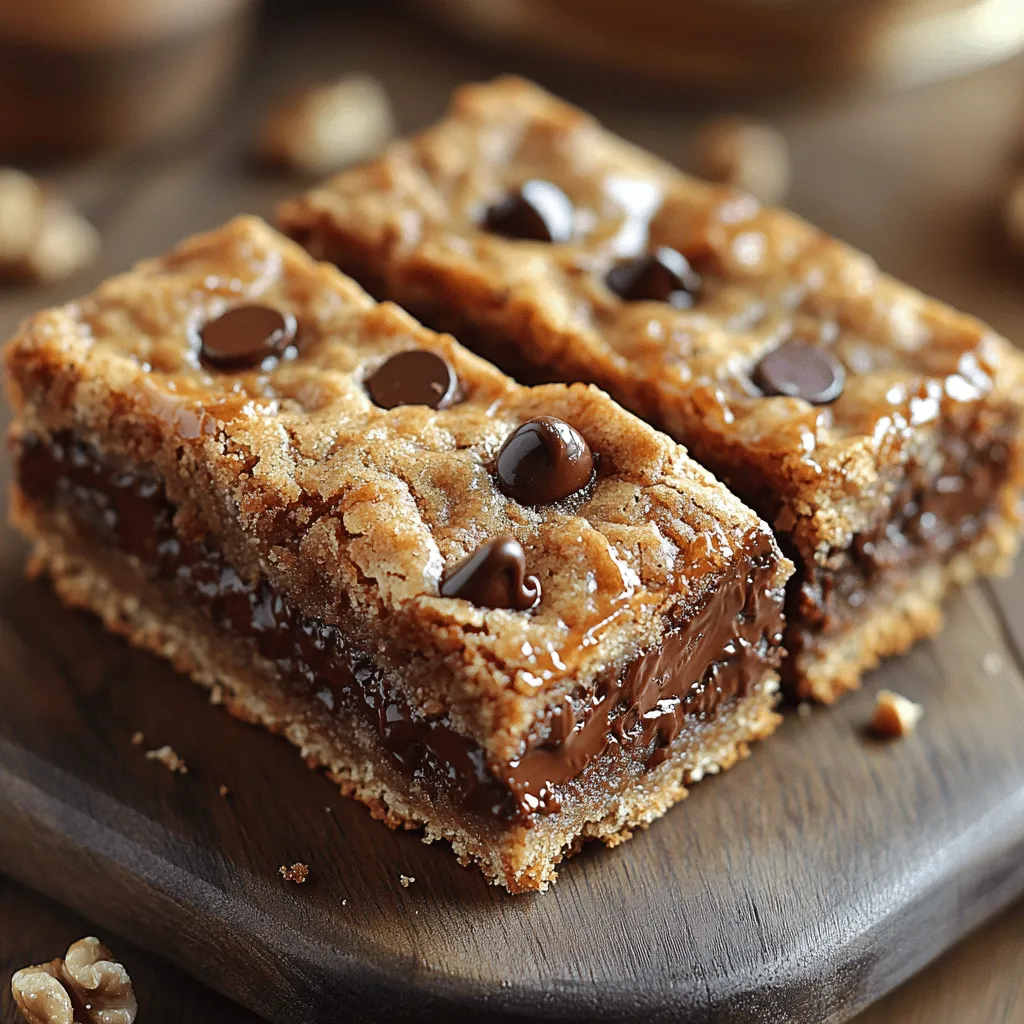
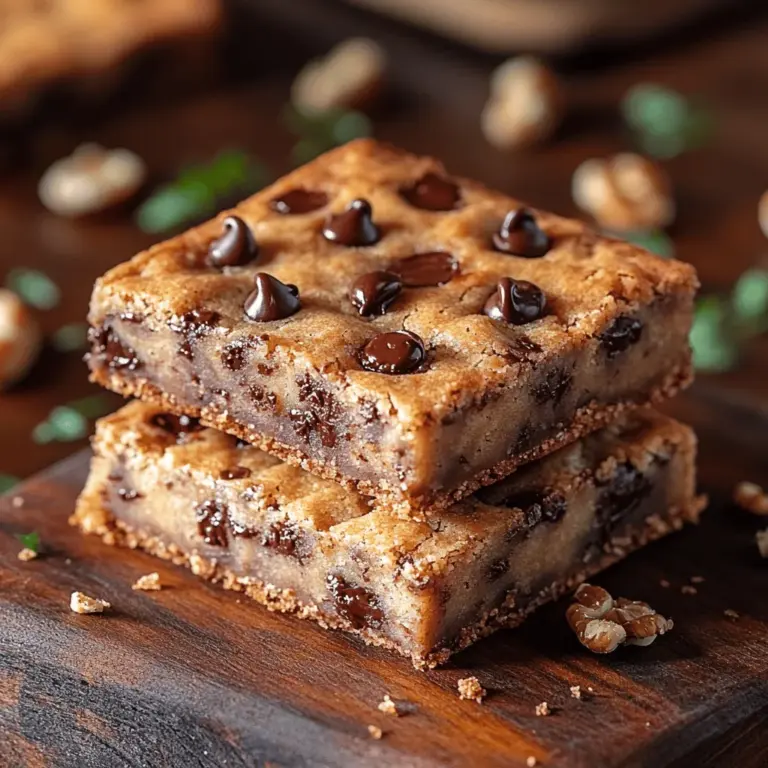
Cookie bars offer a convenient and easy-to-make alternative to traditional cookies, allowing bakers to enjoy the same enticing flavors and textures without the hassle of individual cookie formation. With a simple press-and-bake process, these bars yield a batch of rich, chewy delights that are perfect for sharing (or not!). Our Chewy Chocolate Chip Cookie Bars encapsulate everything we love about chocolate chip cookies but with an added layer of convenience and indulgence. Their chewy texture and rich flavor make them an irresistible treat for any occasion, whether it’s a family gathering, a casual get-together with friends, or simply a sweet snack after a long day.
The Allure of Cookie Bars
So, what exactly are cookie bars? At their core, cookie bars are essentially a giant cookie baked in a pan, cut into squares or rectangles once cooled. This method of baking offers numerous advantages that have contributed to the growing popularity of cookie bars among home bakers.
One of the primary benefits of cookie bars is their ease of preparation. Instead of spending time rolling out individual cookies, shaping them, and waiting for multiple batches to bake, cookie bars allow you to mix all the ingredients together and pour the batter into a single pan. This not only saves time but also minimizes cleanup, making it an excellent option for busy bakers or those who prefer a more straightforward approach to baking.
Uniform serving sizes are another significant advantage of cookie bars. With traditional cookies, it can be challenging to ensure that each cookie is the same size, which can lead to uneven baking. Cookie bars, however, can be cut into perfectly portioned squares, ensuring that every piece is consistent in size and texture. This uniformity also makes cookie bars a fantastic option for parties and gatherings, where guests can easily grab a piece without the fuss of picking and choosing individual cookies.
Versatility is yet another reason cookie bars have become a favorite among bakers. They can be customized to suit different tastes and occasions, from adding nuts and dried fruits for a chewy, textured bite to experimenting with various types of chocolate or flavored extracts. Whether you’re celebrating a birthday, hosting a bake sale, or simply looking for a delicious snack to enjoy with your coffee, cookie bars can be tailored to fit any need or preference.
Ingredients for Chewy Chocolate Chip Cookie Bars
Before diving into the baking process, it’s essential to gather all the necessary ingredients. Each component plays a crucial role in achieving the perfect chewy texture and rich flavor for your Chewy Chocolate Chip Cookie Bars. Below is a comprehensive list of ingredients, along with detailed descriptions of their functions:
– All-Purpose Flour: The backbone of any cookie recipe, all-purpose flour provides the structure and texture necessary for cookie bars. It creates the right balance of chewiness and softness, ensuring that your cookie bars have a satisfying bite.
– Baking Soda: A key ingredient in achieving the desired lift and chewy consistency, baking soda acts as a leavening agent. It helps the cookie bars rise slightly during baking, resulting in a tender crumb that’s not too dense.
– Salt: While it may seem counterintuitive to add salt to a sweet recipe, it plays a vital role in enhancing flavors. A pinch of salt helps to balance the sweetness of the sugars and intensifies the overall taste of the cookie bars.
– Unsalted Butter: Using unsalted butter is ideal for controlling the overall salt content in your recipe. Butter adds creaminess and richness, contributing to the delectable texture of the cookie bars. Be sure to use it at room temperature to ensure easy mixing.
– Granulated and Brown Sugars: A combination of granulated and brown sugars provides the perfect balance of sweetness and moisture. Granulated sugar helps with spreading and crispness, while brown sugar adds depth of flavor and moisture retention, ensuring chewy results.
– Eggs: Eggs serve multiple purposes in baking. They act as a binding agent, holding the ingredients together, and contribute richness to the cookie bars. The fat from the yolks also adds flavor and helps create a tender texture.
– Vanilla Extract: A staple in many baking recipes, vanilla extract enhances the flavor profile of the cookie bars. It adds a warm, aromatic essence that complements the chocolate chips beautifully, creating a more complex and enjoyable taste.
– Semi-Sweet Chocolate Chips: The star ingredient, semi-sweet chocolate chips deliver the iconic chocolatey goodness that we all crave. Their melt-in-your-mouth quality combined with the chewy texture of the bars creates a delicious contrast that is hard to resist.
– Optional Nuts: While not necessary, adding nuts such as walnuts or pecans can provide an extra layer of texture and flavor variation. The crunch of nuts complements the chewiness of the cookie bars, creating a delightful eating experience.
Step-by-Step Instructions for Baking Cookie Bars
Now that we have gathered all our ingredients, it’s time to dive into the baking process. Follow these clear and detailed steps to create your own batch of Chewy Chocolate Chip Cookie Bars:
Preheat the Oven
The first step in any baking process is to preheat your oven. Setting the correct temperature is crucial for achieving the desired texture and flavor in your cookie bars. Preheat your oven to 350°F (175°C) to ensure that it is hot enough to produce perfectly baked cookie bars.
Mixing Dry Ingredients
Once your oven is preheated, start by preparing the dry ingredients. In a medium-sized bowl, whisk together the all-purpose flour, baking soda, and salt. This step is essential for several reasons:
1. Even Distribution: Whisking the dry ingredients together ensures that the baking soda and salt are evenly distributed throughout the flour. This will help your cookie bars rise uniformly and prevent any pockets of salty or overly sweet areas.
2. Aeration: Whisking also aerates the flour, which can contribute to a lighter texture in your cookie bars.
3. Preventing Clumps: This step helps break up any clumps in the flour or baking soda, ensuring a smooth batter.
Once the dry ingredients are thoroughly mixed, set the bowl aside while you prepare the wet ingredients.
Stay tuned for the next part of our article, where we will cover the mixing of wet ingredients, combining everything into a delicious batter, and the baking process that will lead to your perfect Chewy Chocolate Chip Cookie Bars.

Creaming Butter and Sugars: Achieving the Right Consistency
The foundation of any great cookie bar begins with the creaming of butter and sugars. Start with unsalted butter at room temperature; this allows it to blend smoothly with the sugars, creating a light and airy mixture. Using a stand mixer or a hand mixer on medium speed, beat the butter and both brown and white sugars together until the mixture is pale and fluffy—this typically takes around 2-3 minutes. The sugars should dissolve into the butter, creating a creamy texture that will help to aerate the dough. This step is crucial as it not only influences the texture but also contributes to the overall flavor of the cookie bars.
Incorporating Eggs and Vanilla: The Importance of Each Ingredient
Once your butter and sugars are well-creamed, it’s time to incorporate the eggs and vanilla extract. Add in one large egg at a time, mixing well after each addition to ensure proper emulsification. Eggs serve multiple functions in baking; they add moisture, richness, and act as a binding agent that helps the bars hold their shape. The addition of vanilla extract is equally important—it enhances the overall flavor profile and brings warmth to the sweet chocolate. Mix until just combined; over-mixing at this stage can lead to dense cookie bars.
Combining Wet and Dry Ingredients: Tips on Mixing Techniques
Next, it’s time to bring together your wet and dry ingredients. In a separate bowl, whisk together all-purpose flour, baking soda, and a pinch of salt. The salt is essential as it balances the sweetness and enhances the flavors of the chocolate. Gradually add the dry ingredients to your creamed mixture, mixing on low speed or folding by hand using a spatula. It’s crucial to mix just until the dry ingredients are incorporated; over-mixing can lead to tough cookie bars. The dough should be slightly sticky but hold together well.
Folding in Chocolate Chips and Nuts: Best Practices for Even Distribution
With your dough ready, it’s time to fold in the chocolate chips and any nuts if you’re using them. Semi-sweet chocolate chips are traditional, but feel free to get creative! You might opt for milk chocolate for a sweeter bar, or dark chocolate for a more intense cocoa flavor. If you’re adding nuts, such as walnuts or pecans, chop them roughly to ensure they distribute evenly throughout the dough. Use a spatula to fold these ingredients gently into the dough, ensuring an even distribution without overworking the mixture.
Spreading the Dough in the Pan: Techniques for Achieving a Smooth Finish
Prepare a 9×13-inch baking pan by lightly greasing it or lining it with parchment paper. This will help prevent sticking and make for easy removal once the bars are baked. Using a spatula, spread the cookie dough evenly into the prepared pan, smoothing the top to create a level surface. If the dough is sticky, dampen your fingers with a little water to help spread it without sticking. Ensuring an even layer is essential for uniform baking, so take your time with this step.
Baking Time and Temperature: Signs to Look For
Preheat your oven to 350°F (175°C), ensuring it reaches temperature before placing your cookie bars inside. Bake the bars for approximately 25-30 minutes, but keep an eye on them! The edges should turn a light golden brown, while the center may still look slightly underbaked. This is ideal because the cookie bars will continue to cook as they cool. A toothpick inserted into the center should come out with a few moist crumbs; this indicates they’re perfectly baked and will result in that desirable chewy texture.
Cooling and Cutting the Bars: Importance of Cooling for Texture and Ease of Cutting
Once your cookie bars are baked to perfection, remove them from the oven and allow them to cool in the pan for about 10-15 minutes. This cooling time is essential, as it allows the bars to set and makes cutting easier without crumbling. After cooling, lift the bars out of the pan using the parchment paper (if used) and let them cool completely on a wire rack. Once cool, use a sharp knife to cut them into squares or rectangles, ensuring you wipe the knife clean between cuts for neat edges.
The Perfect Serving Suggestions
When it comes to serving your Chewy Chocolate Chip Cookie Bars, the options are endless. For a classic pairing, serve them with a tall glass of cold milk, which complements the rich chocolate flavor and balances the sweetness. Alternatively, these bars make a delightful treat alongside a hot cup of coffee, perfect for an afternoon pick-me-up.
If you’re looking to impress guests at parties or potlucks, consider presenting the cookie bars in a decorative dish or on a cake stand. Drizzling them with melted chocolate or caramel sauce can elevate their appearance and flavor, while a scoop of vanilla ice cream on the side turns them into a decadent dessert.
Storage and Shelf Life
To maintain the freshness of your Chewy Chocolate Chip Cookie Bars, store them in an airtight container at room temperature. This will keep them soft and chewy for up to a week. If you wish to extend their shelf life, you can refrigerate them, although this may slightly alter the texture.
If you find yourself with more bars than you can eat, freezing is a great option. Wrap individual bars in plastic wrap and place them in a freezer-safe bag or container. When stored properly, they can last for up to three months. To enjoy, simply remove them from the freezer and let them thaw at room temperature, or pop them in the microwave for a few seconds for a warm treat.
The Joy of Customization
One of the best aspects of Chewy Chocolate Chip Cookie Bars is their versatility. Feel free to customize the recipe according to your preferences. For a twist on the classic, try swapping in different types of chocolate chips—dark chocolate for a rich flavor, white chocolate for sweetness, or even a mix of all three.
Incorporating nuts can add a delightful crunch; consider using macadamia nuts for a tropical twist or almonds for a nutty flavor. Dried fruits, such as cranberries or cherries, can introduce a tart contrast to the sweetness of the chocolate. For those who want a little extra flavor, consider adding spices like cinnamon or espresso powder to the dough for an aromatic enhancement.
Conclusion
Chewy Chocolate Chip Cookie Bars are not just a dessert; they are an experience that brings warmth and joy into any home. Their delightful chewy texture and rich chocolate flavor make them an irresistible treat that’s perfect for sharing with family and friends. Whether you’re baking for a special occasion, a simple snack, or just to indulge in a sweet craving, these bars are sure to please.
The act of baking is a wonderful way to express love and creativity, and this recipe offers a straightforward yet delicious way to do just that. So, gather your ingredients, preheat your oven, and embark on a baking adventure that will yield delightful cookie bars that everyone will rave about. Enjoy the process and the delicious results!

