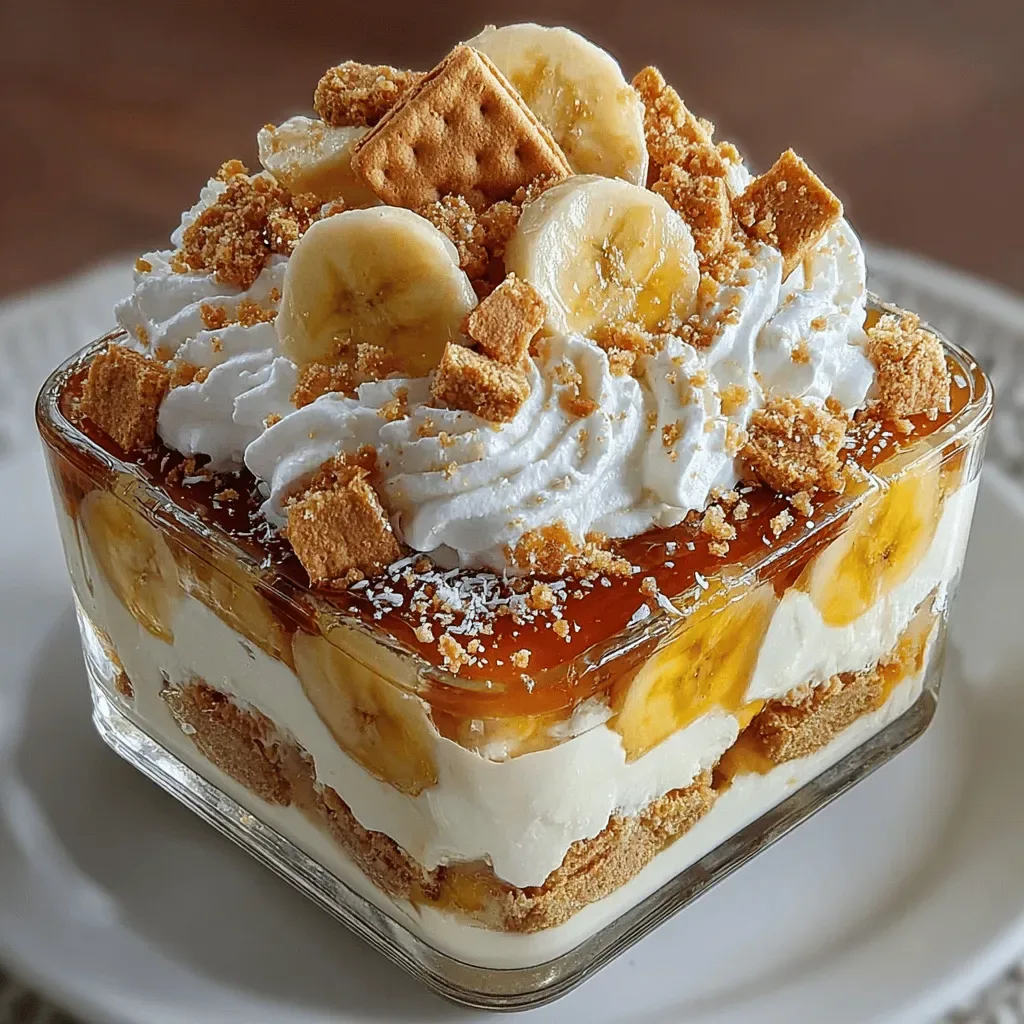
Creamy Dreamy Banana Pudding: A Timeless Delight
 Save
Save
There’s something undeniably nostalgic about a bowl of banana pudding that can turn any ordinary afternoon into a celebration. This Creamy Dreamy Banana Pudding captures that classic comfort while adding a silk‑smooth custard that feels almost luxurious.
What makes it truly special is the harmony between ripe bananas, buttery vanilla wafers, and a custard that’s thick enough to hold its shape yet light enough to melt on your tongue. A whisper of vanilla and a touch of caramel finish the experience.
This dessert will delight kids who love a sweet treat, adults craving a retro indulgence, and anyone looking for a crowd‑pleasing finish to a dinner party or family gathering.
The process is straightforward: whisk, bake, chill, and layer. You’ll create a dessert that sets beautifully in the fridge, allowing the flavors to meld while you relax and anticipate the first spoonful.
Why You'll Love This Recipe
Velvety Texture: The custard is cooked slowly over low heat, giving it a smooth, pudding‑like consistency that coats each banana slice without becoming grainy.
Make‑Ahead Friendly: Once assembled, the pudding only needs to chill, making it perfect for prepping the night before a busy weekend or holiday gathering.
Family‑Approved Flavor: Sweet bananas, creamy vanilla, and a hint of caramel create a universally loved taste that pleases both young palates and sophisticated dessert lovers.
Simple Ingredient List: All components are pantry staples—no exotic spices or hard‑to‑find items—so you can whip up this classic with confidence.
Tips & Tricks
Perfecting the Recipe
Use Over‑ripe Bananas. The sweeter, softer fruit blends seamlessly into the custard, eliminating any gritty texture.
Temper the Egg Yolks. Adding a little warm milk to the yolks before combining prevents lumps and ensures a velvety custard.
Cover While Baking. Loose foil stops the top from over‑browning while the interior sets gently.
Chill Overnight. Allowing the pudding to rest overnight lets the wafers fully absorb the custard, creating a cohesive texture.
Flavor Enhancements
Add a drizzle of caramel sauce just before serving for a buttery finish, or sprinkle a pinch of sea salt over the whipped cream to balance the sweetness. A splash of dark rum folded into the custard gives an adult‑friendly depth.
Common Mistakes to Avoid
Don’t over‑cook the custard; once it thickens, remove it from heat immediately to avoid a grainy texture. Also, never skip the cooling step before assembling—the warm custard can make the wafers soggy rather than soft.
Pro Tips
Whisk Continuously. Constant stirring while heating prevents scorching and distributes the cornstarch evenly.
Use a Silicone Spatula. It scrapes the bottom of the pan cleanly, rescuing the caramelized bits that add flavor to the custard.
Room‑Temp Ingredients. Let the milk, cream, and eggs sit out for 10 minutes; this ensures smoother emulsification.
Freeze‑Proof Whipped Cream. Add a teaspoon of powdered gelatin dissolved in warm water to the cream before whipping for a stable topping that holds up longer.
Variations
Ingredient Swaps
Replace vanilla wafers with graham crackers for a slightly nuttier base, or use chocolate wafer cookies for a decadent twist. Swap regular bananas for plantains (fried and sliced) for a tropical flair. Coconut milk can substitute part of the dairy for a subtle coconut aroma.
Dietary Adjustments
For a dairy‑free version, use almond milk and coconut cream in place of dairy milk and heavy cream. Vegan diners can replace egg yolks with a silken tofu custard thickened with cornstarch. Ensure the wafers are gluten‑free if you need a gluten‑free pudding.
Serving Suggestions
Serve the pudding in individual glass jars for a chic presentation, or spoon it into chilled coupe glasses topped with a mint leaf. Pair with a crisp glass of Riesling or a cold glass of iced tea for a refreshing contrast to the sweet richness.
Storage Info
Leftover Storage
Allow any leftovers to cool completely, then transfer the pudding to an airtight glass container. Store in the refrigerator for up to 4 days. For longer keeping, portion the pudding into freezer‑safe containers, cover tightly, and freeze for up to 3 months. Thaw overnight in the fridge before serving.
Reheating Instructions
Reheat individual servings in a 300°F (150°C) oven for 10‑12 minutes, covered with foil to retain moisture. Alternatively, microwave on medium power for 30‑45 seconds, stirring gently. Add a splash of milk or extra custard if the texture seems dry, then finish with a fresh dollop of whipped cream.
Frequently Asked Questions
Can I make this pudding ahead of time?
What if I don’t have vanilla wafers?
How do I prevent the custard from curdling?
Can I add alcohol for an adult version?
This Creamy Dreamy Banana Pudding blends classic comfort with a few modern tricks to guarantee a flawless result every time. From selecting perfectly ripe bananas to mastering a silky custard, each step is designed for success. Feel free to experiment with flavor swaps or dietary tweaks—cooking is an adventure, after all. Serve it chilled, share it generously, and enjoy the smiles it inspires!
Creamy Dreamy Banana Pudding: A Timeless Delight
Delicious Creamy Dreamy Banana Pudding: A Timeless Delight
Ingredients
Main Ingredients
- 4 ripe bananas, sliced
- 1½ cups whole milk
- ½ cup heavy cream
- ½ cup granulated sugar
- 4 large egg yolks
Custard & Flavor
- 3 tablespoons cornstarch
- 1 teaspoon pure vanilla extract
Layers & Topping
- 1½ cups vanilla wafers (about 30 wafers)
- 1 cup heavy whipping cream
- 2 tablespoons powdered sugar
- ¼ teaspoon ground cinnamon (optional)
Instructions
Cooking the Custard
- Heat Gently. Place the saucepan over medium‑low heat, stirring constantly with a wooden spoon. The custard will begin to thicken after 5‑7 minutes. Watch for the edges to steam and the mixture to coat the back of the spoon—that’s the perfect consistency.
- Add Flavor. Remove the pan from heat and stir in 1 teaspoon pure vanilla extract. This final addition preserves the aromatic quality of vanilla without evaporating its delicate notes.
- Cool Slightly. Transfer the custard to a shallow bowl, cover with plastic wrap directly on the surface to prevent a skin from forming, and let it cool to room temperature (about 15 minutes). This step is crucial before layering.
Similar Recipes
 Desserts
Delightfully Moist Carrot Cake Cupcakes
Delicious Delightfully Moist Carrot Cake Cupcakes
 Desserts
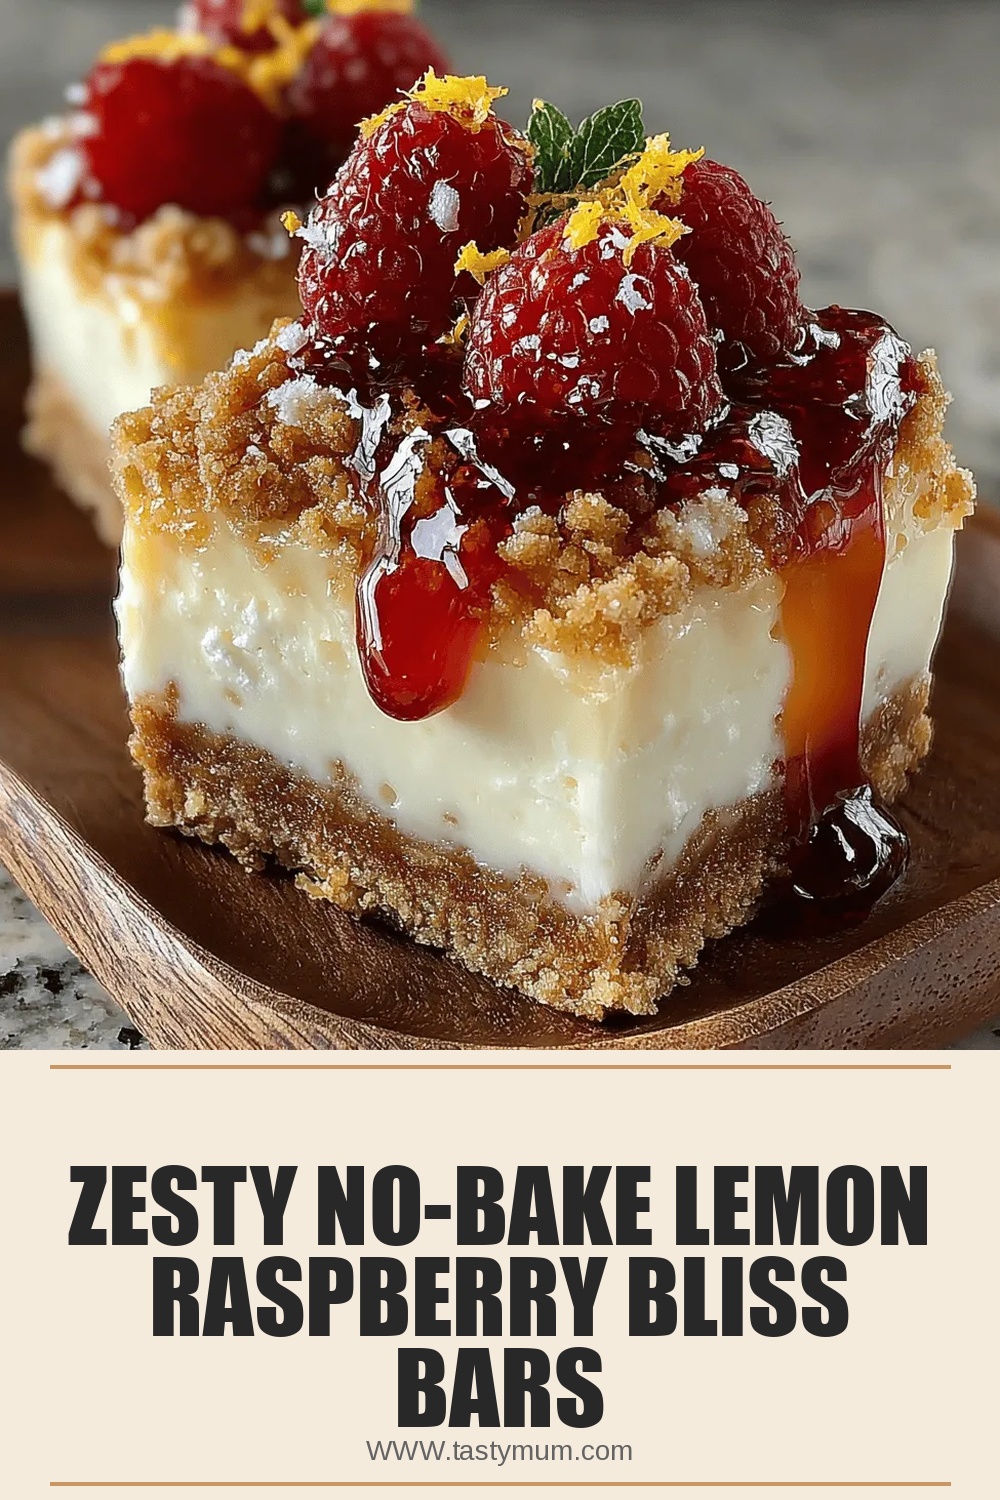
Zesty No-Bake Lemon Raspberry Bliss Bars
Delicious Zesty No-Bake Lemon Raspberry Bliss Bars
 Desserts
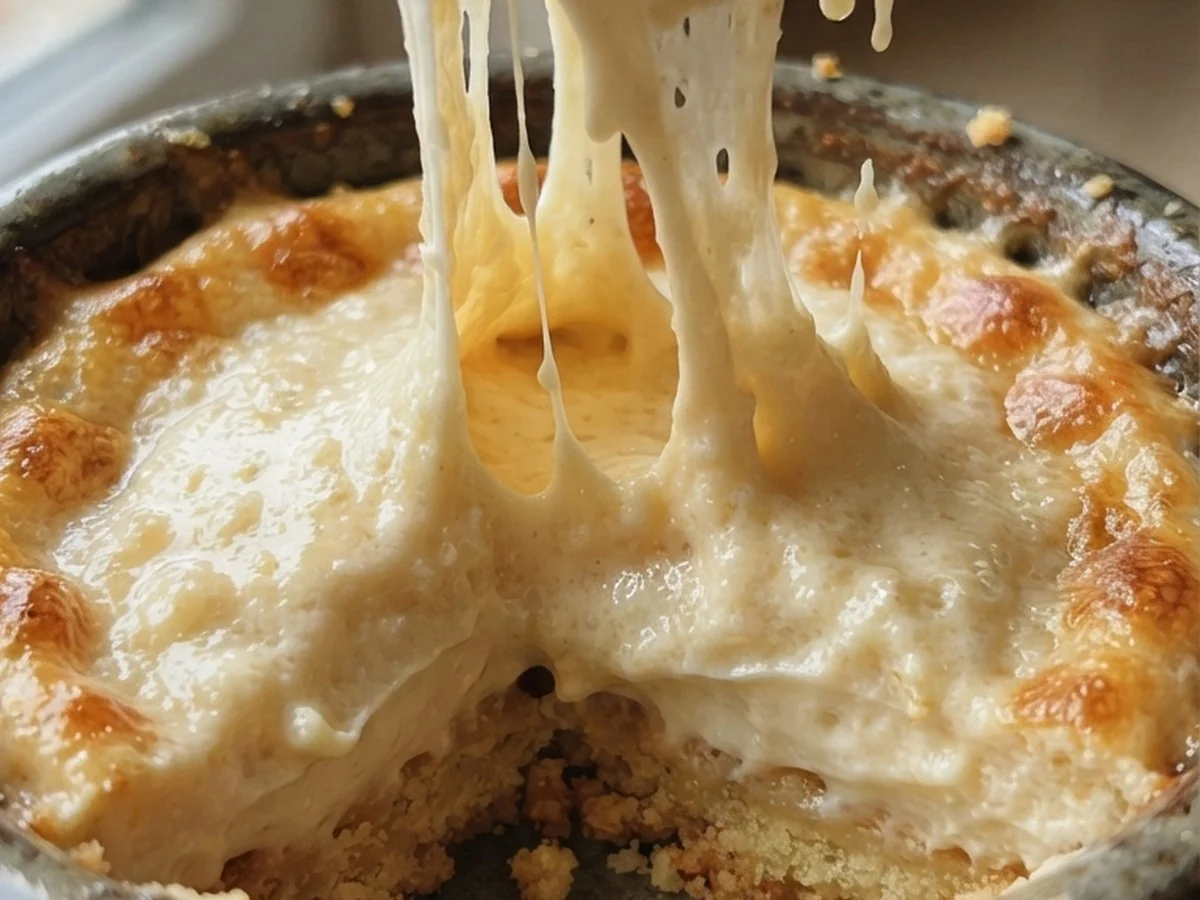
Cottage Cheese Protein Mousse
A light, high‑protein mousse that feels indulgent yet stays nutritious.
 Desserts
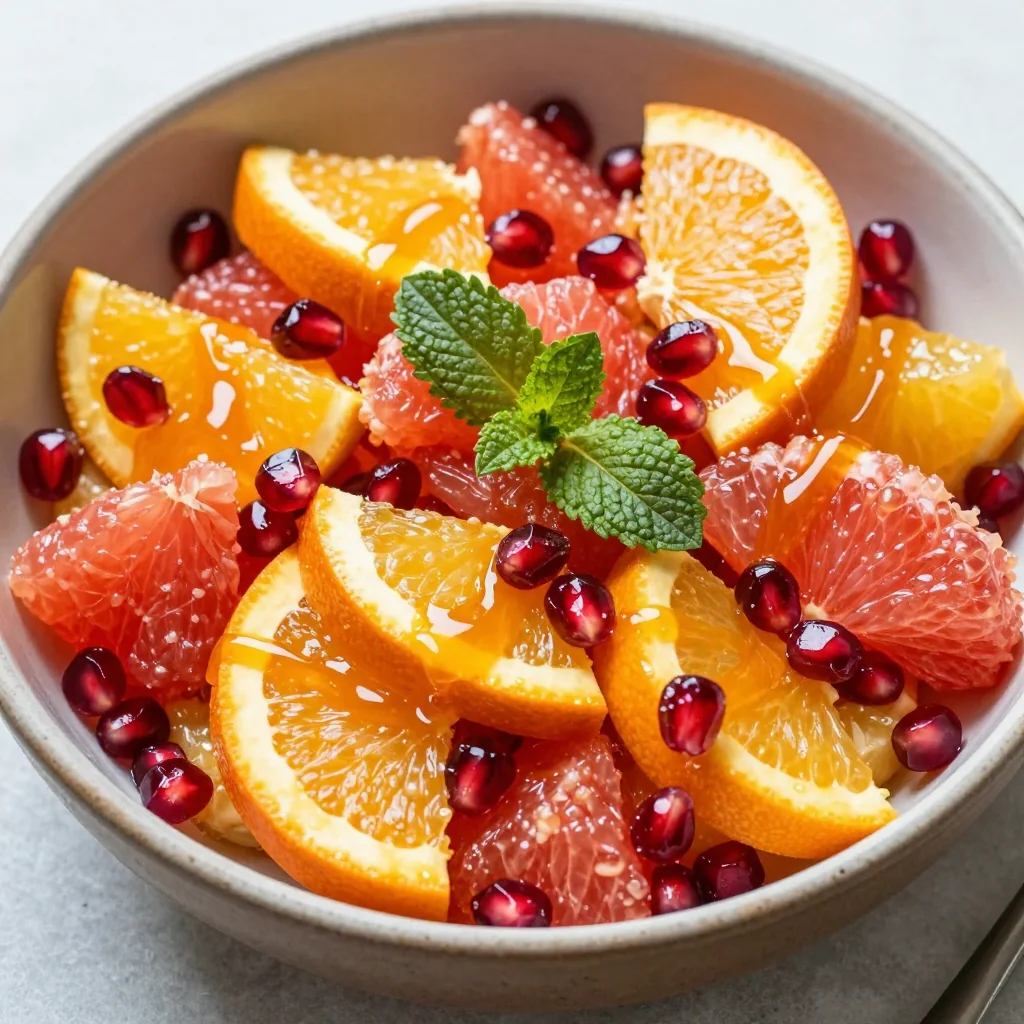
citrus and pomegranate winter fruit salad with honeyorange dressing
Learn how to make delicious citrus and pomegranate winter fruit salad with honeyorange dressing. Easy recipe…
 Desserts
Oreo Pops Valentine’s Day: 7 Sweet Ways to Show Love
Learn how to make delicious Oreo Pops Valentine’s Day: 7 Sweet Ways to Show Love. Easy…
 Desserts
Quick Christmas Trees
Learn how to make delicious Quick Christmas Trees. Easy recipe with step-by-step instructions.
 Desserts
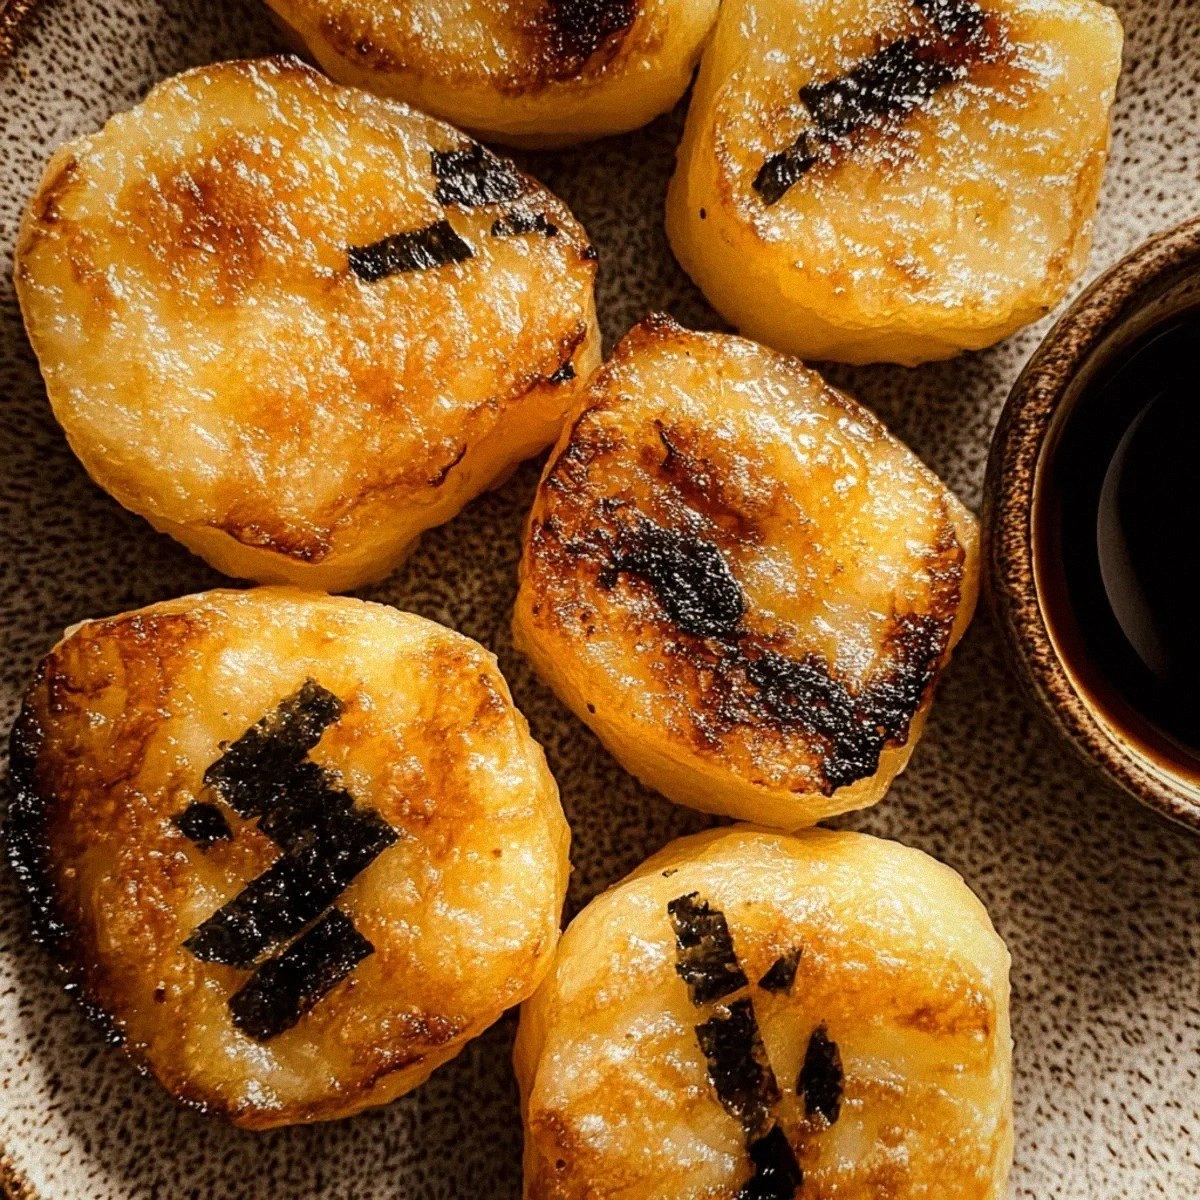
Delicious Potato Mochi: Chewy Vegan Treats You’ll Love
Learn how to make delicious Delicious Potato Mochi: Chewy Vegan Treats You’ll Love. Easy recipe with…
 Desserts
Pumpkin Spice Power Bites: A Delicious and Nutritious Snack
Delicious Pumpkin Spice Power Bites: A Delicious and Nutritious Snack

Clara
I cook these recipes at home before they ever land here — simple ingredients, clear steps.