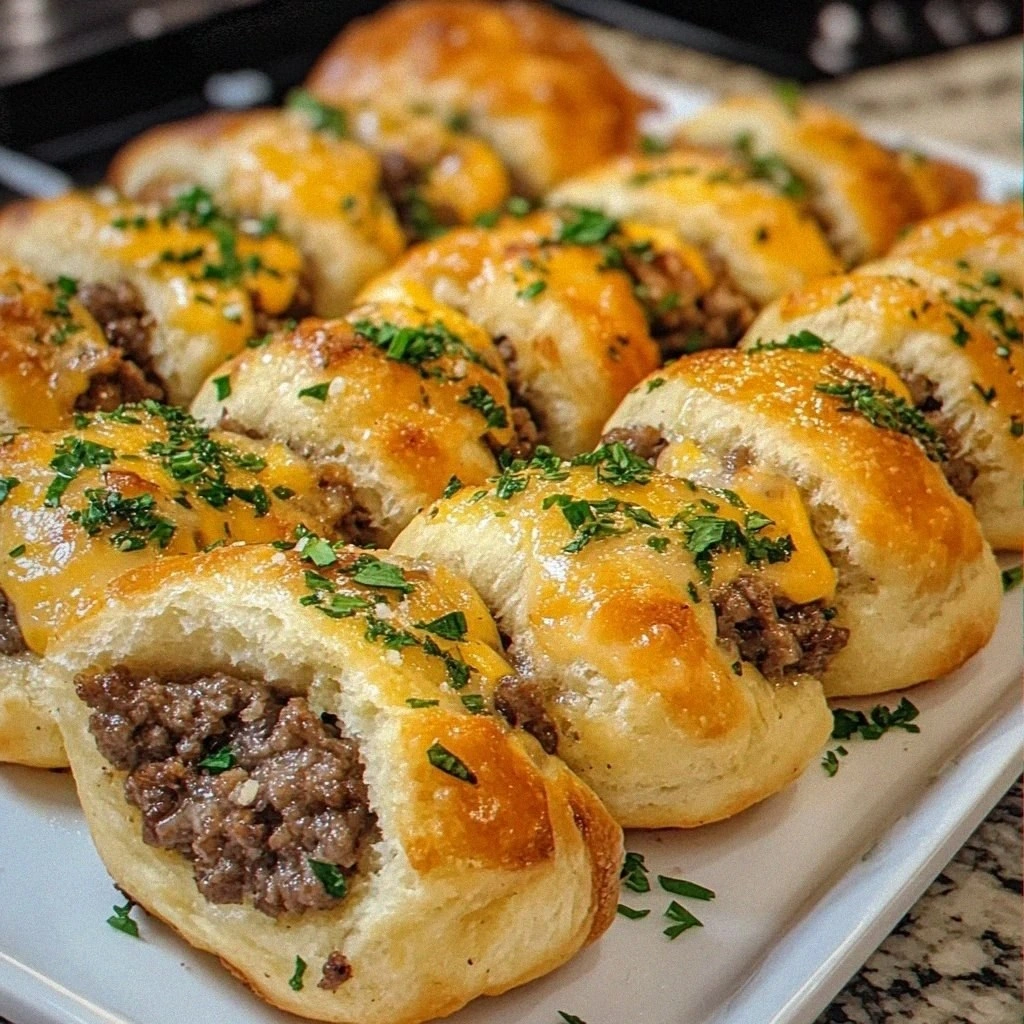
Garlic Parmesan Cheeseburger Bombs: Irresistible Bite-Sized Delights!
 Save
Save
It was a chilly Saturday evening in November, the kind of night when the wind whistles through the cracks in the windows and the kitchen becomes the warm heart of the house. I was rummaging through the pantry, looking for something that could turn a simple gathering into a memory, when a half‑finished batch of ground beef and a block of Parmesan caught my eye. The moment I lifted the lid of the skillet, a cloud of fragrant steam hit me – the earthy scent of browned meat mingled with the sharp, nutty perfume of fresh garlic and Parmesan, promising something truly indulgent. I grabbed a handful of breadcrumbs, a splash of milk, and a few extra cheese shreds, and the idea for bite‑size, cheesy explosions was born.
What makes these Garlic Parmesan Cheeseburger Bombs so irresistible is that they combine all the comfort of a classic cheeseburger with the fun, shareable format of an appetizer. Imagine a golden‑brown, crisp exterior that gives way to a melty, buttery interior packed with juicy beef, aromatic garlic, and a cheesy surprise that oozes out with every bite. The texture contrast – a crunchy crust hugging a soft, savory center – creates a symphony in your mouth that is both familiar and delightfully new. And because they’re bite‑sized, they’re perfect for game nights, casual dinner parties, or a surprise snack for the kids after school.
But wait – there’s a secret technique that takes these bombs from good to unforgettable, and I’m saving it for step four of the recipe. Trust me, you’ll want to hear about the little twist that makes the cheese stay perfectly gooey without leaking out during baking. I’ll also reveal a surprising ingredient that most people overlook, which adds a depth of flavor that will have your guests asking for the recipe again and again. So keep reading, because the journey from pantry to plate is about to get deliciously exciting.
Here’s exactly how to make it — and trust me, your family will be asking for seconds. The steps are simple, the ingredients are pantry‑friendly, and the result is a crowd‑pleasing snack that feels like a gourmet treat. Ready to dive in? Let’s get those hands messy and those ovens preheated, because these Garlic Parmesan Cheeseburger Bombs are about to become your new go‑to party favorite.
🌟 Why This Recipe Works
- Flavor Depth: The combination of garlic, Parmesan, and a hint of onion builds layers of savory flavor that echo classic cheeseburger notes while adding a sophisticated, aromatic twist.
- Texture Harmony: A crisp, buttery breadcrumb coating creates a satisfying crunch that contrasts beautifully with the juicy, tender beef interior and the stretchy cheese melt.
- Ease of Preparation: Most of the work is done with one‑handed shaping and a quick bake, meaning you can assemble a batch while the kids finish homework or the game continues on the TV.
- Time Efficiency: With just 15 minutes of prep and a 30‑minute bake, these bombs fit perfectly into a busy weeknight schedule without sacrificing taste.
- Versatility: The base recipe is adaptable – swap the beef for turkey, add jalapeños for heat, or drizzle with a spicy aioli for a bold twist.
- Nutrition Balance: While indulgent, the use of lean ground beef, a modest amount of cheese, and whole‑grain breadcrumbs keeps the dish reasonably balanced for an appetizer.
- Ingredient Quality: Fresh garlic and high‑quality Parmesan make a world of difference, turning simple pantry staples into a gourmet experience.
- Crowd‑Pleasing Factor: Bite‑size, handheld, and bursting with flavor, these bombs appeal to kids, teens, and adults alike – a true universal favorite.
🥗 Ingredients Breakdown
The Foundation
Ground beef (1 lb, 80/20) is the heart of the bomb, providing juiciness and a rich, meaty base. I always choose a blend with a little fat because it keeps the interior moist during baking. If you’re watching calories, you can substitute 90/10 lean ground beef, but be prepared for a slightly drier texture unless you add a splash of broth.
Egg (1 large) acts as a binder, ensuring the mixture holds together when you roll it into balls. Think of the egg as the invisible glue that keeps everything from falling apart. If you have an egg allergy, a tablespoon of mashed potato or a flax‑egg (1 tbsp ground flaxseed + 3 tbsp water) works surprisingly well.
Aromatics & Spices
Garlic (3 cloves, minced) delivers that unmistakable aromatic punch that makes the whole kitchen feel alive. Freshly minced garlic releases allicin, a compound that not only adds flavor but also has subtle health benefits. If you love garlic, feel free to double it – just be careful not to burn it when sautéing.
Onion (½ cup, finely diced) adds a subtle sweetness that balances the savory beef. I prefer yellow onions for their mellow flavor, but a white or sweet Vidalia works just as well. Sauté the onion briefly to soften it before mixing it in, which prevents a raw bite.
Salt and black pepper (to taste) are the classic seasoning duo. Salt enhances all the flavors, while freshly cracked black pepper adds a gentle heat. I always finish with a pinch of smoked sea salt for an extra depth.
The Secret Weapons
Parmesan cheese (½ cup, finely grated) brings a nutty, salty tang that elevates the entire dish. The umami richness of Parmesan is what makes these bombs feel luxurious. For a sharper bite, use aged Parmesan – the longer it’s aged, the more complex the flavor.
Mozzarella cheese (½ cup, shredded) provides that melt‑in‑your‑mouth stretch factor. While mozzarella is mild, it’s perfect for creating those gooey strings that pull away when you bite. If you want a deeper flavor, blend half mozzarella with half cheddar.
Breadcrumbs (1 cup, preferably panko) create the crunchy exterior. Panko’s larger flakes give a lighter, crispier crust compared to traditional breadcrumbs. For a gluten‑free version, use almond flour or crushed cornflakes.
Finishing Touches
Butter (2 tbsp, melted) is brushed on the bombs before baking, ensuring a golden, buttery finish that adds richness. The butter also helps the breadcrumbs adhere better. If you’re dairy‑free, swap with olive oil and a dash of nutritional yeast for a cheesy note.
Optional: Ketchup or a tangy BBQ sauce for dipping. A little acidity cuts through the richness and adds a playful contrast. I love a quick drizzle of honey‑mustard for an unexpected sweet‑savory combo.
With your ingredients prepped and ready, let's get cooking. Here's where the fun really begins...
🍳 Step-by-Step Instructions
🔐 Expert Tips for Perfect Results
The Taste Test Trick
Before you form the final bombs, scoop a tiny portion of the meat mixture and fry it in a skillet for 30 seconds. Taste it and adjust seasoning if needed – a pinch more salt or a dash of Worcestershire sauce can make a huge difference. I once discovered my mixture was a little bland, and that quick taste test saved the entire batch.
Why Resting Time Matters More Than You Think
After shaping the bombs, let them rest on the countertop for 5‑10 minutes before coating them in breadcrumbs. This short pause helps the proteins tighten, reducing the chance of the bombs falling apart in the oven. I learned this the hard way when my first attempt collapsed mid‑bake.
The Seasoning Secret Pros Won’t Tell You
A splash of soy sauce or a few drops of Worcestershire sauce hidden in the meat mixture adds umami depth without making the flavor overtly “soy.” It’s a subtle enhancer that professional chefs love but rarely disclose. Try it once, and you’ll hear the “ahh” from your guests.
Butter‑Brushed Brilliance
Brushing the bombs with butter mixed with a pinch of smoked paprika not only adds color but also creates a glossy finish that looks restaurant‑ready. The butter also helps the breadcrumbs turn a deep, buttery gold instead of a pale tan.
The Double‑Cheese Method
Using both Parmesan and mozzarella gives you the best of both worlds: Parmesan for sharp, nutty flavor, and mozzarella for meltiness. If you want an extra cheesy punch, fold a small cube of cheese into the center of each bomb before coating – the surprise melt is worth the extra step.
Serving Warm is Key
These bombs are at their peak when served hot, straight from the oven. If you need to hold them for a short while, keep them in a low oven (about 200°F) on a wire rack to maintain crispness. Covering them tightly will cause steam to sog the crust.
🌈 Delicious Variations to Try
One of my favorite things about this recipe is how versatile it is. Here are some twists I’ve tried and loved:
Spicy Jalapeño Bombs
Finely dice one jalapeño (seeds removed for less heat) and fold it into the meat mixture. The subtle heat pairs perfectly with the cool, creamy cheese, creating a balanced kick. If you love heat, add a dash of cayenne to the breadcrumb coating.
BBQ Bacon Bombs
Stir in two tablespoons of BBQ sauce and a half‑cup of crispy crumbled bacon into the meat before shaping. The smoky, sweet notes elevate the classic cheeseburger flavor to a backyard‑grill level. Serve with extra BBQ sauce for dipping.
Mediterranean Herb Bombs
Swap the smoked paprika for a teaspoon of dried oregano and add a tablespoon of chopped sun‑dried tomatoes. The herbaceous aroma and tangy tomato bits bring a Mediterranean flair that’s surprisingly comforting.
Cheesy Spinach Surprise
Mix in a half‑cup of thawed, drained spinach and an extra quarter cup of shredded mozzarella. The green adds color, and the extra cheese makes each bite extra gooey. A squeeze of lemon juice on the side brightens the richness.
Sweet‑And‑Savory Apple Bombs
Finely grate a small Granny Smith apple into the meat mixture for a subtle sweet crunch that balances the savory cheese. The apple’s acidity cuts through the richness, creating a surprisingly harmonious flavor profile.
Vegan “Cheeseburger” Bombs
Replace ground beef with a plant‑based mince, use vegan Parmesan, and swap mozzarella for a dairy‑free cheese melt. The breadcrumb coating stays the same, and the result is a cruelty‑free version that still satisfies the craving for that cheesy bite.
📦 Storage & Reheating Tips
Refrigerator Storage
Allow the bombs to cool completely, then transfer them to an airtight container. They’ll keep fresh for up to 3 days in the fridge. For best texture, place a paper towel on top to absorb any excess moisture.
Freezing Instructions
Arrange the cooled bombs on a baking sheet and freeze until solid (about 2 hours). Then transfer them to a zip‑top freezer bag, labeling with the date. They’ll stay freezer‑safe for up to 2 months. When you’re ready to eat, bake from frozen at 400°F for 22‑25 minutes, adding a minute or two if you like them extra crisp.
Reheating Methods
To reheat in the oven, place the bombs on a wire rack over a baking sheet and bake at 350°F for 8‑10 minutes, or until heated through and the crust regains its crunch. For a quick microwave fix, cover with a damp paper towel and heat for 45 seconds, then finish under a broiler for 2 minutes to restore crispness. The trick to reheating without drying out? A splash of broth or a drizzle of melted butter before the final heat.
❓ Frequently Asked Questions
Can I use ground turkey instead of beef?
What if I don’t have panko breadcrumbs?
How can I make these bombs gluten‑free?
Do the bombs need to be baked, or can I fry them?
Can I add extra vegetables to the mixture?
What’s the best dipping sauce?
How do I prevent the cheese from leaking out?
Can I make these ahead of time for a party?
Similar Recipes
 Appetizers
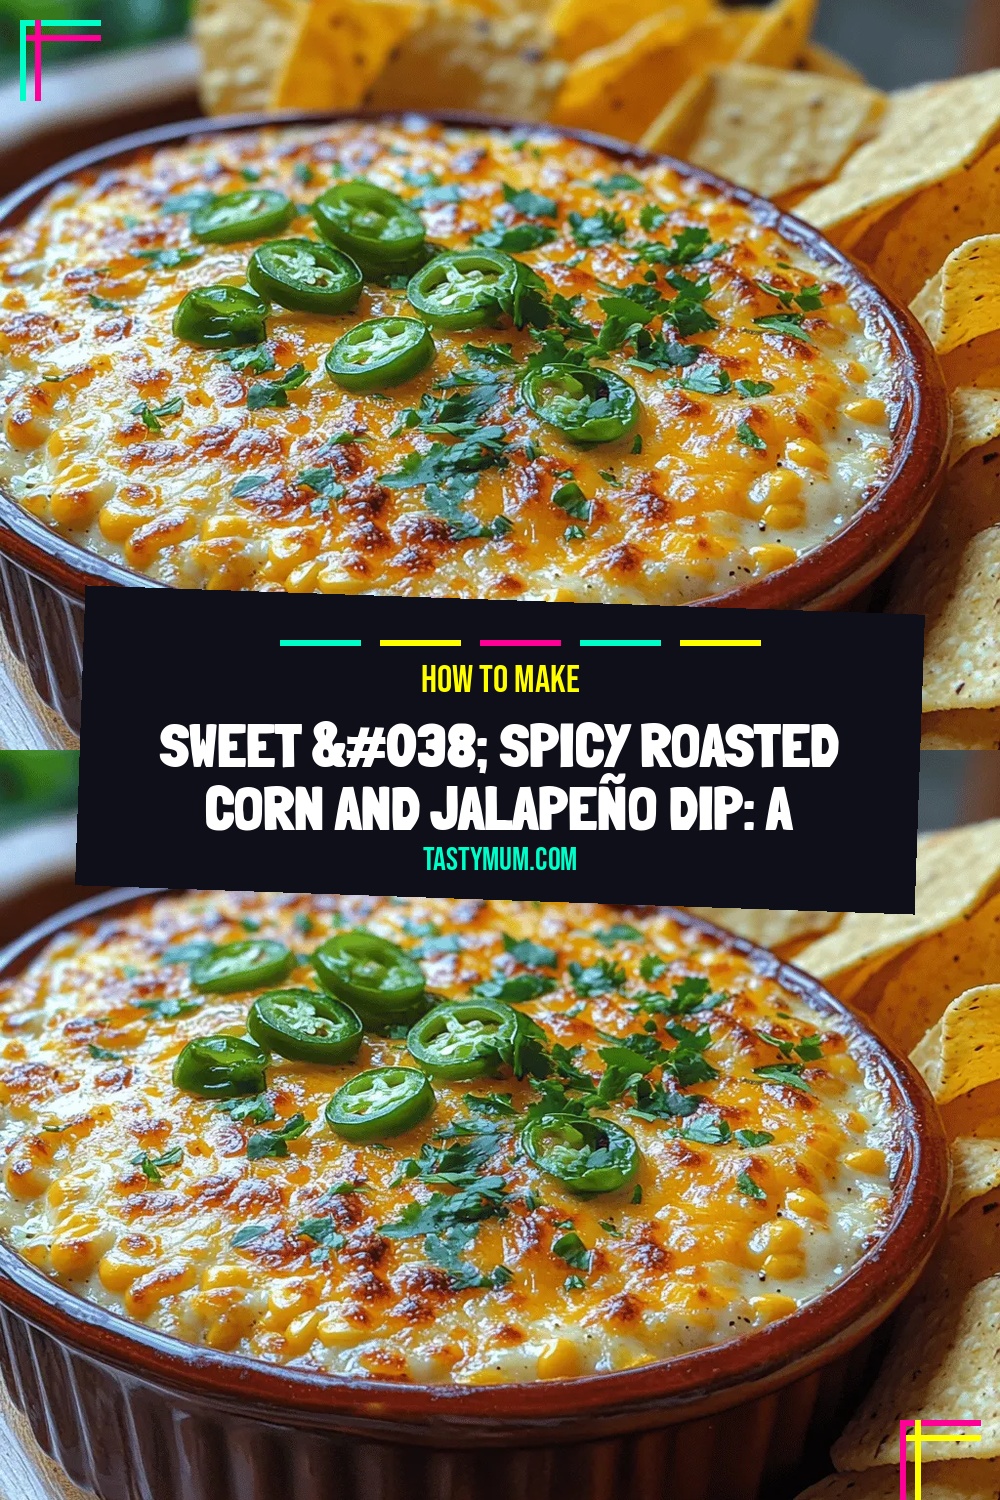
Sweet & Spicy Roasted Corn and Jalapeño Dip: A Flavorful Delight
Delicious Sweet & Spicy Roasted Corn and Jalapeño Dip: A Flavorful Delight
 Appetizers
Smoky Maple Bacon Brussels: A Deliciously Unique Recipe
Delicious Smoky Maple Bacon Brussels: A Deliciously Unique Recipe
 Appetizers
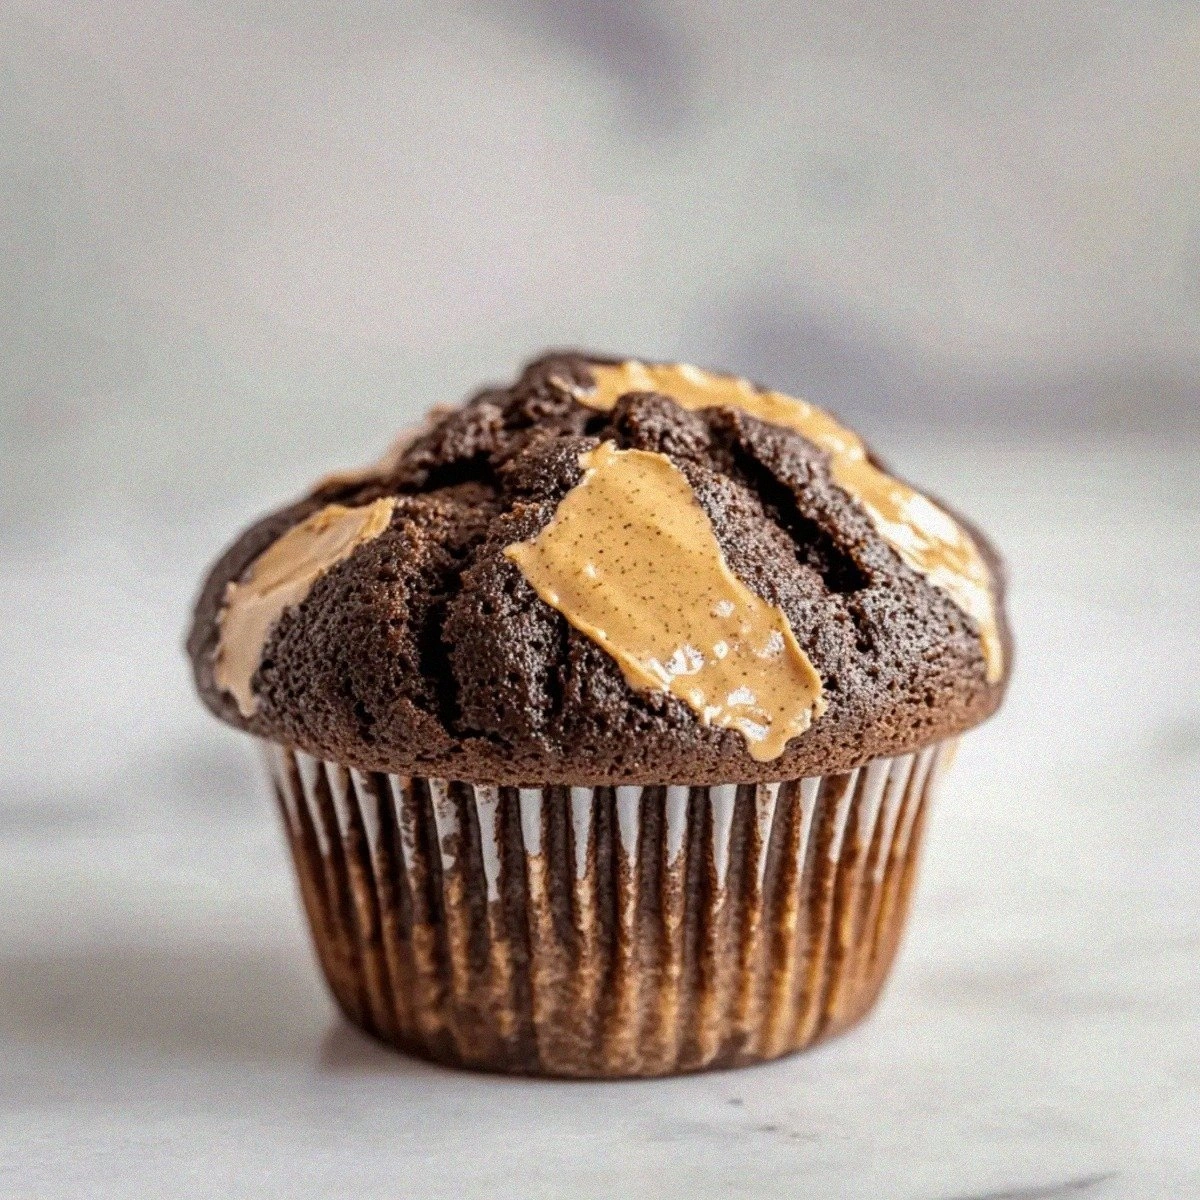
Irresistible Chocolate Peanut Butter Muffins for Anytime Treats
Learn how to make delicious Irresistible Chocolate Peanut Butter Muffins for Anytime Treats. Easy recipe with…
 Appetizers
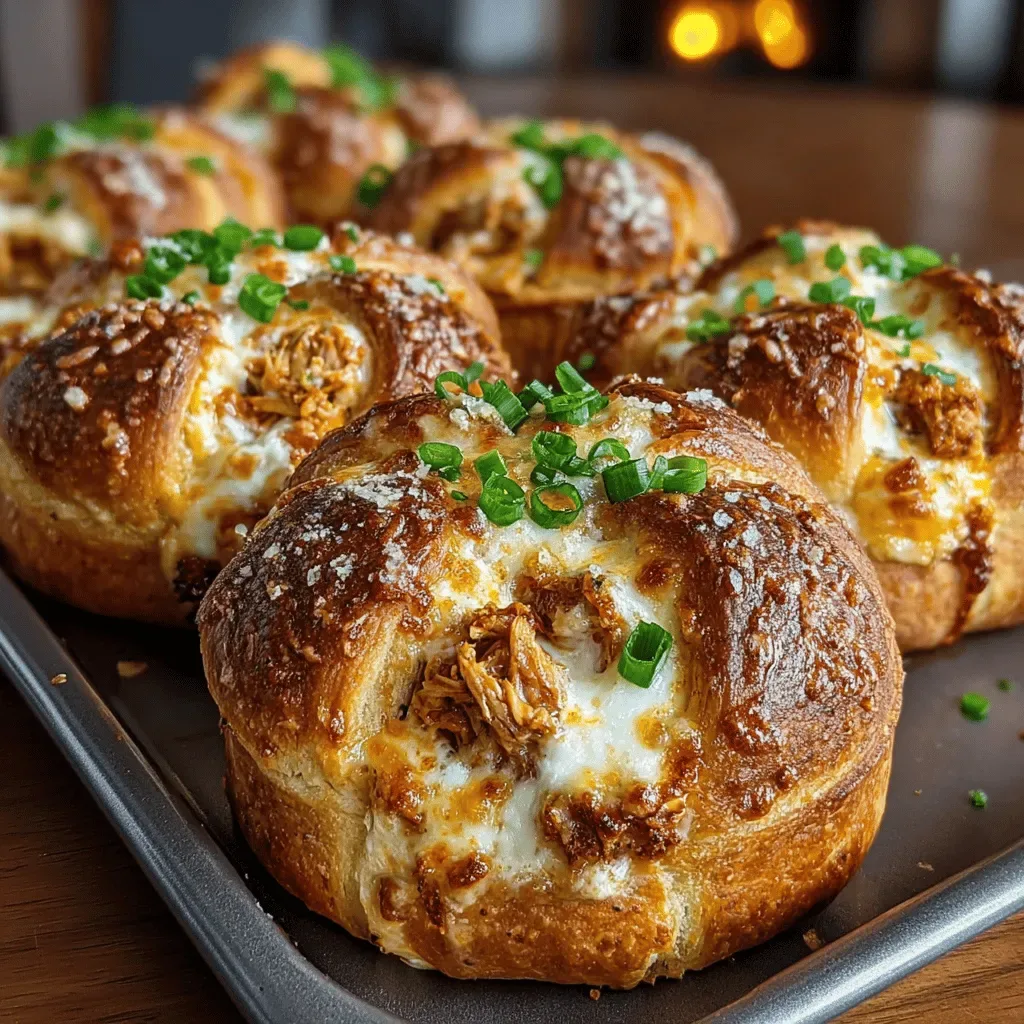
Spicy Buffalo Chicken Crescent Roll Spirals: A Flavorful Delight
Delicious Spicy Buffalo Chicken Crescent Roll Spirals: A Flavorful Delight
 Appetizers
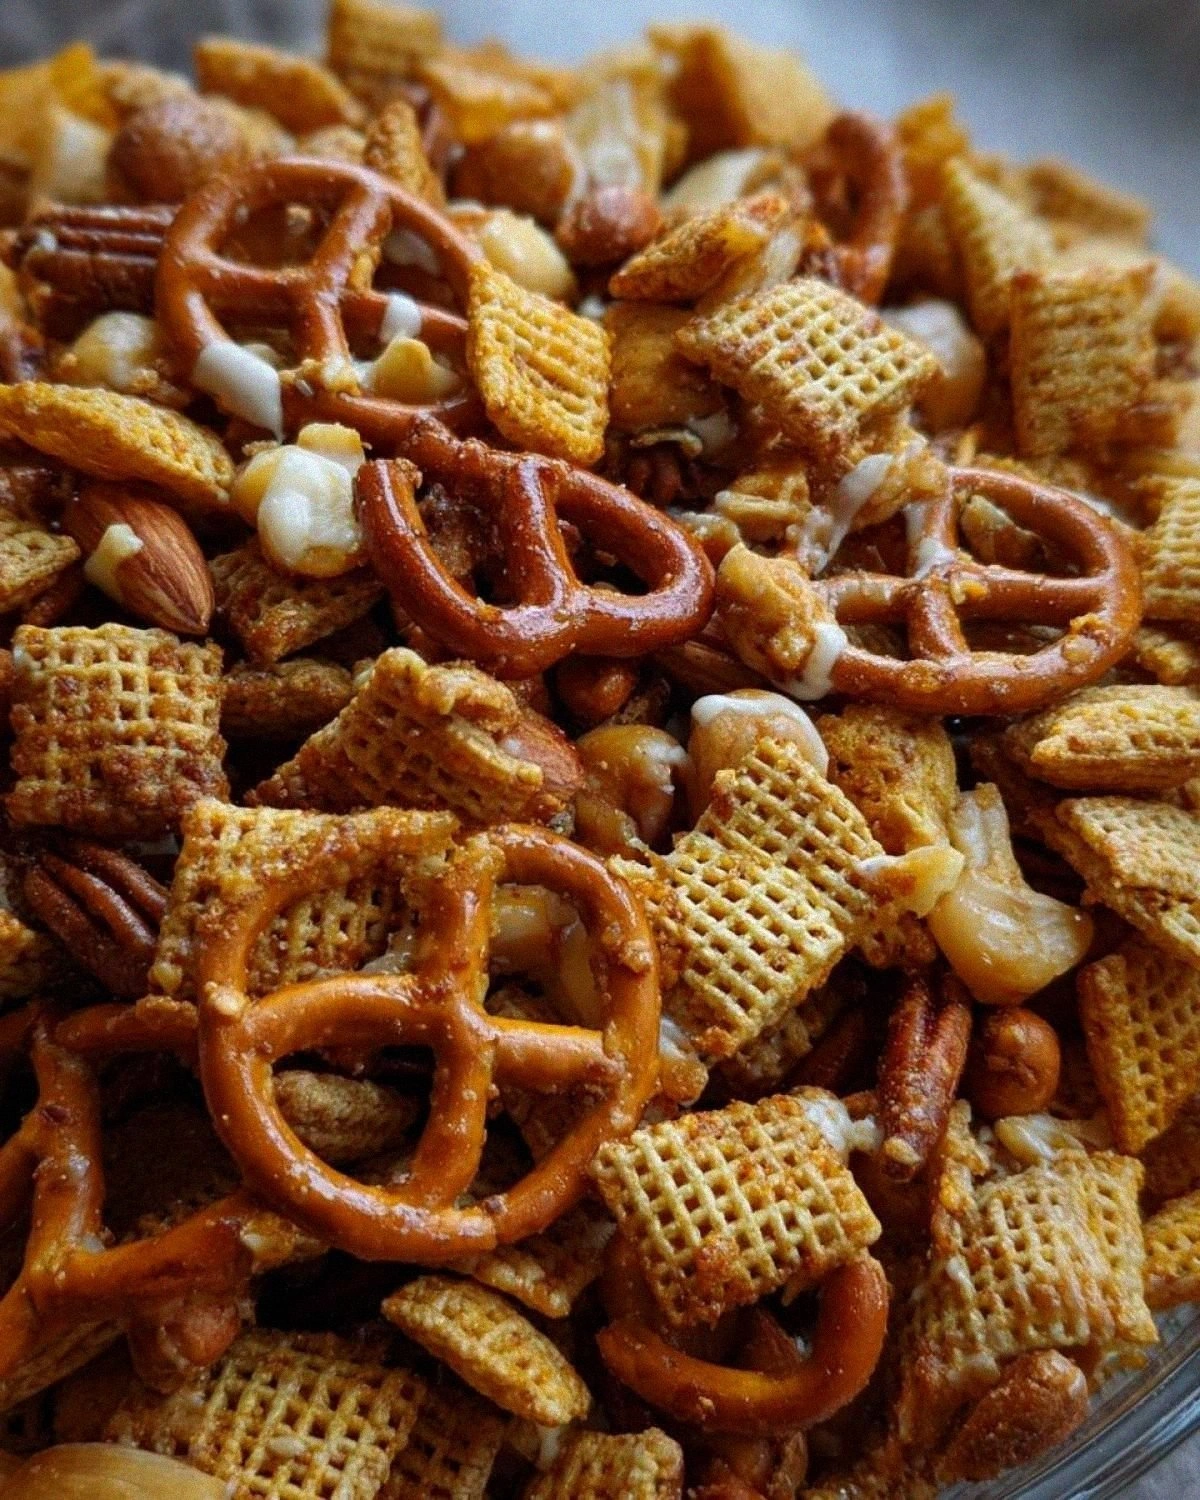
Guaranteed Pumpkin Spice Chex Mix Perfection
Learn how to make delicious Guaranteed Pumpkin Spice Chex Mix Perfection. Easy recipe with step-by-step instructions.
 Appetizers
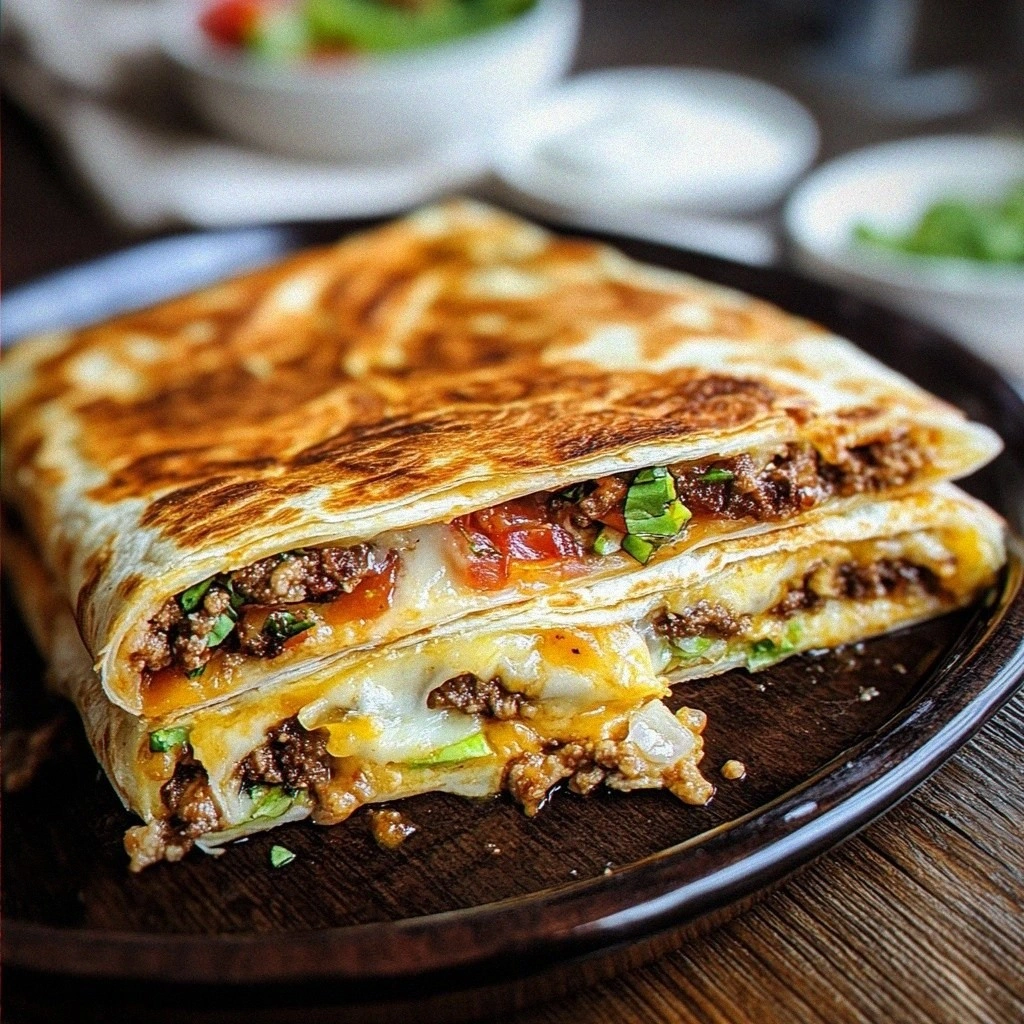
Crunchwrap Supreme
Learn how to make delicious Crunchwrap Supreme. Easy recipe with step-by-step instructions.
 Appetizers
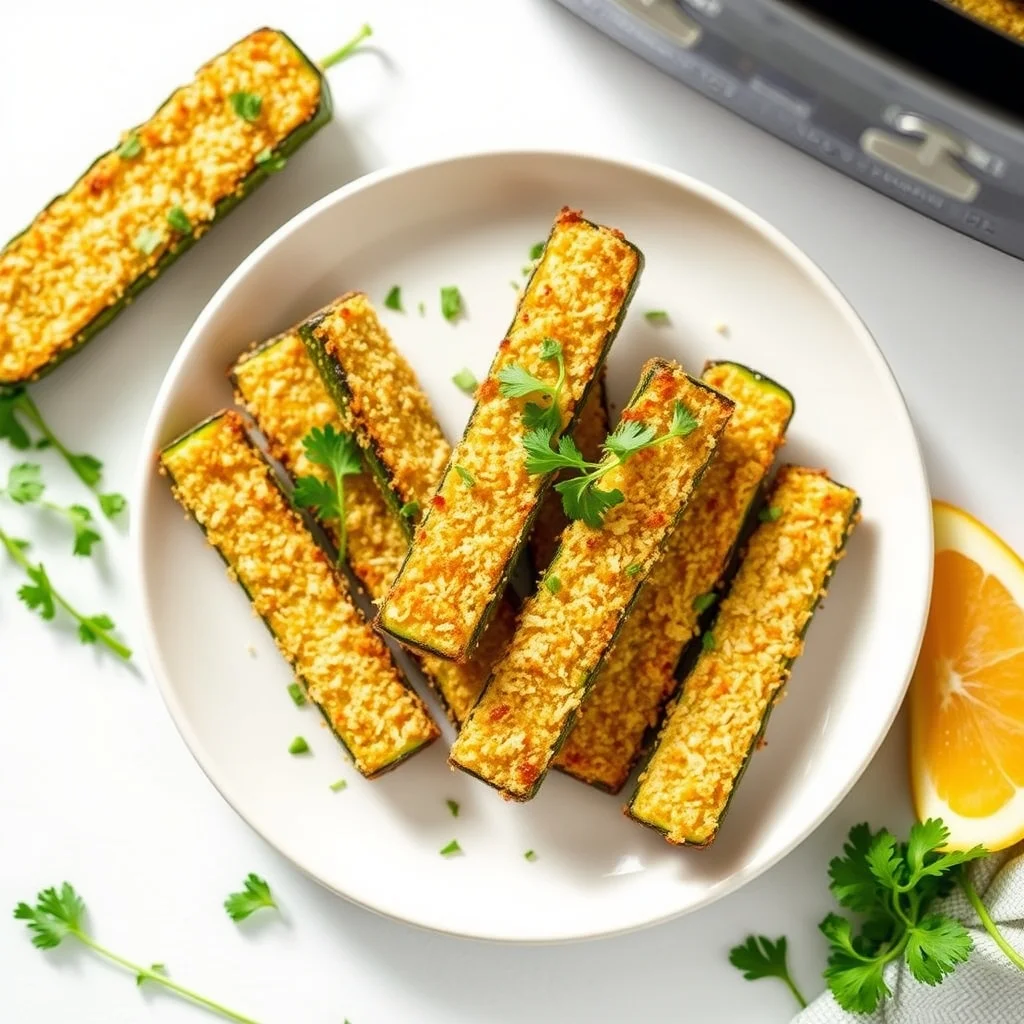
Crunchy Air Fryer Parmesan Zucchini Sticks
Delicious Crunchy Air Fryer Parmesan Zucchini Sticks
 Appetizers
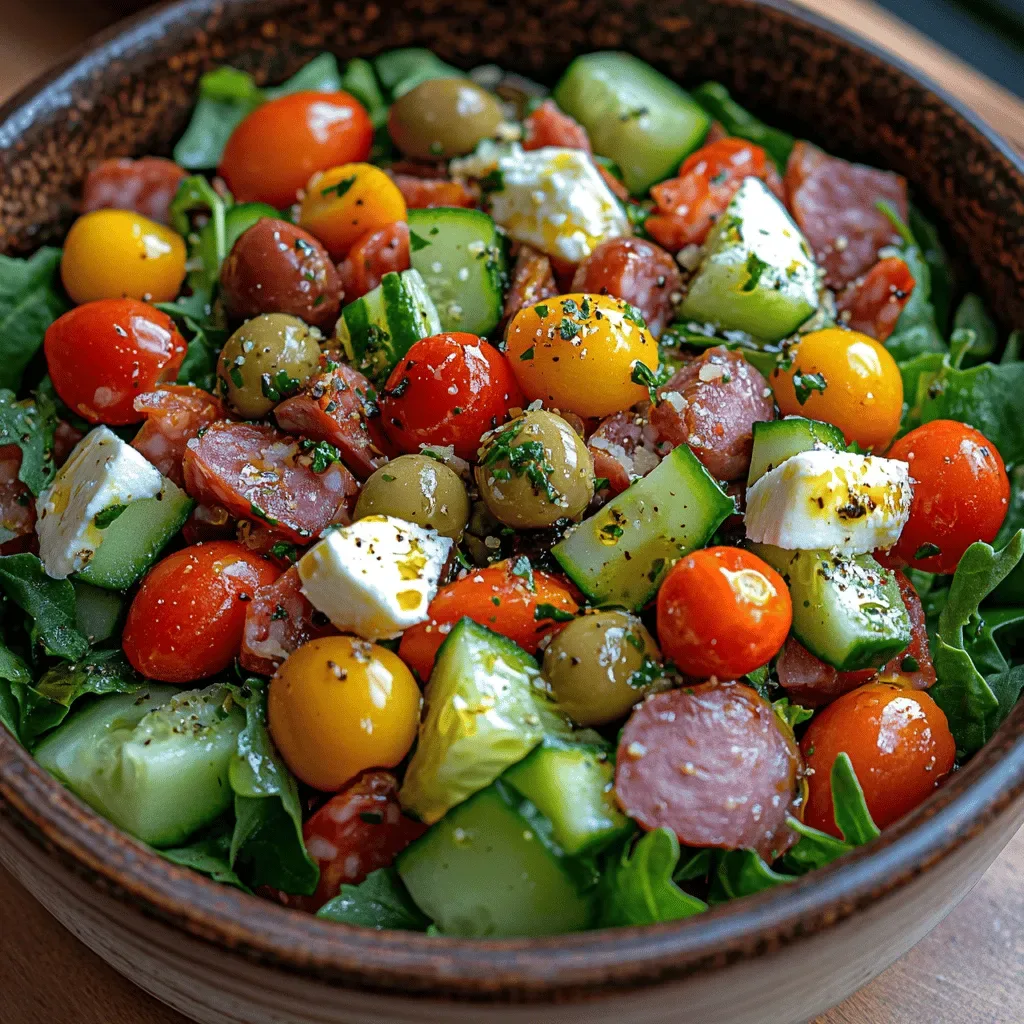
Vibrant Antipasto Salad
Delicious Vibrant Antipasto Salad

Clara
I cook these recipes at home before they ever land here — simple ingredients, clear steps.
Other Reader Favorites
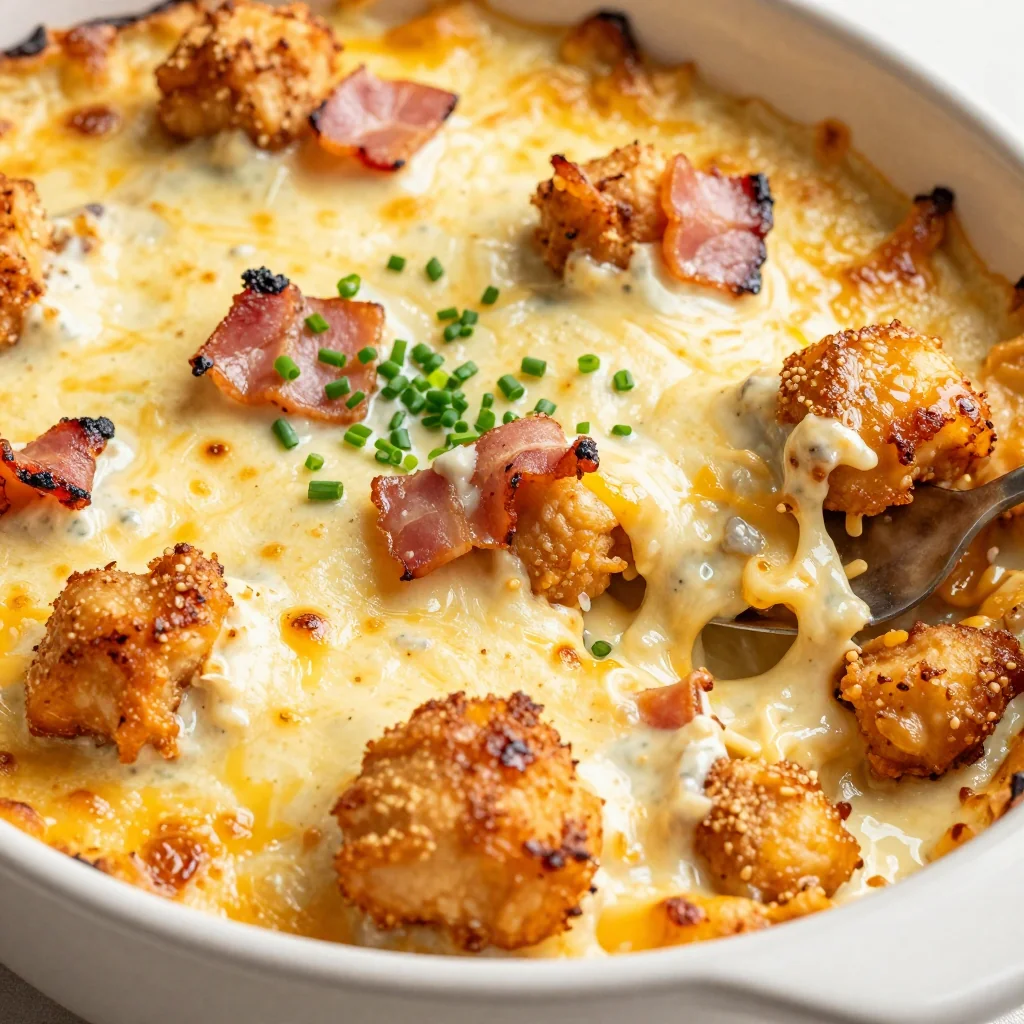 Dinner
Keto Cheesy Chicken Bacon Ranch Casserole
Learn how to make delicious Keto Cheesy Chicken Bacon Ranch Casserole. Easy recipe with step-by-step instructions,…
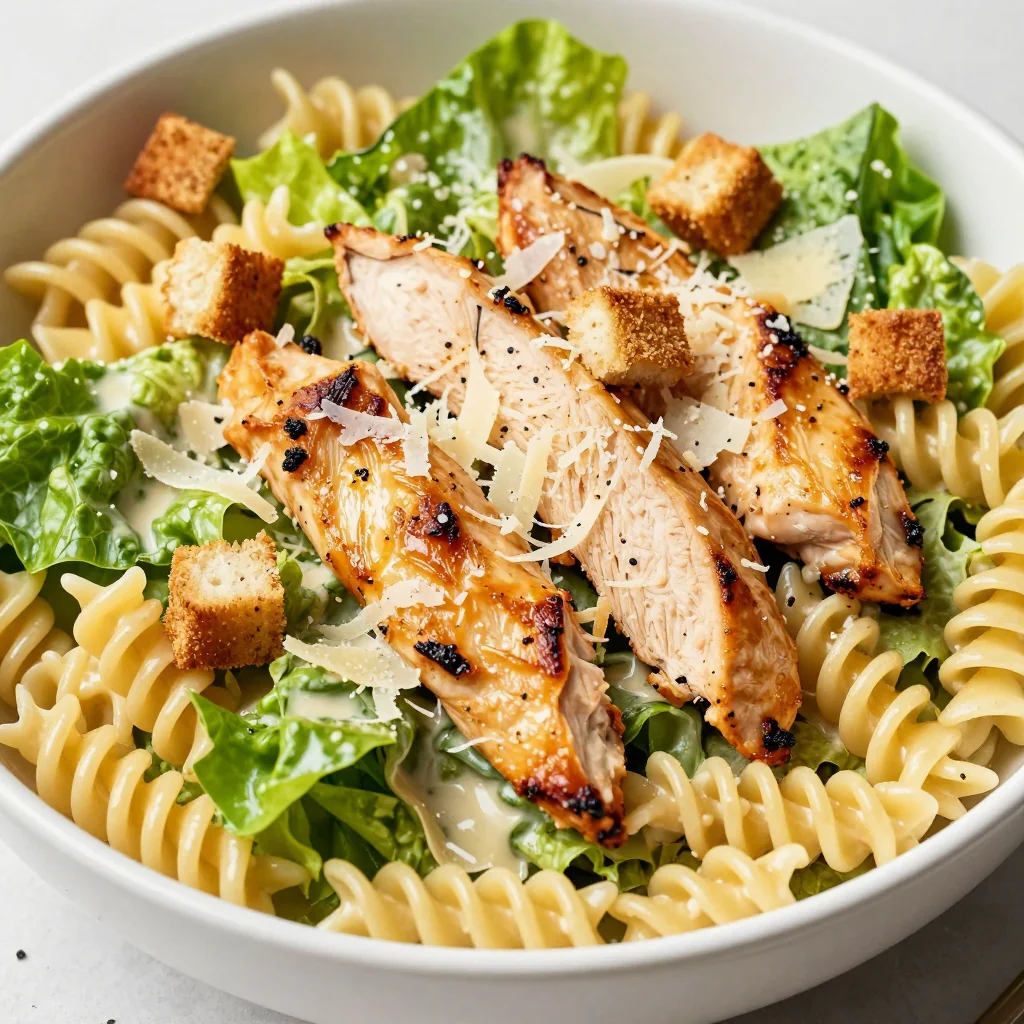 Dinner
Meal Prep Chicken Caesar Pasta Salad For Lunch
Learn how to make delicious Meal Prep Chicken Caesar Pasta Salad For Lunch. Easy recipe with…
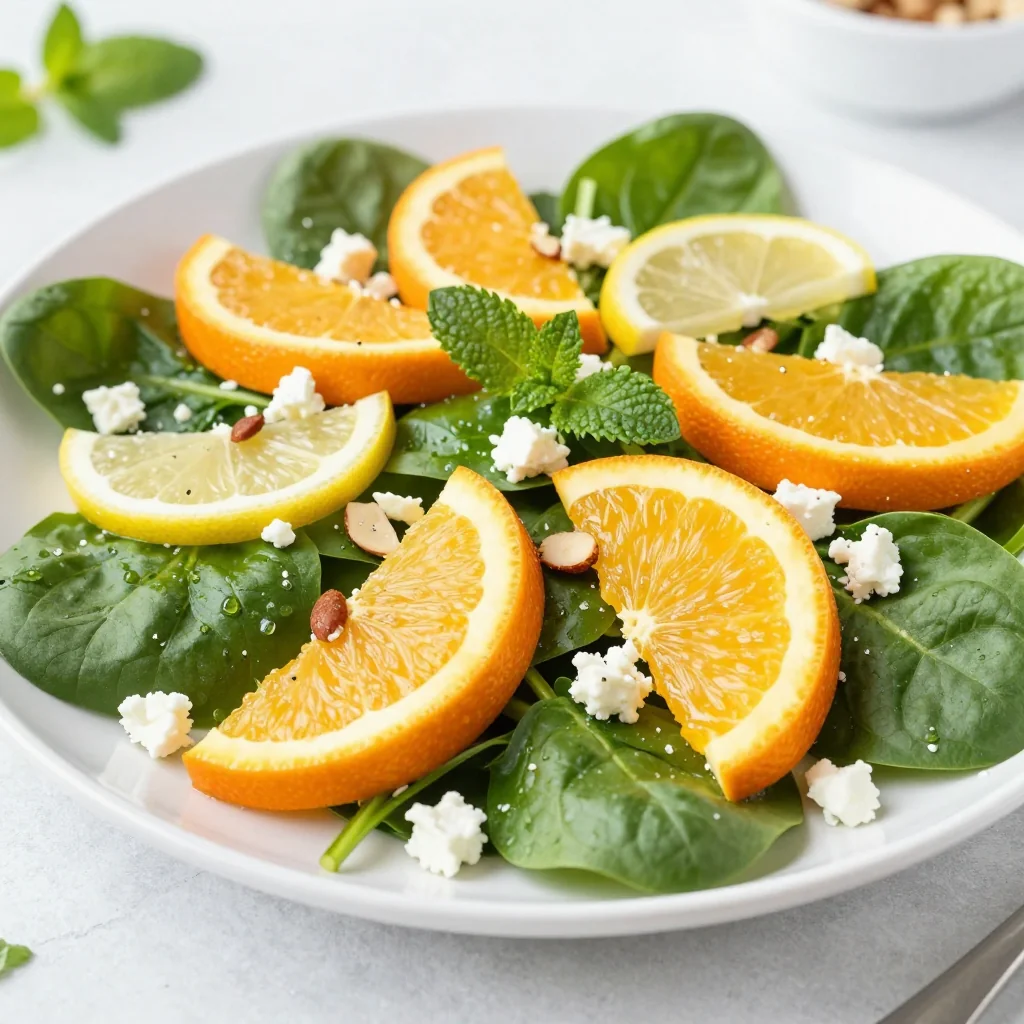 Appetizers
winter citrus and spinach salad with oranges and lemons for healthy eating
Learn how to make delicious winter citrus and spinach salad with oranges and lemons for healthy…
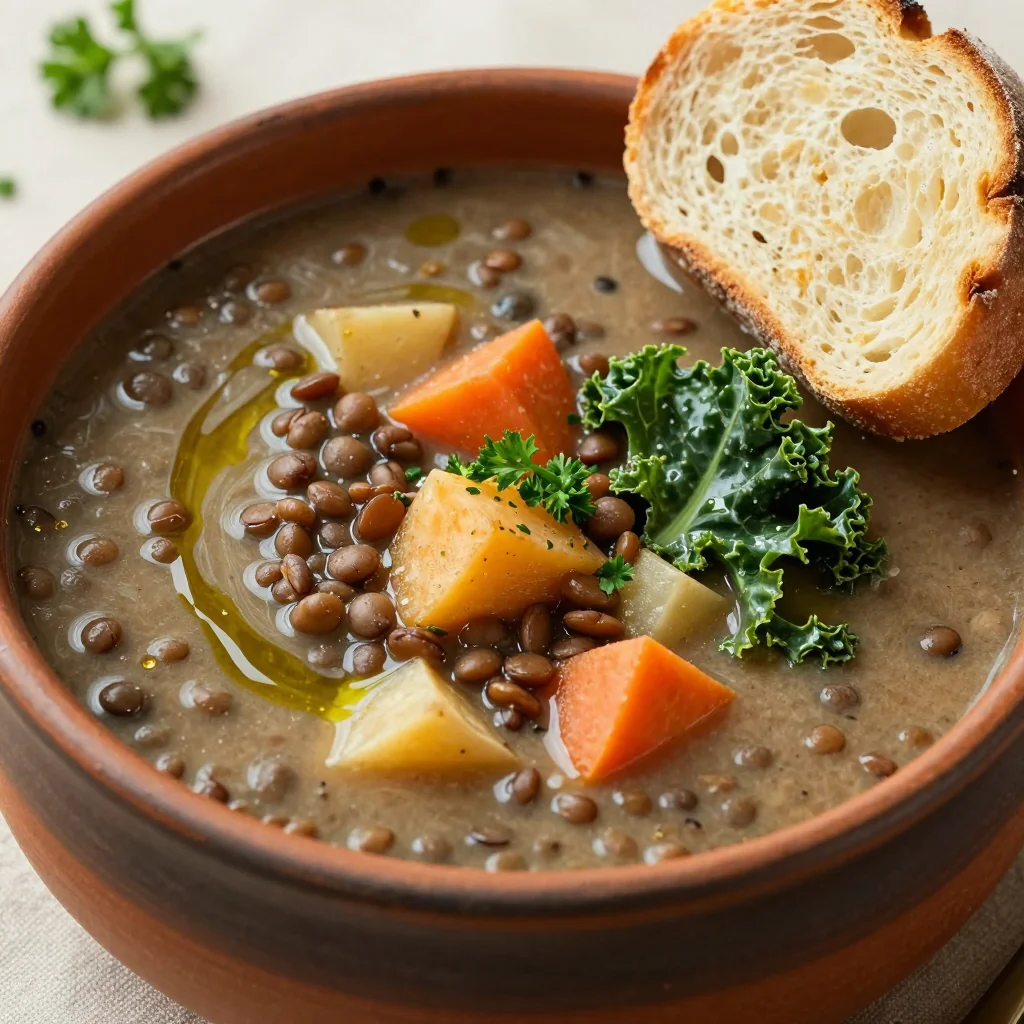 Dinner
slow cooker lentil and winter vegetable soup for hearty january family dinners
Learn how to make delicious slow cooker lentil and winter vegetable soup for hearty january family…