Citrusy Coconut Bliss Bars: A Refreshing Delight
 Save
Save
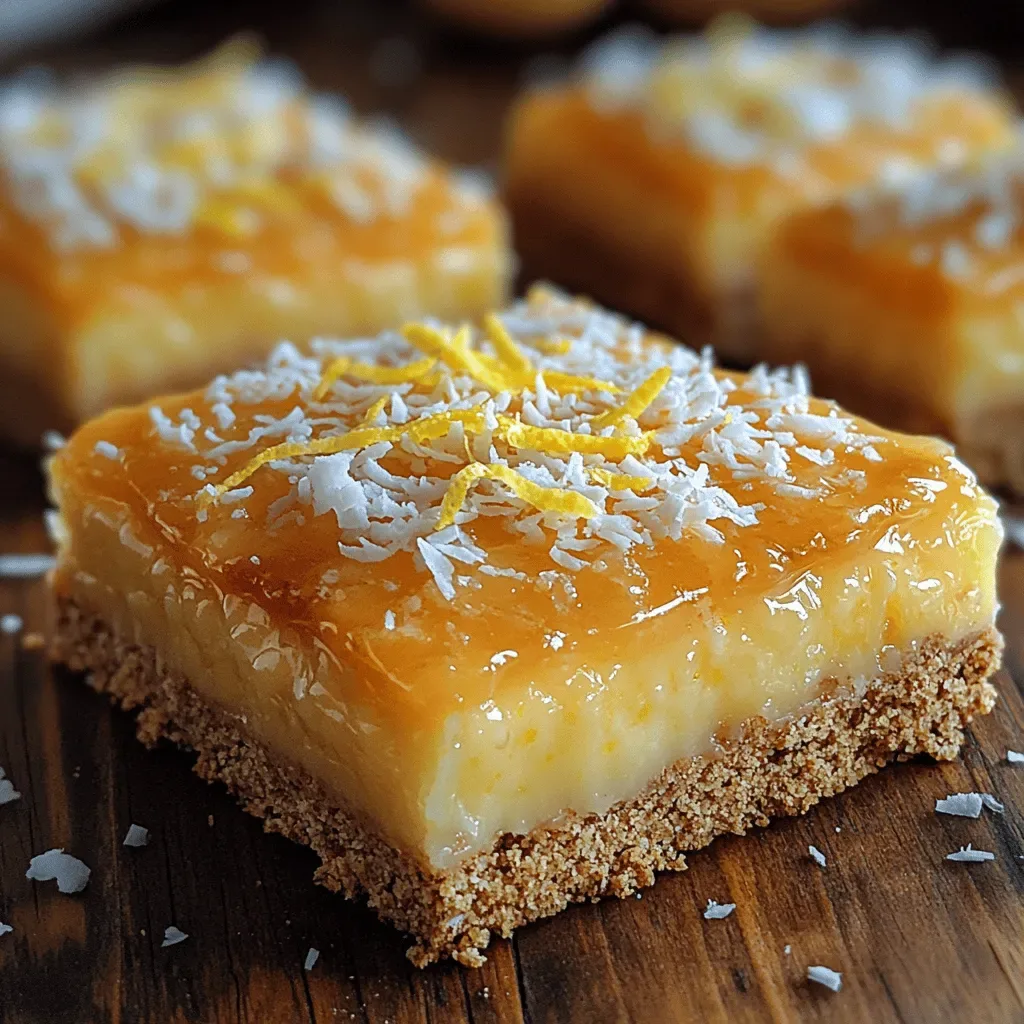
Imagine a bite that instantly transports you to a sun‑kissed tropical beach—crisp citrus notes mingling with creamy coconut, all nestled in a buttery almond‑coconut crust. That’s the promise of Citrusy Coconut Bliss Bars, a dessert that feels both indulgent and refreshingly light.
What makes these bars truly special is the balance of bright lemon‑lime juice, fragrant orange zest, and the natural sweetness of coconut cream. The almond‑based crust adds a subtle nutty crunch, while the cashew filling delivers a silky, melt‑in‑your‑mouth texture without any heavy cream.
Anyone who loves a vibrant, not‑too‑sweet treat will adore these bars—whether you’re planning a summer brunch, a garden party, or simply a midday pick‑me‑up. They’re also perfect for kids who enjoy a dash of fruit flavor without the added sugar of typical store‑bought snacks.
The recipe is straightforward: blend a quick crust, whip a citrus‑infused cashew filling, layer, chill, and finish with toasted coconut and a decorative orange slice. In under an hour you’ll have a gorgeous, portable dessert that stays fresh for days.
Why You'll Love This Recipe
Bright, Layered Flavor: Fresh lemon, lime, and orange zest cut through the richness of coconut and cashews, creating a harmonious contrast that awakens the palate with every bite.
No‑Bake Simplicity: The entire process requires only a stovetop blender and a refrigerator, eliminating the need for an oven and making cleanup a breeze.
Health‑Conscious Ingredients: Almond flour, raw cashews, and natural sweeteners provide protein, healthy fats, and fiber while keeping refined sugars to a minimum.
Versatile Presentation: Cut into bite‑size squares for a party platter or keep whole for an elegant dessert board—each look as stunning as it tastes.
Tips & Tricks
Perfecting the Recipe
Soak cashews long enough. A minimum of four hours, or overnight, yields the smoothest filling; shorter soaks can leave a gritty texture.
Use fresh citrus. Zest and juice from fruit that’s at peak ripeness provide the brightest flavor and prevent bitterness.
Press the crust firmly. Compacting eliminates air pockets that could cause the base to crumble when sliced.
Flavor Enhancements
Add a drizzle of extra lemon zest right before serving for an extra pop of aroma, or fold in a teaspoon of finely grated ginger for a subtle warm spice that complements the citrus.
Common Mistakes to Avoid
Skipping the chill time results in a soft, messy bar that won’t hold its shape. Also, over‑blending the filling can incorporate excess air, making the bars less firm after refrigeration.
Pro Tips
Warm your knife. Run a knife under hot water, dry, and slice—this prevents tearing and gives clean edges.
Layer flavors. Sprinkle a tiny pinch of sea salt on the filling before chilling; it intensifies the citrus brightness.
Make ahead. Prepare the crust and filling up to 24 hours in advance, keep them separate, and assemble just before serving for maximum freshness.
Variations
Ingredient Swaps
Replace almond flour with hazelnut meal for a richer, nuttier crust, or swap cashews for soaked macadamia nuts for an ultra‑creamy texture. For a tropical twist, use pineapple juice instead of half the lemon‑lime blend.
Dietary Adjustments
To make the bars fully vegan, use maple syrup instead of honey and ensure the coconut cream contains no additives. For a low‑sugar version, replace the honey with a monk fruit blend and increase the orange zest for extra flavor.
Serving Suggestions
Pair the bars with a dollop of coconut‑milk whipped cream and a sprig of mint for a brunch spread, or serve alongside a chilled glass of sparkling water infused with citrus slices for a light, refreshing dessert.
Storage Info
Leftover Storage
Allow any remaining bars to cool completely, then cover the pan tightly with plastic wrap or transfer individual squares to an airtight container. Store in the refrigerator for up to 5 days. For longer keeping, wrap each bar in parchment and freeze; they’ll retain texture for up to 3 months.
Reheating Instructions
These bars are best enjoyed cold, but if you prefer a softened bite, let them sit at room temperature for 15 minutes or warm them briefly in a 300°F oven for 5‑7 minutes. Avoid microwaving, which can melt the crust and make it soggy.
Frequently Asked Questions
Can I make these bars ahead of time?
What if I don’t have a high‑speed blender?
Can I use fresh coconut instead of shredded coconut?
How long will the bars stay fresh after chilling?
This Citrus Coconut Bliss Bar recipe delivers a bright, creamy dessert that’s as easy to make as it is impressive to serve. By following the step‑by‑step guide, you’ll achieve a perfect balance of tangy citrus and rich coconut every time. Feel free to experiment with the suggested swaps or add your own twist—after all, the best desserts are those that reflect your personal flavor cravings. Enjoy each refreshing bite and share the bliss with friends and family!
Citrusy Coconut Bliss Bars: A Refreshing Delight
Delicious Citrusy Coconut Bliss Bars: A Refreshing Delight
Ingredients
Crust
- 1 1/2 cups almond flour
- 1/2 cup shredded unsweetened coconut
- 1/4 cup coconut oil, melted
- 3 tablespoons maple syrup
- Pinch of sea salt
Citrus Filling
- 1 cup raw cashews, soaked 4 hrs
- 1/2 cup coconut cream
- 1/4 cup honey or agave nectar
- Zest of 1 large orange
- Juice of 2 lemons
- Juice of 1 lime
- 1 teaspoon vanilla extract
Topping & Optional Seasonings
- 2 tablespoons toasted coconut flakes
- Thin slices of orange for garnish
- Pinch of pink Himalayan salt
- 1/4 teaspoon ground cardamom (optional)
Instructions
Assembling & Chilling
- Press the crust. Use the back of a measuring cup to compact the base; a uniform thickness prevents sogginess and creates a stable platform for the filling.
- Blend until silky. High speed is key—over‑blending can incorporate too much air, leading to a lighter texture that won’t set properly.
- Taste and adjust. Before pouring, sample the filling; a tiny extra splash of lemon can brighten the flavor, while a pinch more sweetener balances tartness.
- Chill thoroughly. The minimum two‑hour chill allows the coconut oil in the crust and the fats in the filling to solidify, giving the bars a clean slice.
- Cut and serve. Using a sharp knife warmed under hot water, slice the bars into squares. Warm water removes sticking, ensuring each piece looks as pristine as it tastes.
Similar Recipes
 Desserts
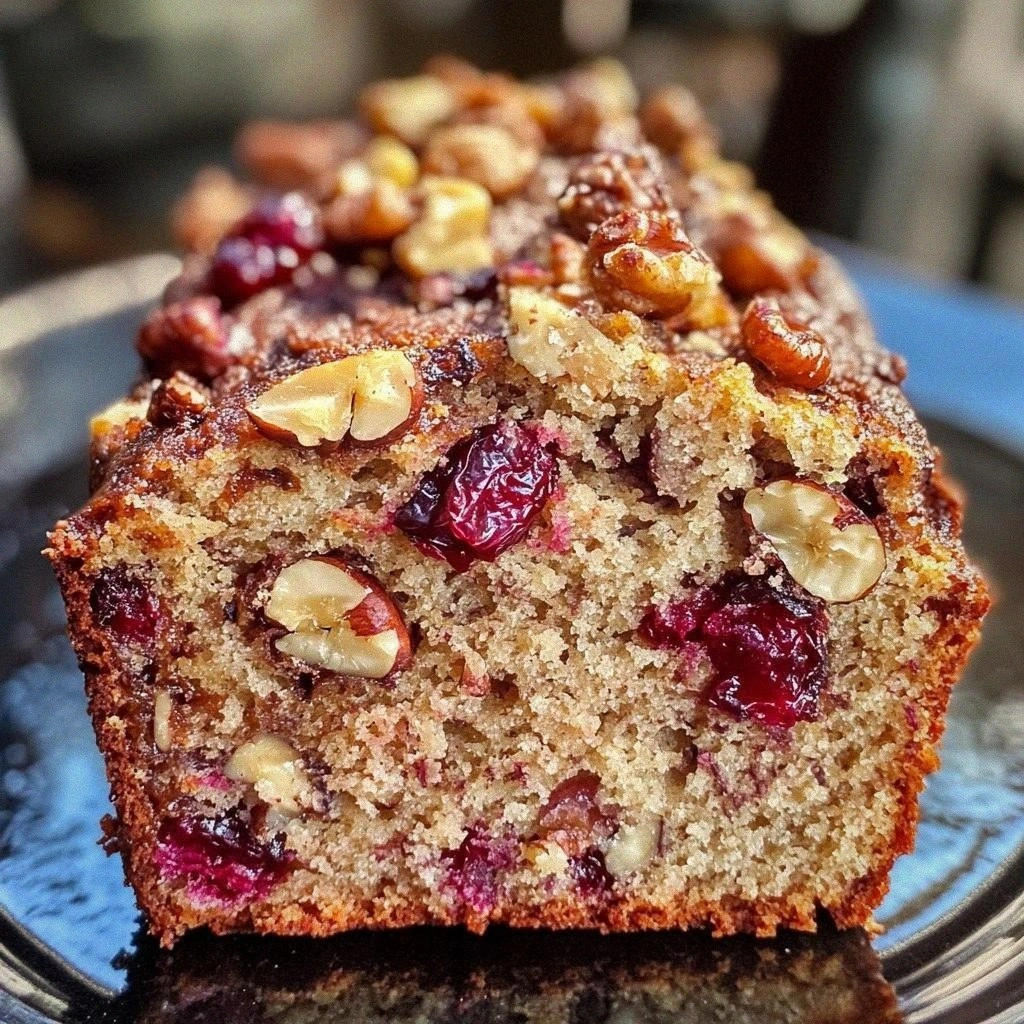
3x lekker christmas banana bread voor perfecte kerstsfeer
Learn how to make delicious 3x lekker christmas banana bread voor perfecte kerstsfeer. Easy recipe with…
 Desserts
Pumpkin Crunch Roll Cake
Discover how to make a Pumpkin Crunch Roll Cake with fluffy pumpkin sponge, crunchy granola layers,…
 Desserts
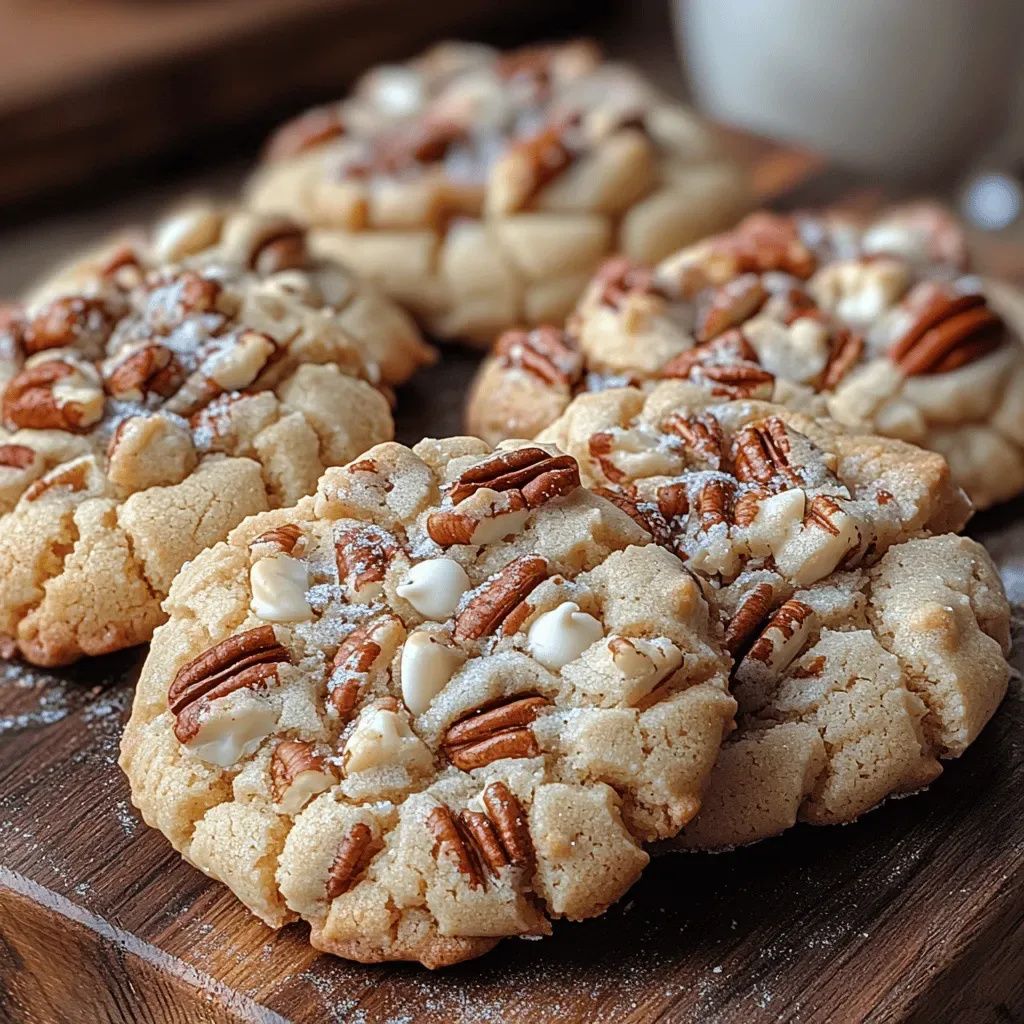
Heavenly Butter Pecan Cookies: A Delightful Indulgence
Delicious Heavenly Butter Pecan Cookies: A Delightful Indulgence
 Desserts
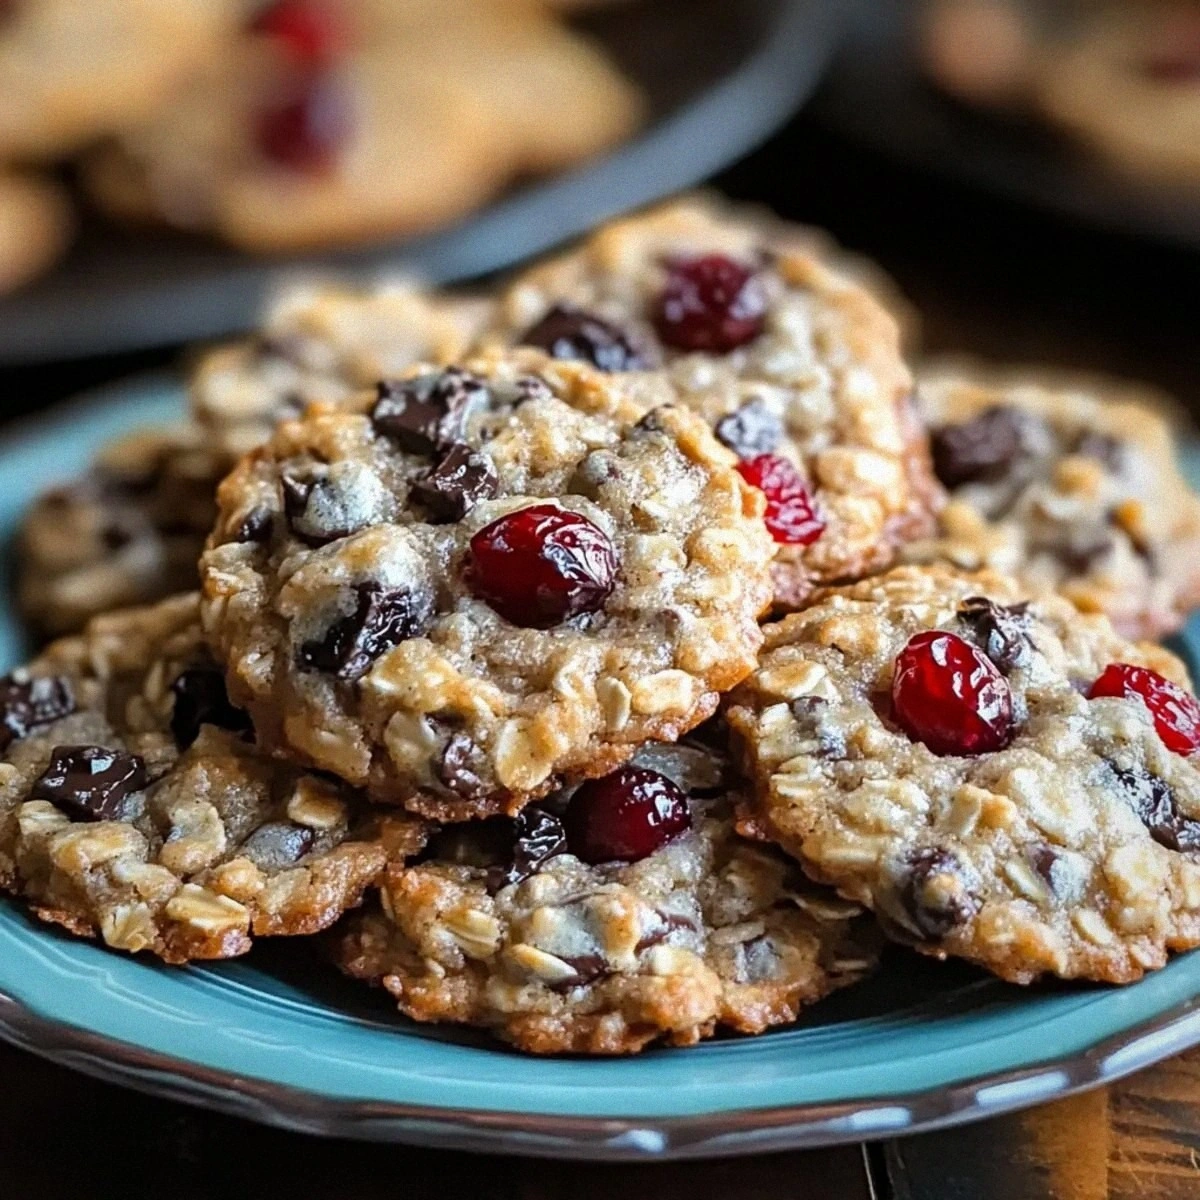
Chewy Chocolate Cranberry Oatmeal Cookies You’ll Crave Daily
Learn how to make delicious Chewy Chocolate Cranberry Oatmeal Cookies You’ll Crave Daily. Easy recipe with…
 Desserts
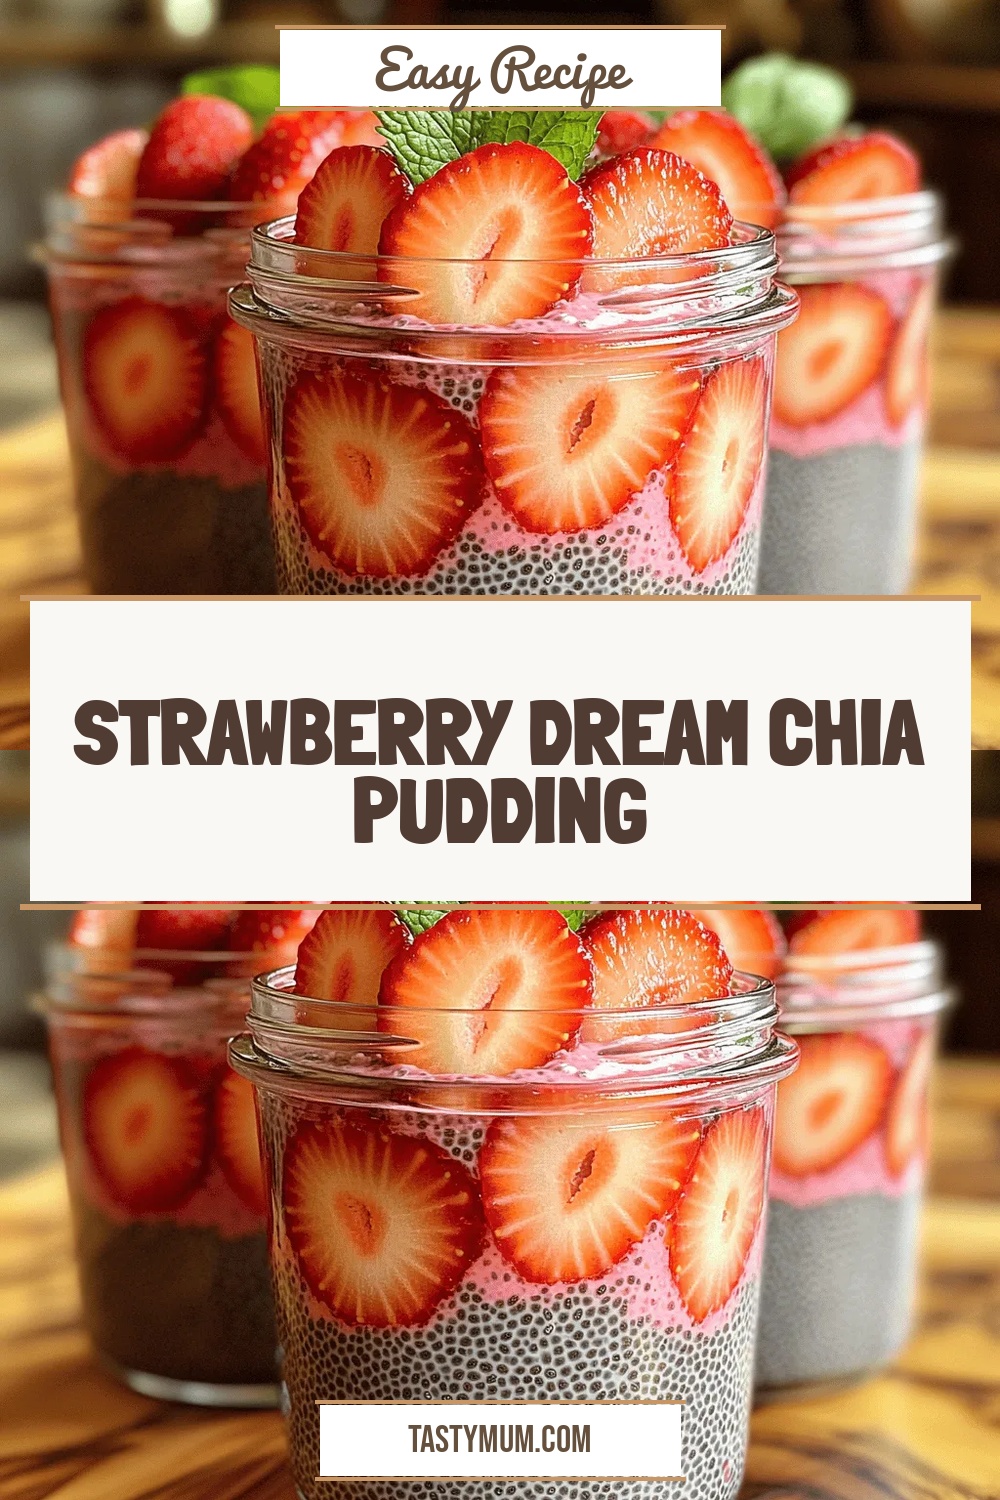
Strawberry Dream Chia Pudding
Delicious Strawberry Dream Chia Pudding
 Desserts
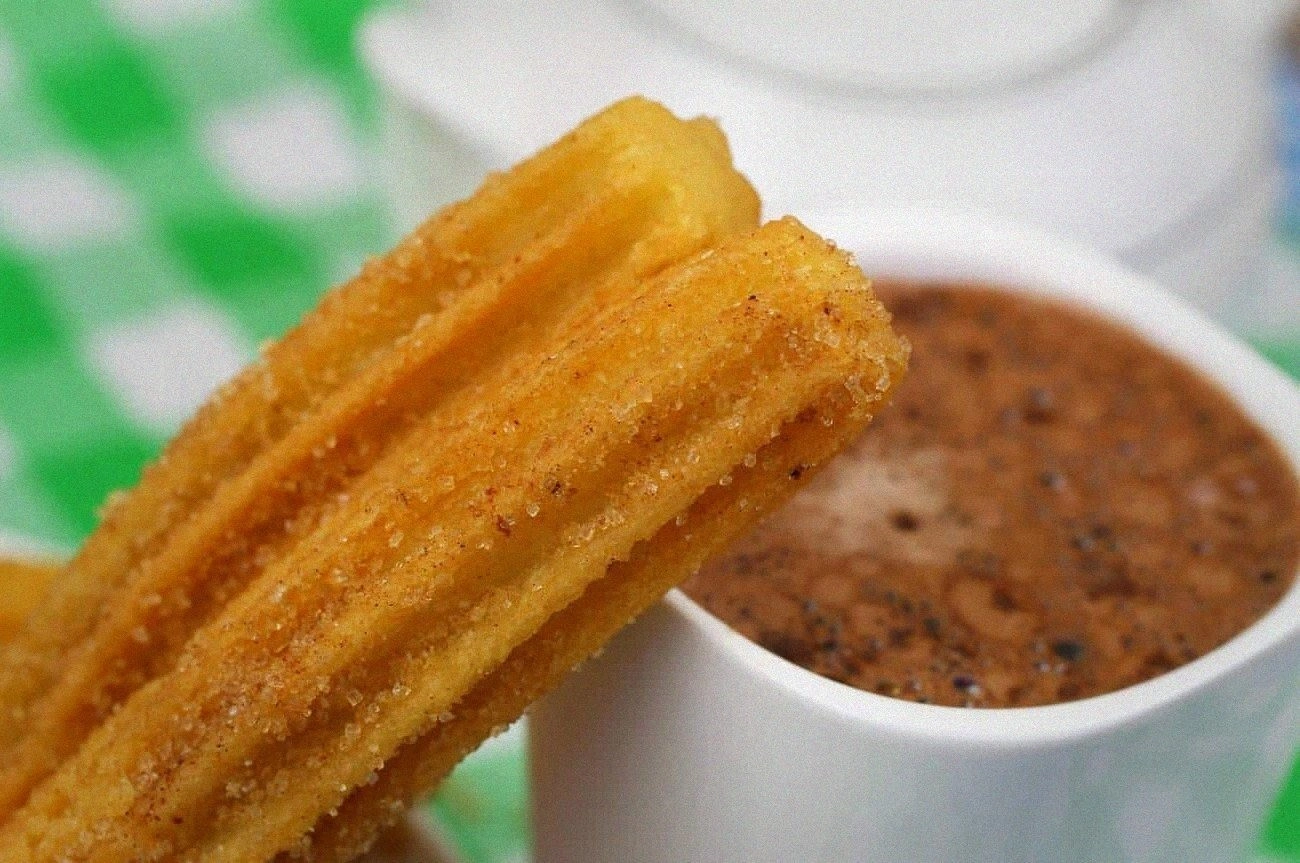
What is Churro Flavor?
Learn how to make delicious What is Churro Flavor?. Easy recipe with step-by-step instructions.
 Desserts
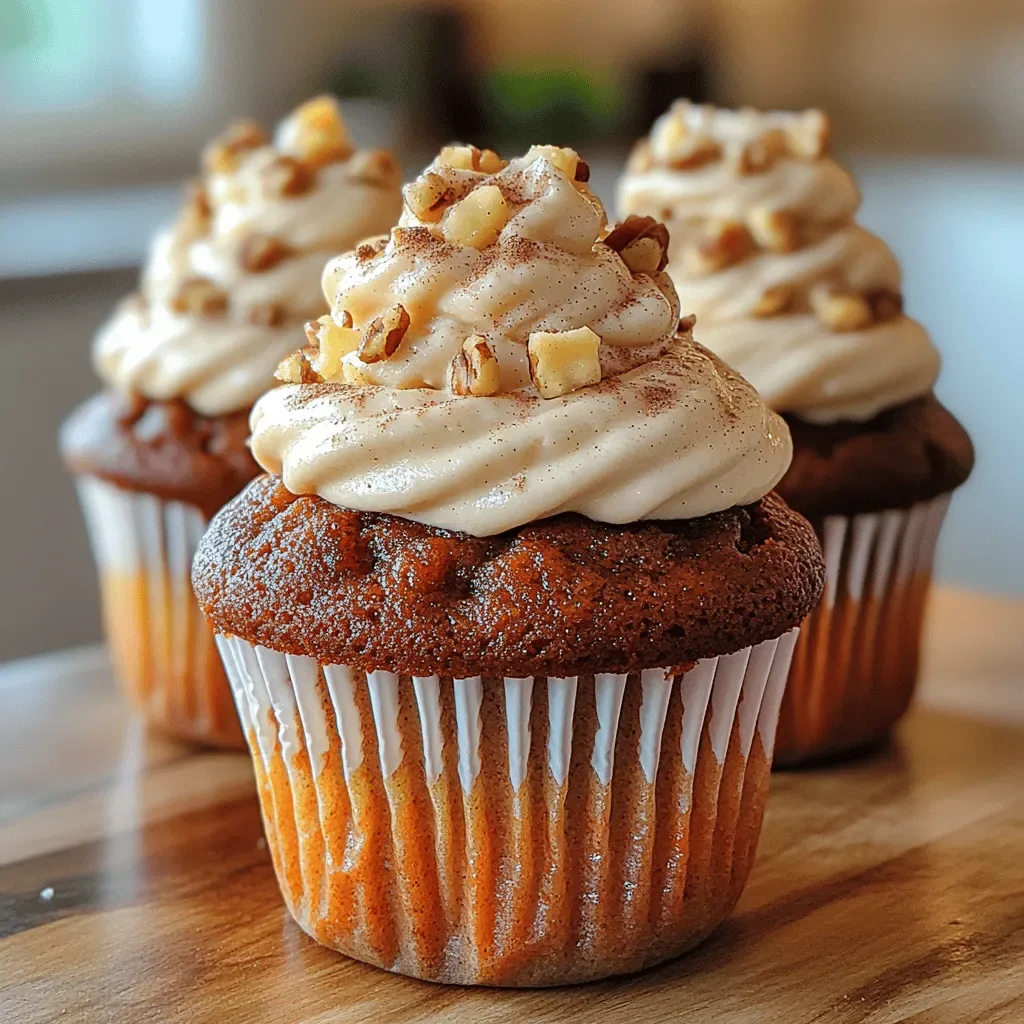
Delightfully Moist Carrot Cake Cupcakes
Delicious Delightfully Moist Carrot Cake Cupcakes
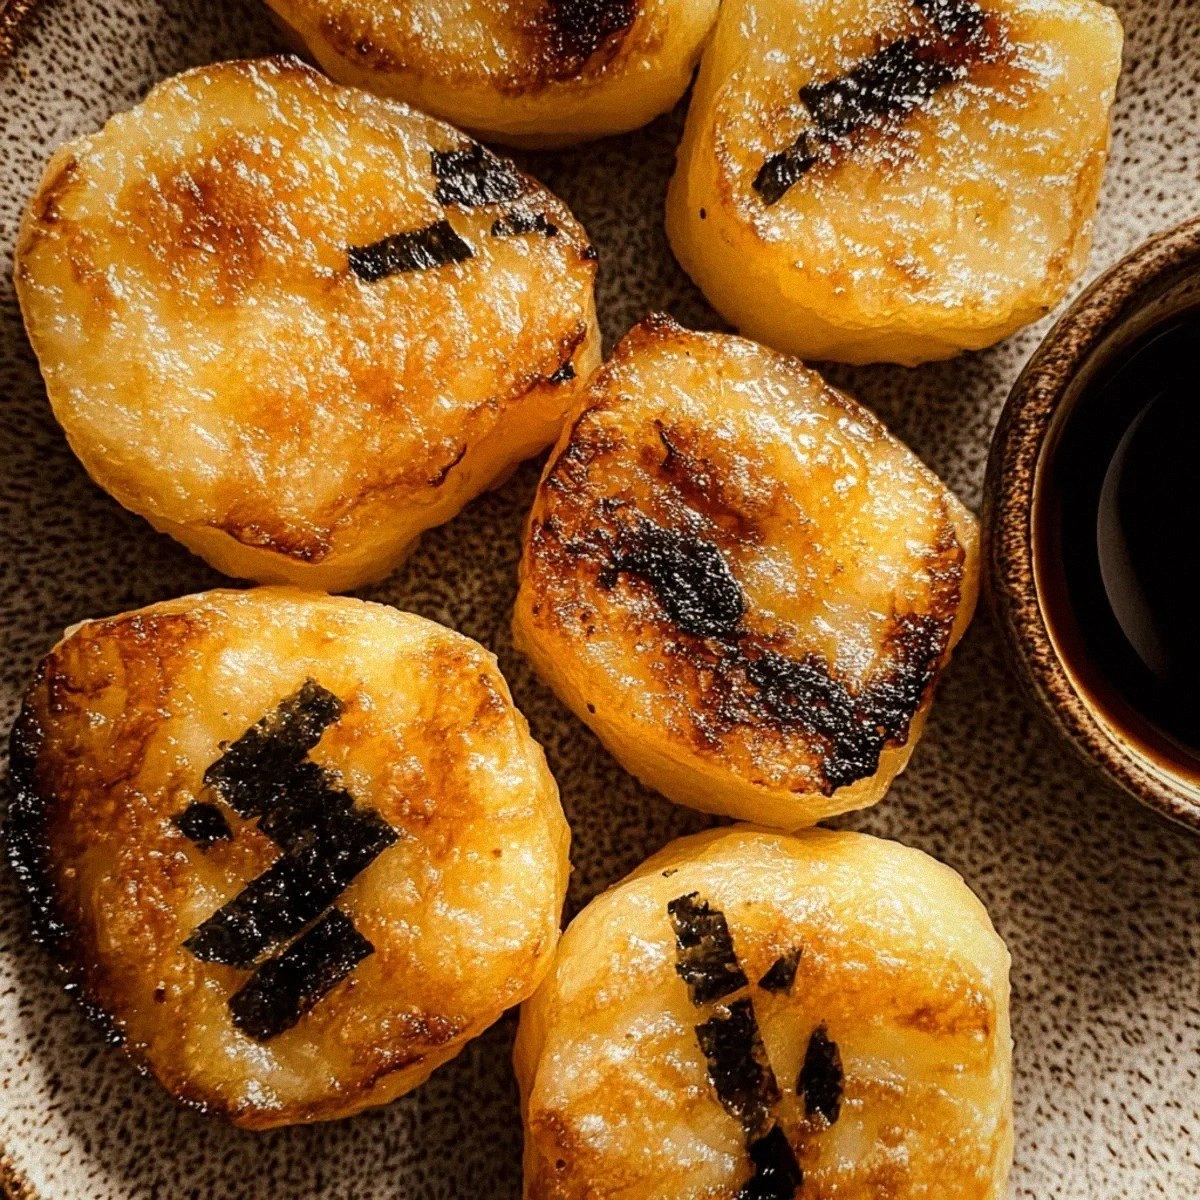 Desserts
Delicious Potato Mochi: Chewy Vegan Treats You’ll Love
Learn how to make delicious Delicious Potato Mochi: Chewy Vegan Treats You’ll Love. Easy recipe with…

Clara
I cook these recipes at home before they ever land here — simple ingredients, clear steps.