Delicious Buttery Bliss Shortbread Cookies: A Step-by-Step Guide
 Save
Save
Imagine the buttery aroma drifting from your oven as a golden, crumbly shortbread cools on the rack. That first bite—silky, melt‑in‑your‑mouth, with just enough sweetness to make you smile—turns an ordinary tea time into a moment of pure bliss.
What sets this recipe apart is the perfect balance of high‑quality butter, fine‑ground flour, and a pinch of sea salt that amplifies flavor without ever feeling heavy. A gentle fold and a short chill keep the texture tender yet sturdy enough for dipping or stacking.
This treat will delight anyone who loves classic British biscuits, from kids craving a sweet snack to adults seeking an elegant accompaniment to coffee or tea. Serve them at brunch, holiday gatherings, or simply as an after‑dinner indulgence.
The method is straightforward: cream butter and sugar, incorporate flour and salt, chill the dough, roll, cut, and bake. A few precise steps guarantee consistent, buttery perfection every time.
Why You'll Love This Recipe
Butter‑First Flavor: By creaming the butter first, the dough develops a rich, creamy mouthfeel that makes each bite feel luxurious without needing extra toppings.
Simple Ingredient List: Only pantry staples are required, so you can whip up a batch any day without hunting for exotic items.
Versatile Shapes: Use a cookie cutter, a knife, or a shortbread press—each method yields a beautiful, share‑ready cookie.
Make‑Ahead Friendly: These cookies keep their texture for days, making them perfect for advance preparation and gifting.
Tips & Tricks
Perfecting the Recipe
Use Truly Softened Butter. Let butter sit at room temperature for 30 minutes, not melted. Soft butter creams easily while retaining the fat needed for a tender crumb.
Chill Before Baking. A solidified dough spreads less, giving you uniform edges and a consistent thickness across all cookies.
Even Rolling Thickness. Use rolling pins with thickness guides or a ruler to keep the dough at the same depth, ensuring even baking.
Flavor Enhancements
Add a splash of almond extract for a nutty nuance, or fold in finely chopped toasted hazelnuts for crunch. A light brush of melted butter before baking yields an extra‑shiny surface, while a dusting of powdered sugar after cooling adds a delicate sweet finish.
Common Mistakes to Avoid
Skipping the chilling step leads to thin, uneven cookies that spread too much. Over‑mixing the dough activates gluten, resulting in a tough bite. Finally, baking at too high a temperature browns the edges before the centers set, compromising the classic shortbread texture.
Pro Tips
Freeze for Storage. Once baked and cooled, freeze cookies in a single layer before bagging. This preserves freshness for up to three months.
Use a Light Hand with Toppings. Apply sea salt or chocolate drizzle immediately after baking while the cookies are still warm; this ensures the toppings adhere without melting the cookie.
Experiment with Shapes. Press the dough with a fork or use a decorative cutter for festive occasions—each shape bakes uniformly if thickness is consistent.
Variations
Ingredient Swaps
Replace the all‑purpose flour with a 50/50 blend of whole‑wheat flour for a nuttier flavor, or swap butter for a high‑quality European butter for extra richness. For a sweet twist, substitute half the sugar with brown sugar or coconut sugar, which adds subtle caramel notes.
Dietary Adjustments
Gluten‑free bakers can use a certified gluten‑free flour blend, ensuring the same texture. To make the cookies dairy‑free, substitute the butter with a 1:1 plant‑based butter or coconut oil. For a keto version, replace the sugar with erythritol or a monk fruit blend and keep the flour at a low‑carb almond‑flour ratio.
Serving Suggestions
Pair the shortbread with a robust English breakfast tea, a chilled glass of sparkling wine, or a dollop of clotted cream for an indulgent treat. Stack cookies with layers of raspberry jam for a quick “shortbread sandwich,” or crumble them over vanilla ice cream for a simple dessert topping.
Storage Info
Leftover Storage
Once completely cooled, place cookies in an airtight tin or a zip‑top bag with a paper towel to absorb any residual moisture. Store at room temperature for up to 5 days. For longer keeping, freeze in a single layer, then transfer to a freezer‑safe container; they’ll stay fresh for 3 months.
Reheating Instructions
Warm cookies in a pre‑heated 300°F (150°C) oven for 5‑7 minutes. This revives the buttery aroma and restores a slight crisp edge without drying them out. If you’re in a hurry, microwave a single cookie on low power (30 seconds) and let it sit for a minute; the texture will soften pleasantly.
Frequently Asked Questions
Can I make these shortbread cookies ahead of time?
What’s the best way to keep the cookies from getting too soft?
Can I substitute the butter with a plant‑based alternative?
This buttery shortbread recipe delivers a classic, melt‑in‑your‑mouth cookie with minimal fuss. From selecting premium butter to mastering the chill‑and‑bake technique, every step is designed for consistent success. Feel free to experiment with zest, chocolate, or savory salts—your imagination is the only limit. Serve, share, and savor each crumb of buttery bliss!
Delicious Buttery Bliss Shortbread Cookies: A Step-by-Step Guide
Delicious Delicious Buttery Bliss Shortbread Cookies: A Step-by-Step Guide
Ingredients
Main Ingredients
- 1 cup (226 g) unsalted butter, softened
- ½ cup (100 g) granulated sugar
- 2 ¼ cups (280 g) all‑purpose flour
- ¼ teaspoon fine sea salt
Flavorings & Add‑Ons
- 1 teaspoon pure vanilla extract (optional)
- 1 teaspoon finely grated lemon zest (optional)
- Flaky sea salt for sprinkling (optional)
- ½ cup melted dark chocolate for drizzling (optional)
Instructions
Incorporating Dry Ingredients
- Blend Flour and Salt. In a separate bowl whisk together the all‑purpose flour, fine sea salt, and any optional zest. Whisking ensures an even distribution of salt and zest, preventing pockets of concentrated flavor.
- Combine with Butter Mixture. Gradually add the flour mixture to the creamed butter, using the mixer on low speed or a wooden spoon. Stir just until the dough comes together; over‑mixing can develop gluten, making the cookie tough instead of tender.
- Flavor Boost. If you’re using vanilla extract, drizzle it in now and fold gently. The vanilla integrates without heating, preserving its aromatic qualities.
Baking the Shortbread
- Preheat Oven. Set the oven to 325°F (165°C) and allow it to fully preheat. A moderate temperature ensures the cookies bake evenly, developing a pale golden edge without browning too quickly.
- Roll and Cut. On a lightly floured surface, roll the chilled dough to a uniform ¼‑inch thickness. Use a cookie cutter or a sharp knife to cut shapes. Press the cutter straight down—no twisting—to keep edges clean.
- Arrange on Baking Sheet. Transfer the cutouts onto a parchment‑lined baking sheet, spacing them about ½ inch apart. If you like a crisp edge, place them slightly closer; for a softer center, give them a bit more room.
- Bake. Slide the sheet into the oven and bake for 18‑22 minutes, or until the edges are just a light golden hue. The tops should remain pale; over‑browning will make them dry.
- Cool and Finish. Remove the cookies and let them cool on the sheet for 5 minutes before transferring to a wire rack. While still warm, sprinkle flaky sea salt or drizzle melted chocolate if desired. The heat helps the toppings adhere without melting the cookie.
Similar Recipes
 Desserts
citrus and pomegranate winter fruit salad with honeyorange dressing
Learn how to make delicious citrus and pomegranate winter fruit salad with honeyorange dressing. Easy recipe…
 Desserts
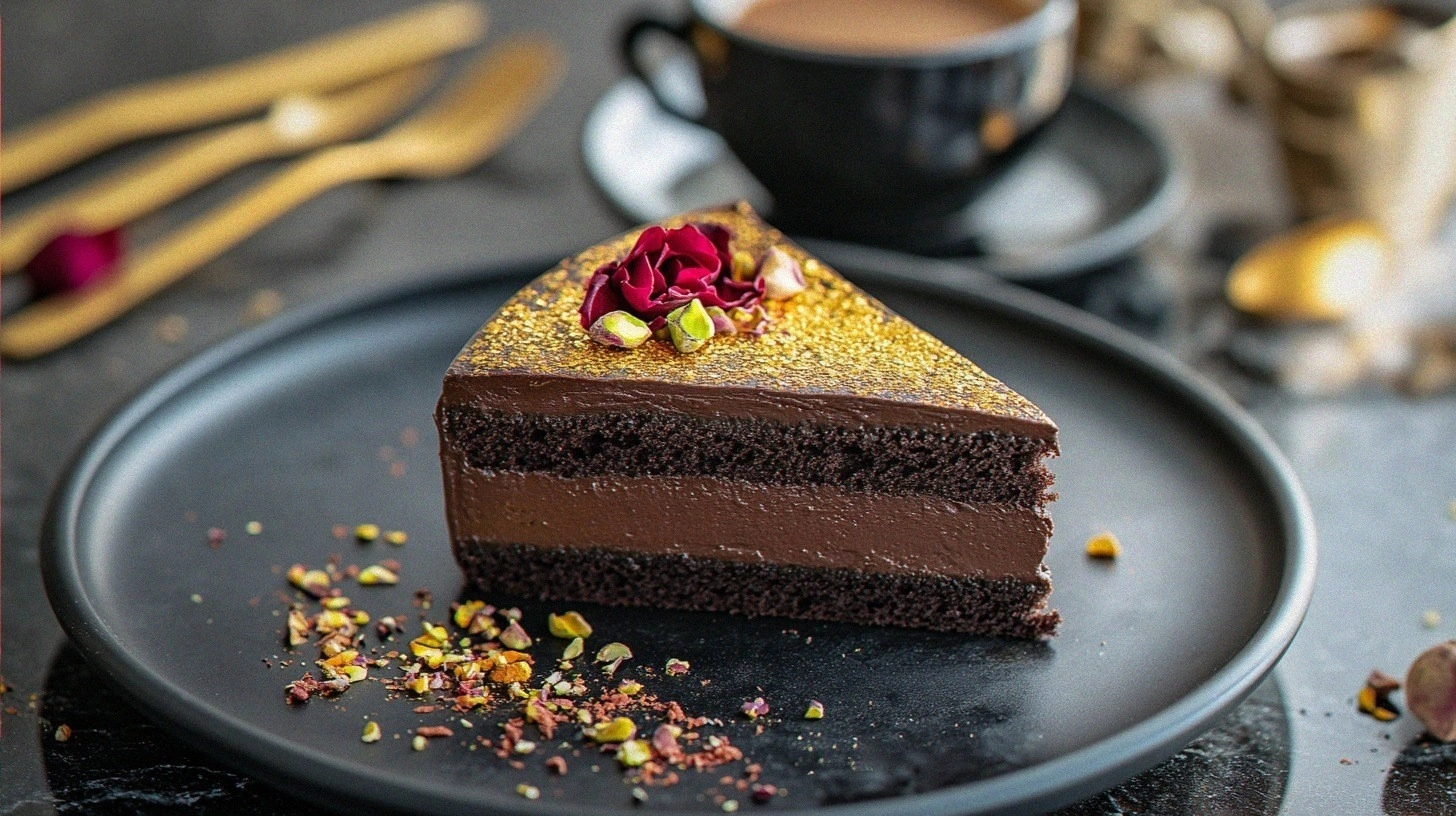
Dubai Chocolate: A Luxurious Indulgence from First Bite to Final Craving
Learn how to make delicious Dubai Chocolate: A Luxurious Indulgence from First Bite to Final Craving.…
 Desserts
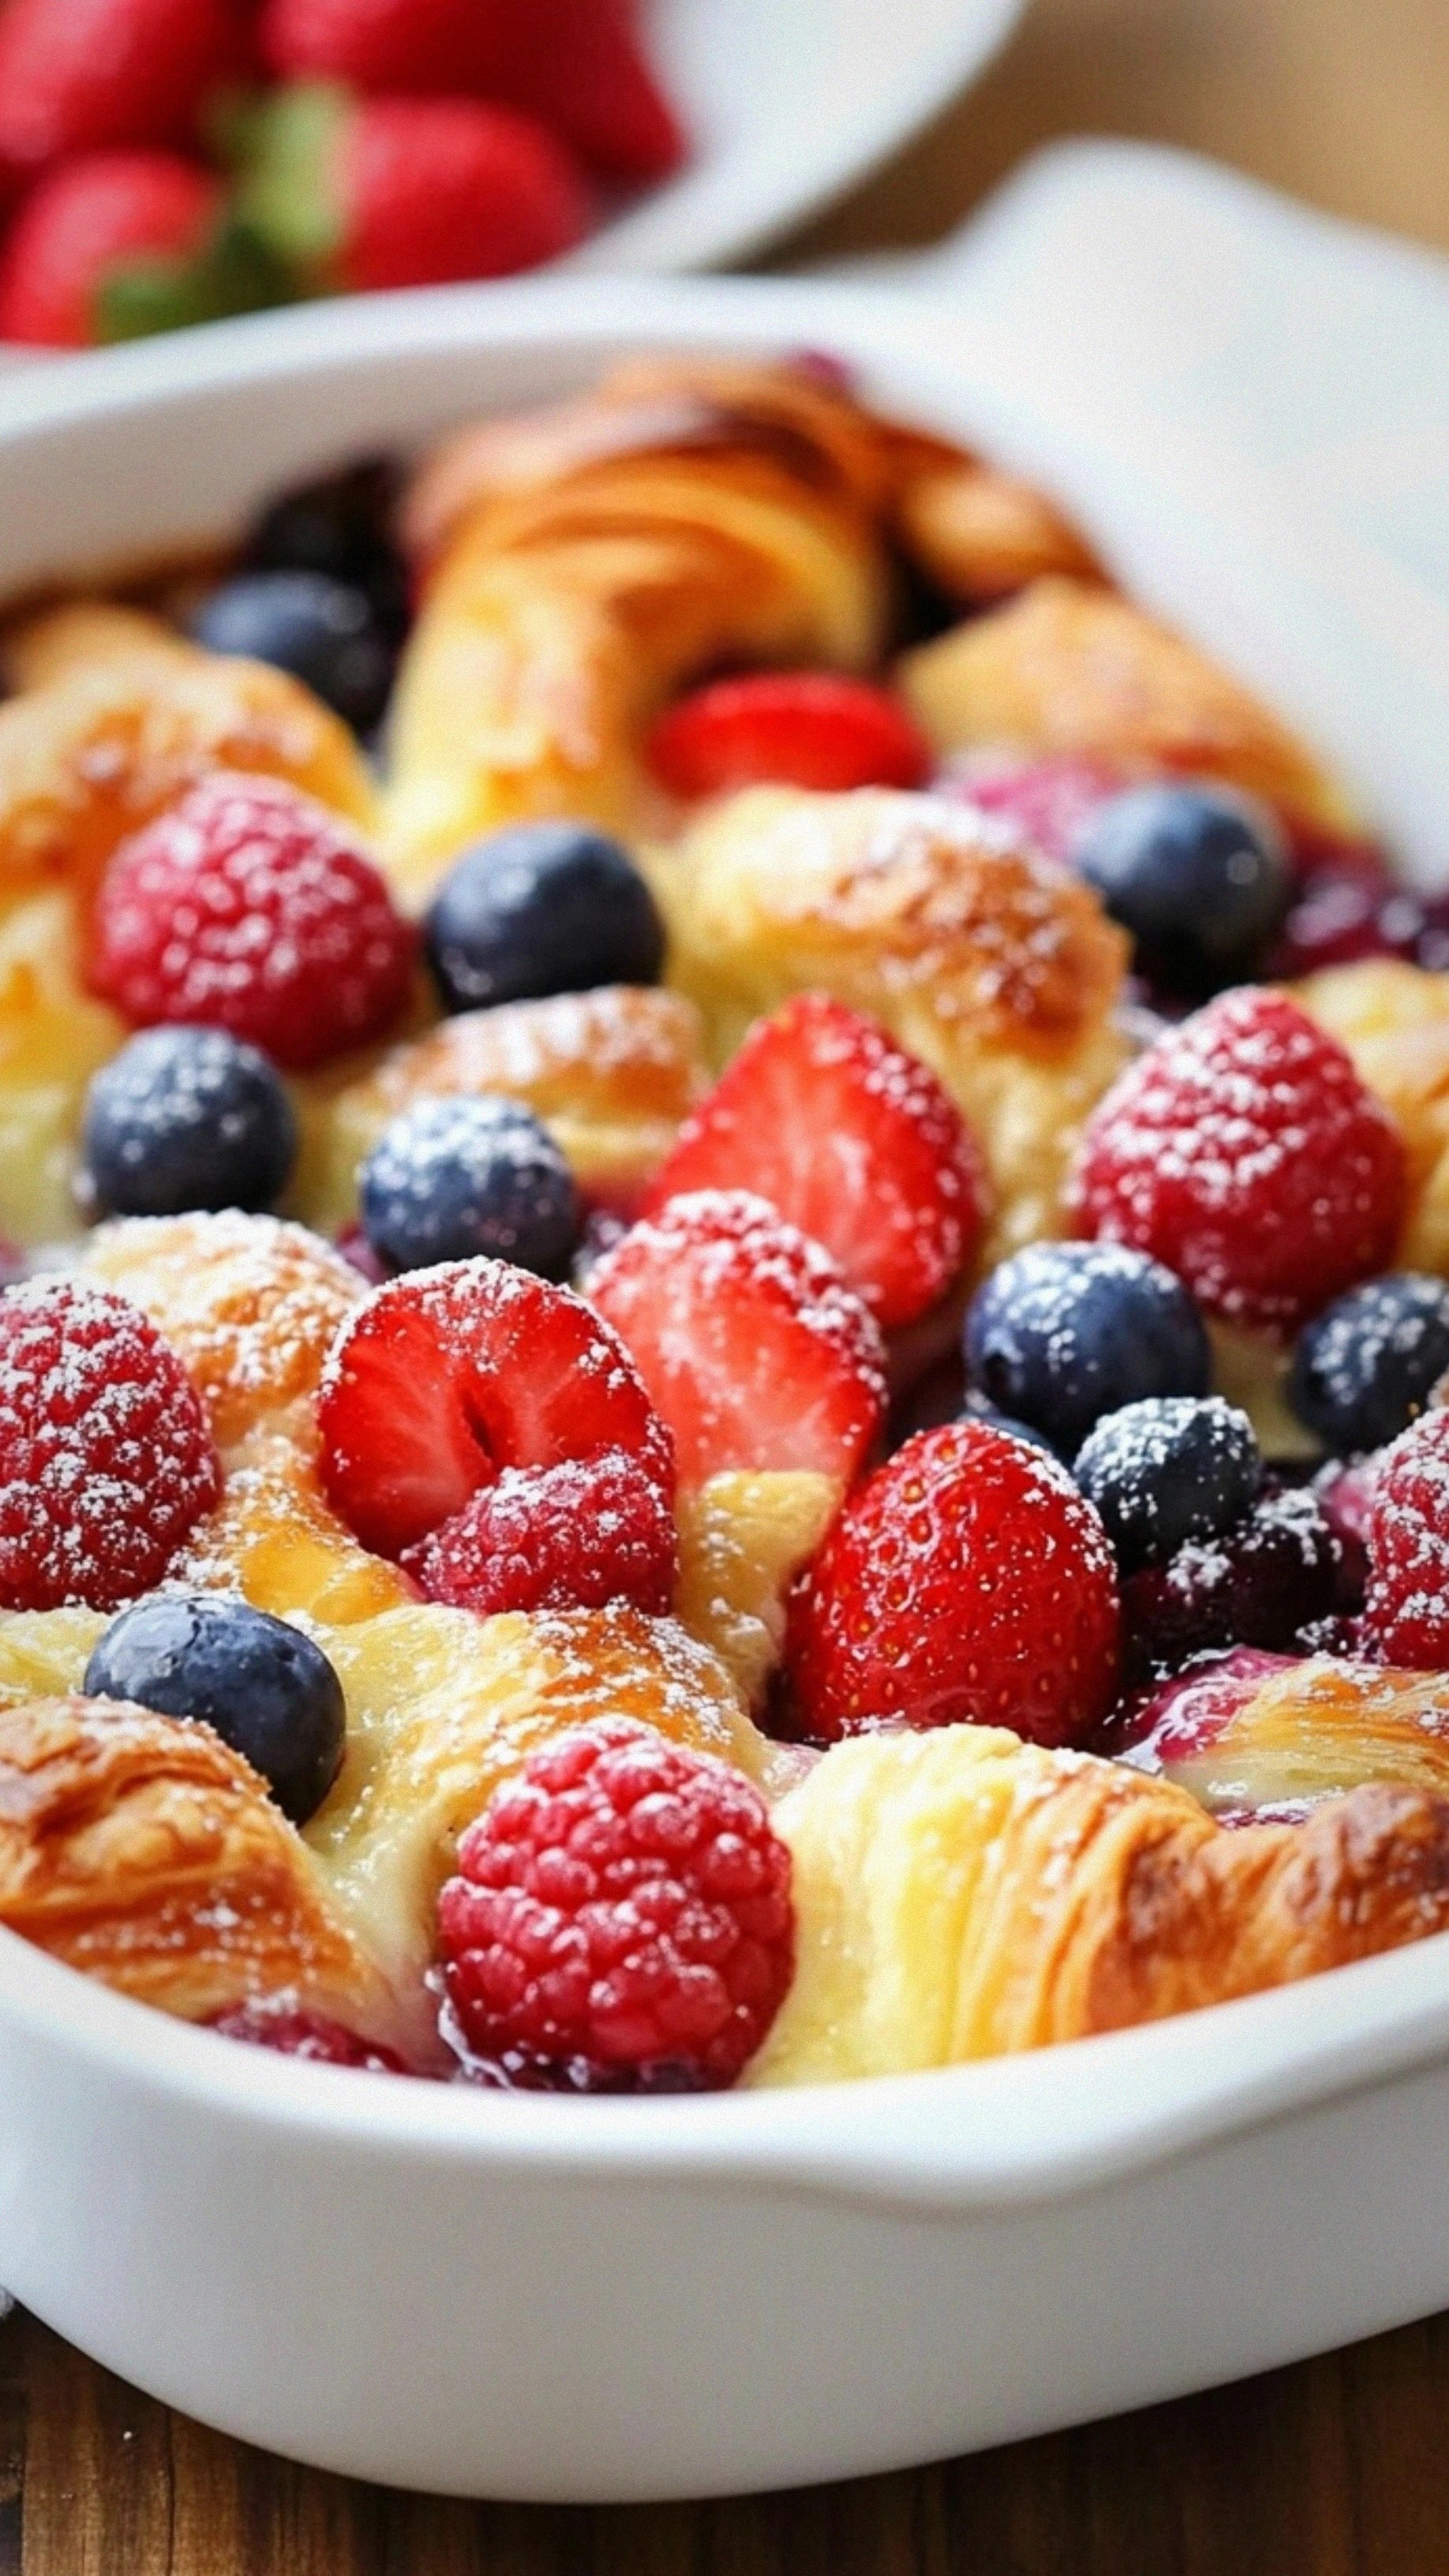
Berry Croissant Bake: A Perfectly Sweet, Creamy, and Buttery Treat for Every Occasion
Learn how to make delicious Berry Croissant Bake: A Perfectly Sweet, Creamy, and Buttery Treat for…
 Desserts
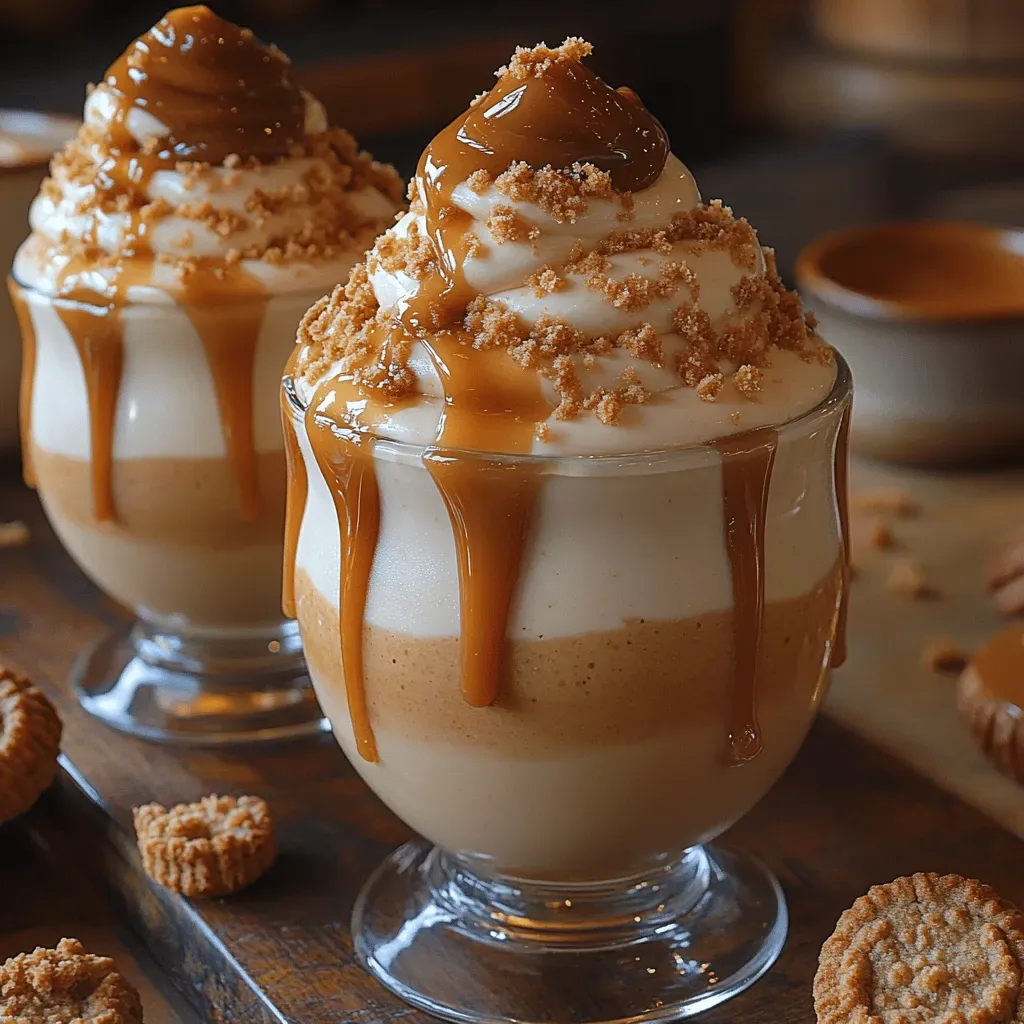
Creamy Biscoff Bliss Mousse: A Heavenly Dessert Experience
Delicious Creamy Biscoff Bliss Mousse: A Heavenly Dessert Experience
 Desserts
Zesty No-Bake Lemon Dream Pie
Delicious Zesty No-Bake Lemon Dream Pie
 Desserts
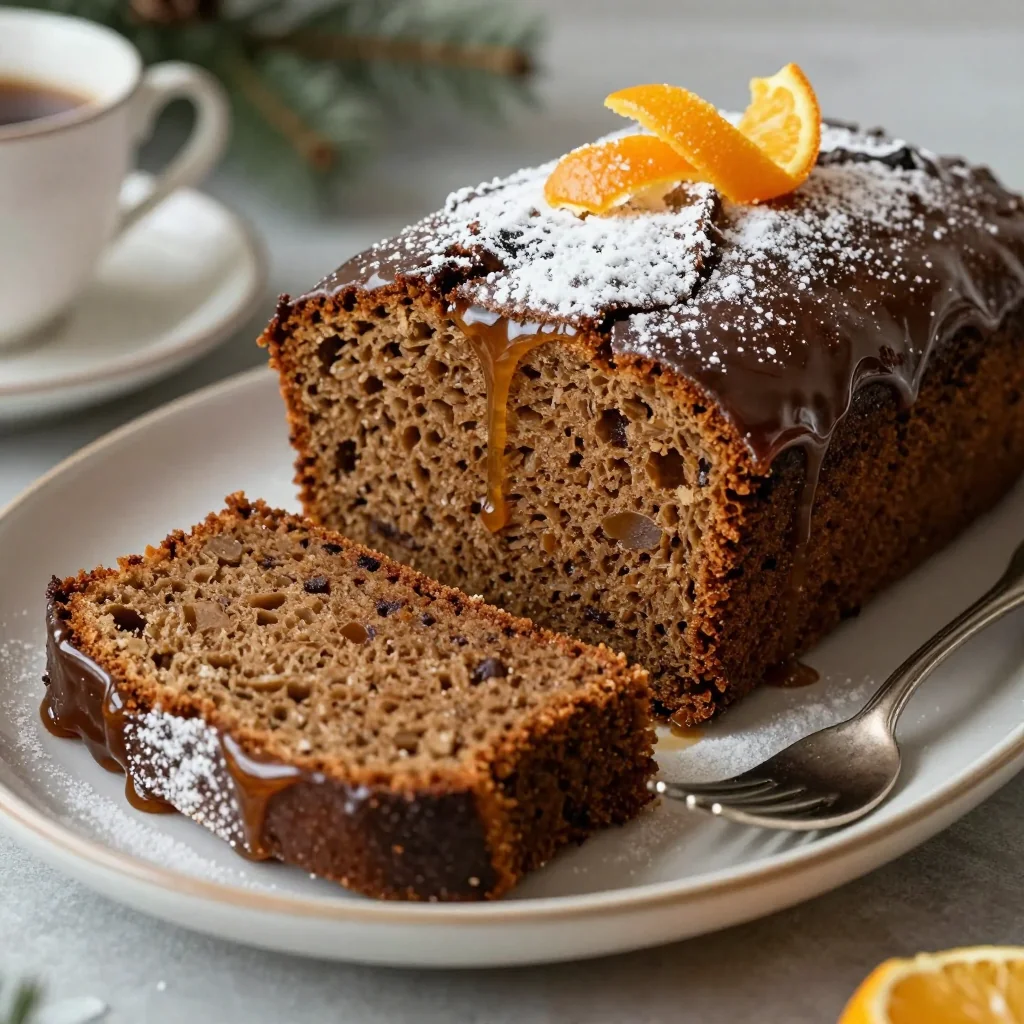
classic gingerbread loaf cake with molasses glaze for christmas tea
Learn how to make delicious classic gingerbread loaf cake with molasses glaze for christmas tea. Easy…
 Desserts
mini cake for valentines day: 7 sweet moments to share
Learn how to make delicious mini cake for valentines day: 7 sweet moments to share. Easy…
 Desserts
Creamy Dreamy Banana Pudding: A Timeless Delight
Delicious Creamy Dreamy Banana Pudding: A Timeless Delight

Clara
I cook these recipes at home before they ever land here — simple ingredients, clear steps.